5 Tips for keeping your pool sparkling throughout summer

Summer is a busy time, what with trying to keep the kids entertained, work, and often, out-of-town visitors dropping in.

The pool is most likely the home’s focal point right now and getting lots of use. While you may not have time to give it a routine, thorough cleaning, break it down into smaller tasks to keep your pool sparkling all summer.

Use the skimmer

When was the last time you cleaned the skimmer basket? Allowing debris to build up in the basket is a lot like allowing your HVAC filters inside the home to accumulate too much “gunk.”

What happens in the pool is that the debris blocks water flow which, in turn, strains the pump and the filtration effectiveness plummets. Effectively, it shortens the life of the pool’s pump.

Routinely using a long-handled leaf skimmer will help take some of the pressure off the pool skimmer. Skimming leaves and other debris from the surface of the water is the ideal job for the older kids in your family.

How’s the water level?

As pool season wears on, you’ll notice that the water level in the pool decreases. This is due to a number of reasons, chief among them is the activity in the pool (splashing, etc.). Evaporation also occurs, especially during hot weather.

Now that you’ve skimmed the pool, check the water level and, if needed, bring it back to the proper level with water from a hose.

If the water is suspiciously low, check the pump to ensure it’s working correctly and shows no sign of damage.

“To make sure a leak is not the culprit, fill a plastic bucket three-quarters full of water and mark it; place the bucket in the pool, then mark the pool’s water line on the outside,” suggests the pros at NCRealtor.org

“Let it float for three days, and if the pool water level has gone down past the bucket’s, you have a leak,” they conclude. If this occurs, call a pool professional.

Additional cleaning tasks

Even with the most conscientious skimming, stuff may end up at the bottom of the pool. This is when a pool vacuum comes in handy.

Clean the filter before each use. Then, turn your attention to the pool’s walls, looking for algae growth and calcium deposits. Us a stiff swimming pool brush to remove these substances.

Don’t neglect the filter

It’s always a good idea to leave a bit of dirt in the filter. Sounds crazy until you understand that it acts as a trap for other particles.

Too much dirt, however, and the water isn’t filtered properly. Check the pressure gauge and flow meter. When it reaches 10 to 15 pounds per square inch, there’s too much dirt and it’s time to clean the filter.

The pool’s pH level

The pH scale determines the level of alkalinity or acidity and it runs from 0 to 14. Pure water is considered neutral and has a pH of 7. Higher pH values are alkaline while those lower than 7 are acidic.

The ideal pH level for pool water is between 7.2 and 7.8. Most DIYers use test strips that can be purchased at pool supply stores or at some of the large home improvement stores. Within seconds, you’ll know what you need to add to the water to adjust its pH

Perform basic pool maintenance routinely throughout the summer to keep your pool sparkling all season long.


7 Plants That Provide Summer Color in Shady Gardens

Shade gardens can be such a pleasant surprise. In that spot where you think nothing will grow, there are plants that will not only grow, but flower and thrive as well.

Depending upon climate, there are tropicals, perennials and annuals that will flower throughout the summer in a shady location.

Astilbe

If you are looking for plumes of color for that shady spot, consider planting astilbe (Astilbe x arendsii). These perennials are quite easy to grow and will bloom from late spring and through the summer.

Astilbe flowers are white, pink, lavender or red, and are striking when grown in bunches or along a shady walkway. Give the plant rich soil and water to keep the soil moist. Astilbe is hardy to USDA zones 4 to 9.

Camellia

The only problem with choosing a camellia shrub (Camellia spp.) for your shady garden is trying to figure out which variety to grow, which color to grow and which flower form.

The Japanese camellia (Camellia japonica) is the most popularly-grown species in the home garden. With more than 2,000 cultivars, gardeners can choose those that bloom in double, semi-double or single flowers, in shades of white, pink and red.

Although the young camellia will thrive in deep shade, as it ages it will need a bit of morning sun to produce the gorgeous flower show.

Camellia is hardy from USDA zone 6 or 7 (depending on variety) to 10. Watch the Grumpy Gardener’s Guide to Camellias video for additional tips.

Heuchera

The National Gardening Association’s “Perennial of the Year” in 2012, Heuchera (Heuchera spp.) is commonly known as coral bells (Heuchera sanguinea).

Heuchera is popular not only because it’s so easy to grow, but for its mind-boggling diversity in form and color – with nearly 50 different species.

Dainty flowers provide color to the shade garden, in white, pink and red hues. Learn more about Heuchera and get tips on choosing the right one for your garden at wimastergardener.org.

Hosta

Don’t discount the value of brilliant foliage in your shade garden. Hosta (Hosta spp.) is a favorite, across the country. Although they die back in winter, the gorgeous foliage appears again in spring.

Check out ‘Autumn Frost” to provide a pop of color along a walkway or wall in the shade garden.

Grow the hosta in well-drained soil amended with lots of organic matter. It’s hardy in USDA Zones 3 to 9.

Hydrangea

Is there a flower lover on earth who isn’t impressed with hydrangea blooms? The mopheads, with their huge, round flowers or the panicles that drip from the shrub – what’s not to like?

Best of all (at least for the shade gardener), is that too much sun is brutal on the hydrangea. In fact, a spot that receives morning sun and afternoon shade is ideal.

Hydrangea is a deciduous shrub and, depending on variety, may grow from four to 12 feet tall. Learn more about the different types of hydrangea and their care at Clemson University’s website.

Impatiens

This African native is, according to horticulturists at the University of Maryland, the top selling bedding plant in the country. The reason: it’s very easy to grow.

Impatiens come in 15 colors, from white to bright and will grow quite well in the shade. They do require moist soil at all times to keep blooming.

Impatiens are also lovely in containers and hanging baskets. This cutie is hardy in USDA Zones 6b to 11.

Lungwort

If you prefer to carpet the soil with in your shady gardening spot, choose a groundcover. Lungwort (Pulmonaria spp.) is one worth considering.

Flowering in shades of purple, red, white or pink, lungwort is a clumping perennial. Most varieties grow nine to 10 inches in height and spread two to three feet wide.

Lungwort prefers slightly moist soil at all times. If the roots get too dry the plant will wilt and it will rot if the roots get too much moisture. The experts at Iowa State University suggest watering it every week to 10 days if there’s no rain.

Lungwort grows best in USDA hardiness zones 3 through 7.

Happy summer gardening!

Redecorating the master bedroom on a shoestring

It doesn’t take a huge bank account to take your master bedroom from feeling like your college dorm room to the sanctuary from a noisy world that it should be.

And, it doesn’t take a lot of time either. Broken into chunks, you can redecorate your master bedroom over the course of one, two or three weekends, depending on how much time you want to devote during each session.

Here are some tips to get you started; tips that won’t break the bank.

Come up with a vision for the space

What does your ideal bedroom look like? Is it a quiet place in which to seek solitude? Or, is it a place where you enjoy the company of your children, reading, watching TV or roughhousing on the bed?

Think about how you use the room now and use that as a guide everything from paint color to accessories.

Paint is the foundation for everything else

If you’ve ever been presented with the dilemma of trying to decide on a paint color, you know how challenging it can be. Standing in front of the paint chip samples at the local Lowe’s or Home Depot, you’re presented with an overwhelming number of choices.

Then, consider that “Room colour, particularly in your home, can dramatically affect moods, feelings and emotions,” according to Dr. Julia Shugar  with Creedmore Psychiatric Center.

Babies cry more in yellow rooms and blue helps sell homes. The best way to help you decide on a color is to do some online research. Pinterest is full of ideas – just enter the color or mood you’re considering into the search-box and you’ll be presented with pages of tips.

We found some brilliant paint color ideas by searching “relaxing bedroom” at Pinterest. See the results here. Or let a psychologist walk you through the best choices at Food52.com.

Psychologists, by the way, suggest that the most invigorating colors are “saturated but not too bright, such as Kelly greens.” Saturation, by the way, describes the intensity of a color, according to the folks at Techopedia.com.

Color scheme

Once you’ve figured out the primary color of the room, it’s time to determine your color scheme.

Once you have new paint on the walls you will need to determine a colour scheme, designed around the paint color.

Schemes to consider include:

Complementary

Complementary colors come from opposite sides of the color wheel. For instance, blue paired with orange.

In decorating, it’s a good idea to choose one soft shade and one bold. For instance, a soft blue with a bold orange. Check out the slide show at BHG.com.

Monochromatic

Monochromatic color schemes involve using different shades of one color. For instance, paint the walls in Behr’s Forever Denim and use Rain Dance and Superior Blue as accent colors (for the bedspread, rug, accessories, etc.)

Prefer griege? Consider Sherwin Williams’ Repose Gray for the walls and then incorporate pops of Gauntlet Gray and Eider White.

Now, dress it up

Choosing accent pieces for the master bedroom is the fun part of the process. Curtains, bedding, a rug or two – they can all add immensely to the feel you’re looking for. They also add texture, softness and even edginess, depending on what you choose.

If you’re going for the look of a luxury resort hotel room, you’ll need loads of pillows to stack on the bed, a small table and a chair (or two) and artwork to carry on your color scheme.

And, speaking of artwork, paintings and photographs are fine, but consider three-dimensional pieces as well. Find inspiration online at HGTV.com, AllModern.com and NeimanMarcus.com.

If you’re considering the master bedroom makeover for a future home sale, contact us. We’ll give you an idea of which features will give you the highest return on your investment.

Spring and summer gardening for condo dwellers

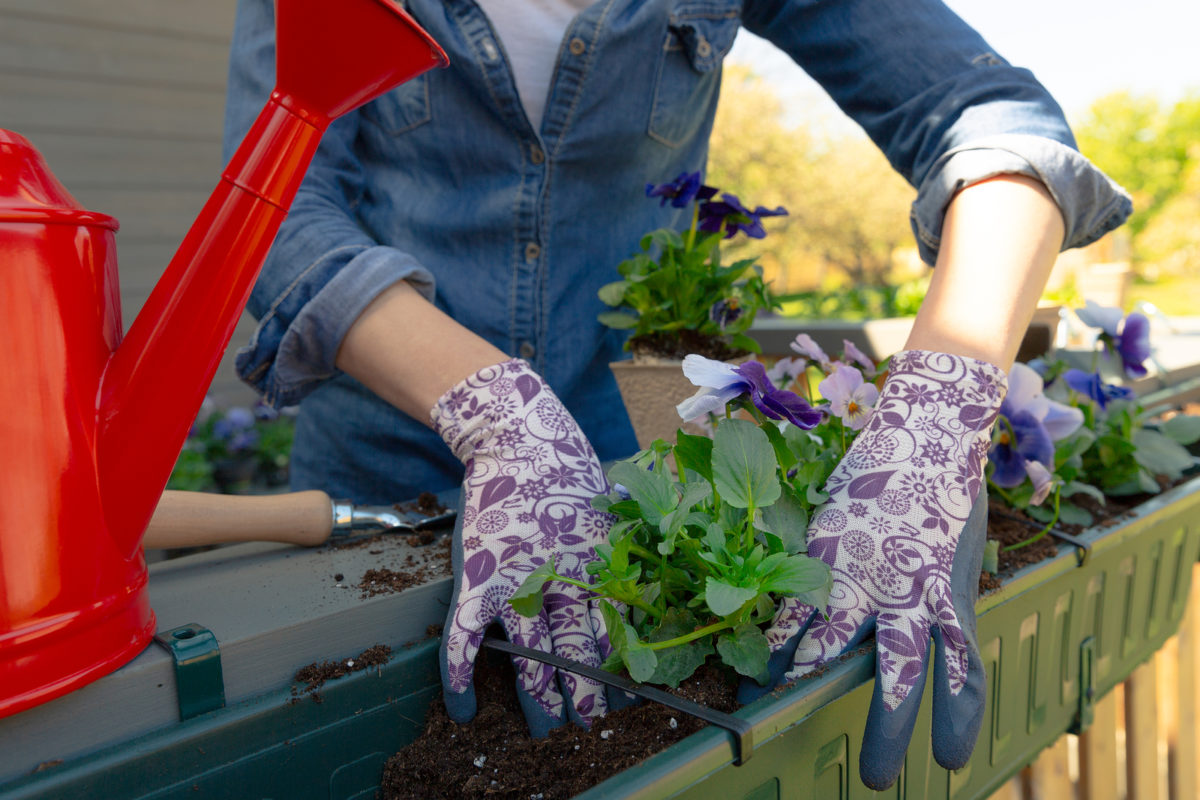
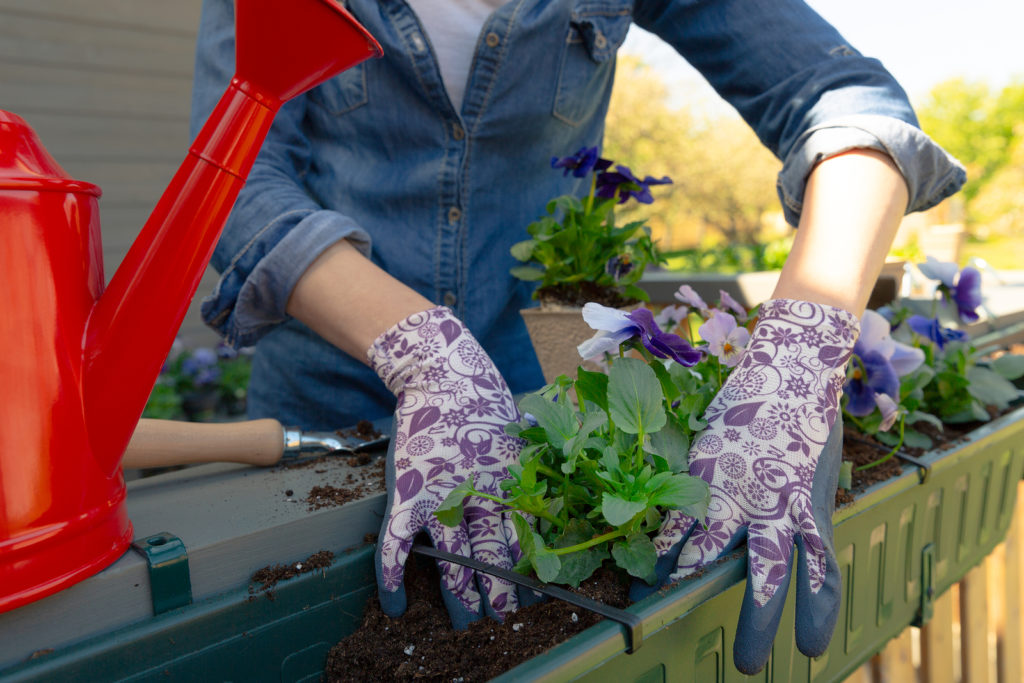
There’s no need to pity your condo-dwelling, green thumber friends – where there is even a tiny space, there are gardening possibilities.

Whether you call that spot a balcony, lanai, terrace or veranda, it can be transformed into a spring garden showcase in just a few easy steps.

Keep track of the light (and heat)

Take a few days to make note of where the sunlight falls on your balcony, and the length of time each spot remains sunny. You may have wide swaths that remain in complete shade all day, and that’s ok.

Many plants enjoy shady spots and we’ll introduce you to some of these later on. Remember, that the sunlight and shade of today won’t match that of other seasons.

It’s spring now but as summer approaches, the sun is positioned differently, as it also is in fall and winter.

Hartz CC BY-SA 3.0

You’ll also need to consider the heat generated by that sunlight, especially if you live in the country’s desert southwest.

Experienced Arizona gardeners (Phoenix and Lake Havasu City in particular), and those in Austin, Texas and Las Vegas, Nevada, for instance, have learned to ignore those little care tags that come with plants purchased at the nursery.

“Plant in full sun” may be just what a plant needs in San Francisco or Portland, but put it in full sun in Riverside, California and it may just fry. If you live in a particularly hot-summer-weather region, plant full-sun varieties in light shade, or areas where they will only receive morning sun.

Accessories

Before you head out to the nursery to buy plants, draw out a quick diagram of your space. Then, consider where you’ll put hardscape pieces and accessories.

Items to consider include

  • Window boxes
  • Water feature
  • Plant stands
  • Table
  • Chairs
  • Bench
  • Settee
  • Oversized planting pots
  • Lights
  • Rug

Get more ideas on accessories for your balcony garden and see the items at work on Pinterest, BalconyGardenWeb.com and WooHome.com.

If you are fortunate enough to have a small patio, you’ll find inspiration here.

Lighting

Sometimes a garden is even more charming when the sun goes down. Balcony or patio gardens are ideal for al fresco dining, so let’s add some lighting to set the mood.

String lights seem to be the current go-to for patios and balconies, and for good reason— they’re inexpensive and come in a variety of shapes.

Whether you swag them at the ceiling or twirl them around patio cover supports, string lights may be the ideal solution. Check out some ideas on Pinterest.com.

The flickering of candlelight adds a romantic and even tropical ambiance and you can get it with LED candles. Wayfair sells a nice assortment and some of them have timers. Get inspiration on using lanterns and candles in your small garden at Pinterest.com and TheSpruce.com.

Let’s not forget plants!

The key to enjoying your condo balcony or patio garden year-round is to include evergreen foliage plants. This way, when winter’s chill puts the flowering plants to sleep, you’ll still have greenery.

Shady gardens

You might be surprised at the variety of plants that can grow and even thrive in the shade. Even some plants you haven’t considered growing as ornamental, such as cat grass or Japanese forest grass, which both take well to container growing and shade.

Consider these shade-tolerant plants as well:

Get additional tips on what to grow in a shady container garden at HGTV.com, FineGardening.com and SouthernLiving.com.

Container plants for full-sun balconies and patios

Plants to block prying eyes (or wind)

Street-level condos, or those located downtown, surrounded by others with big windows can still be private. The strategic use of tall plants will help keep prying eyes or gusty winds at bay.

Tall and dense is key here. Or, use shorter plants on stands to elevate them. Consider the following:

Find more privacy ideas on Pinterest.com.

Bring back the beauty of your vintage 1930s hardwood floors

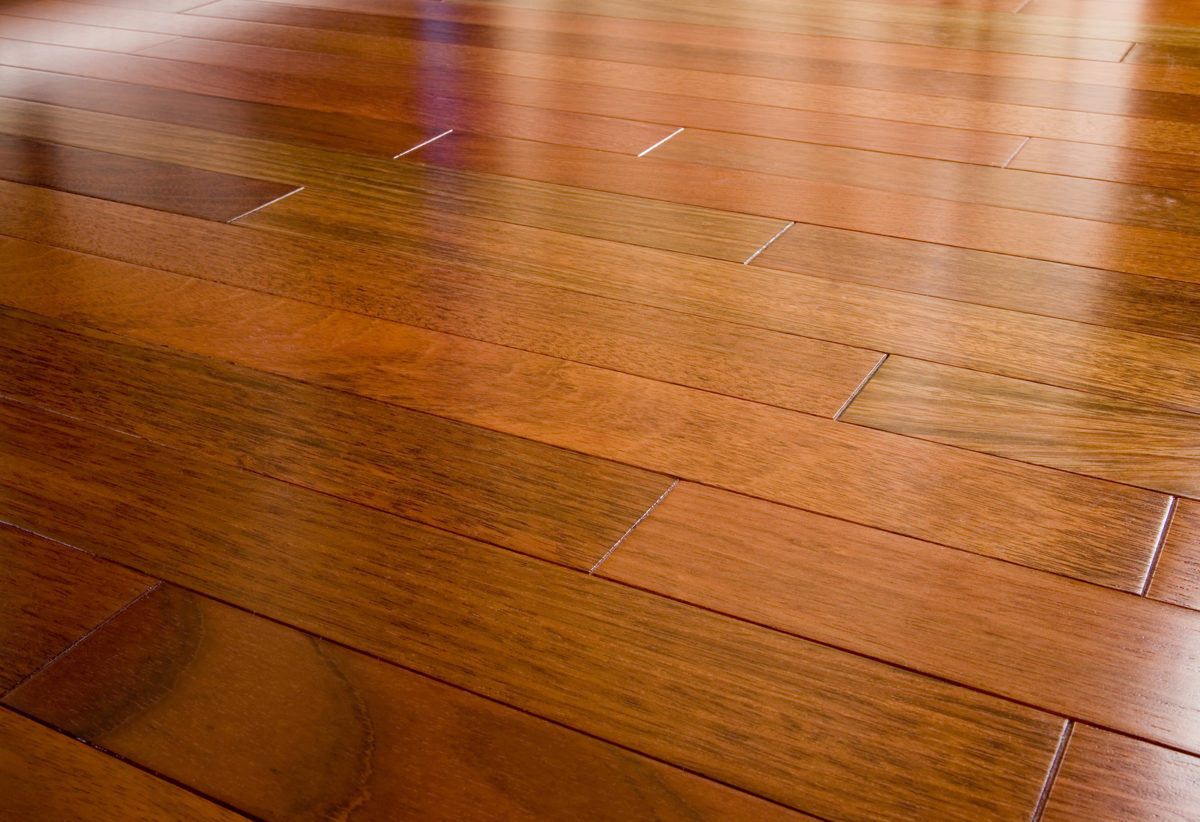
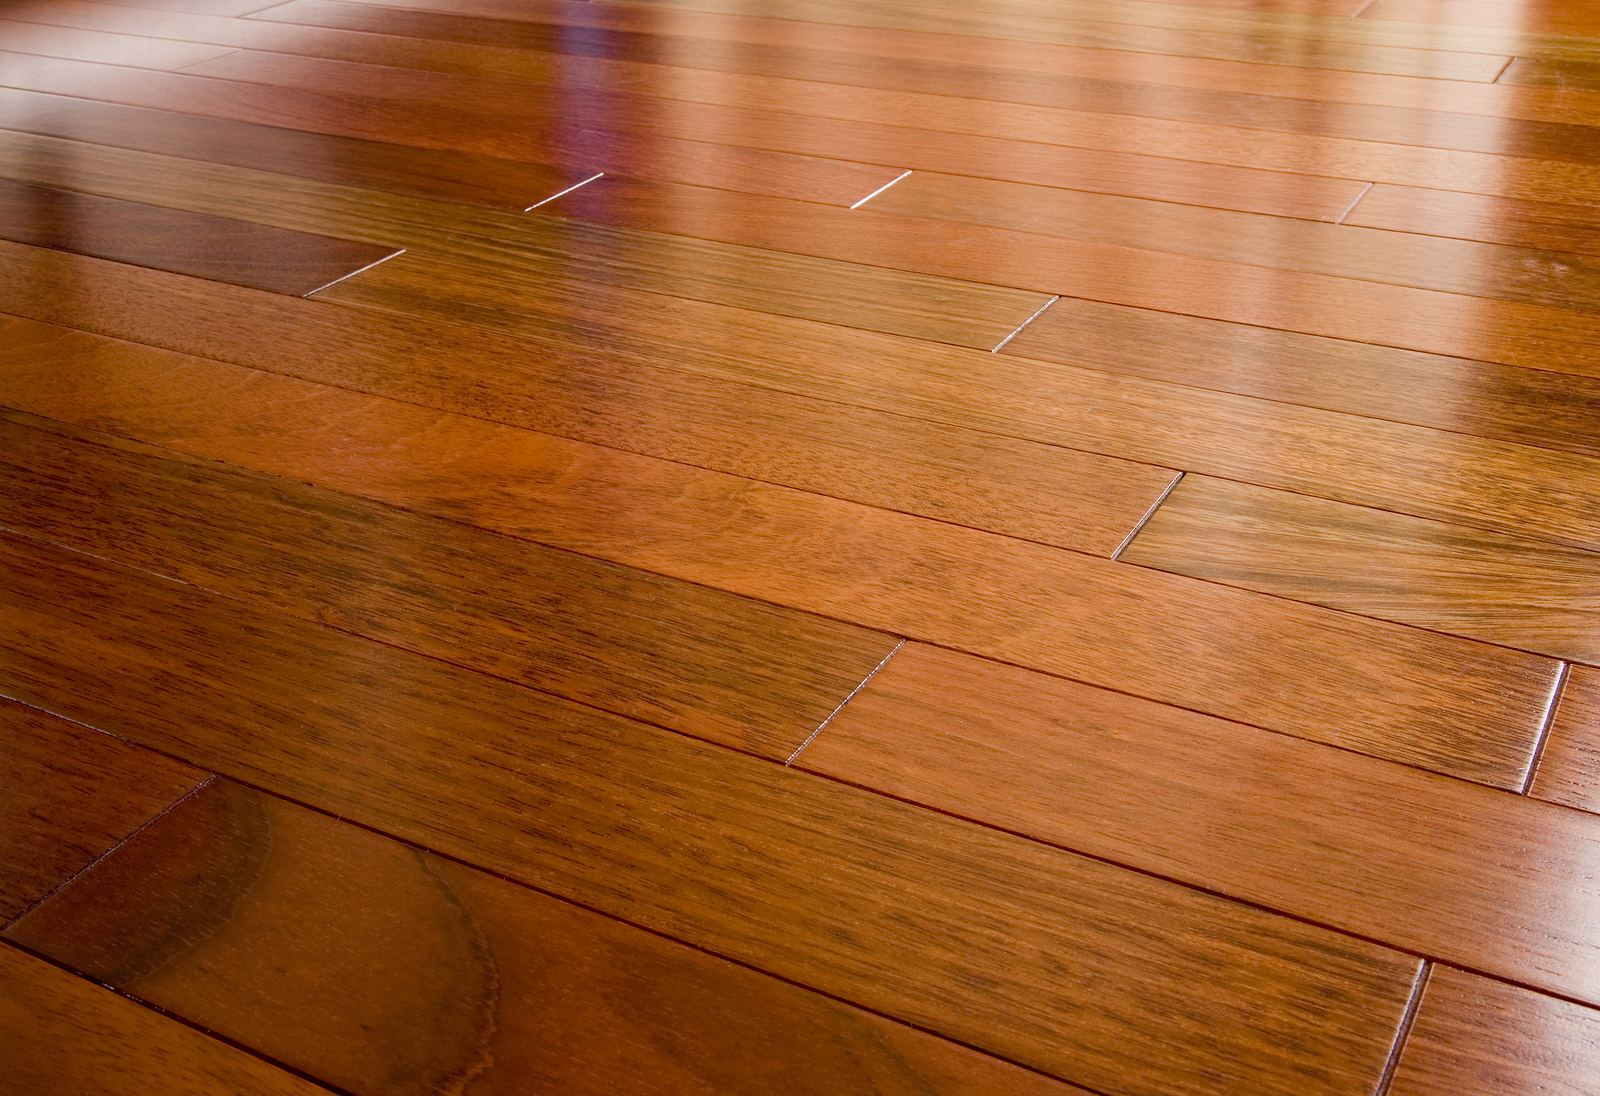
The popularity of hardwood flooring has varied over the centuries. The replacement for the packed dirt flooring of the Colonial Era, hardwood floors were life-changers.

High-end homes had tongue-and-groove flooring while more modest homes’ hardwood floors were laid by nailing the planks directly to the joists.

Fast forward to the post World War II era, when the high cost of carpet could be financed with the home, and carpet soared in popularity. Hardwood flooring companies struggled.

Today’s homebuyers are back on the hardwood-flooring wheel, demanding it as a replacement for carpet.

Hardwood floors installed in the 1930s featured substantially narrower boards–2.25 feet in width as opposed to the common 3.5-foot width of today’s hardwood flooring boards.

Polyurethane was the finish of choice. Depending on the size of the 1930s floor, waxing may be a big job, but it pays off with a good-looking hardwood floor.

Types of wax for the vintage hardwood floor

There are two main types of hardwood flooring wax, liquid and paste. Liquid wax is easier to apply than paste wax but “it needs a couple of coats,” according to The Flooring Lady. Paste wax, on the other hand, “only requires one application.”

Although its application is time-consuming, paste wax brings out the rich wood-tones of the old hardwood floor and offers protection from liquid spills. It also provides a long-lasting finish that holds up well under heavy foot traffic.

A number of manufacturers produce paste wax commercially and it’s available at hardware and home improvement stores and some grocery stores. Several online retailers, such as Amazon.com and AceHardware.com carry paste wax as well.

Application

Removal of all dirt and dust particles before the wax application is critical to its success. Sweep first, then us a dust mop to ensure that the hardwood floor is completely dust-free.

Then, use a wood cleaner (Bona Hardwood Floor Cleaner and Libman Hardwood Floor Cleaner are good choices and readily available) or mineral spirits to clean the floor.

You can even use ½ cup of white vinegar in a gallon of water to clean the floor, according to the pros at Better Homes & Gardens.

You may need to use a scrubbing pad to remove stubborn stains or excess wax. Dust mop again after the floor dries.

Use a piece of white terrycloth or a cheesecloth rag to apply the paste wax, rubbing it into the wood along the grain. Allow the paste wax to dry for an hour and then use a floor buffer to bring it to a high shine.

By the way, if you have one of the floors that was installed with nails, and the nails sink, fill the resulting holes with wood filler. Many large hardware stores sell fillers in different colors to match various hardwood floors.

After the wood filler dries, apply an additional coat of wax. If the hardwood floor is particularly old and scratched or damaged, you may want to sand it and apply a fresh coat of polyurethane or shellac before waxing.

Flooring experts recommend you repeat the process twice a year.

Maintenance

The key to keeping the shine on the 1930s hardwood floor is regular removal of dust and dirt. Small dirt particles grind into the wood, causing microscopic scratches that dull the surface.

Regular dust mopping or vacuuming keeps this from occurring. Use rugs at all the entryways to avoid having dirt tracked onto the floor and a hardwood floor cleaner to keep the surface clean between wax applications.

Tips to get rid of kitchen clutter

The junk drawer. Love it or hate it, most of us have one and most of the time it’s in the kitchen. NPR’s Linton Weeks says they serve “as a Rorschachian reflection of your life.”

That’s rather distressing, isn’t it?

While the garage is the most cluttered room in the house, according to a
Moen® Consumer and Market Insights Group survey of homeowners, the kitchen comes in second, tied with the home office.

Surveyed homeowners complained of mail cluttering the countertops and small electrical appliances hanging around, taking up space.

Weeks goes on to describe the kitchen junk drawer as “The drawer of detritus. The has-been bin. That roll-out repository where you toss your odds and ends.”

And, that’s ok, until the detritus, the odds and ends and the has-been start cluttering the kitchen counters. Let’s look at some ways to bring order to the kitchen.

Acceptable clutter

According to the Moen® survey, some items are considered acceptable clutter. These include dish towels, cutting boards, dish soap, scrub brushes and those small electrical appliances that we often leave out on the counter.

These appliances, if not used daily, really should be put away, in our opinion, especially if your home is on the market. Not only does doing so make the room look less cluttered but it helps free up valuable counter space.

Many professional organizers say, however, that if you use something every day, like the toaster, it deserves a spot on the counter or you’ll drive yourself batty by having to drag it out every morning.

“If you make toast every morning for breakfast, it’ll take roughly 3 minutes to toast your bread. After that, the toaster will sit unused for the next 23 hours and 57 minutes. You use it far less than you think you do,” say others.

Where to put everything

Of course, you’re going to need to pull everything out of every cupboard to get this project done right. Then, you’ll need to figure out the most organized manner of putting everything back.

We love author and baking expert Alice Medrich’s description of how to allocate kitchen space—it’s so very real estate-ish.

She divides kitchen items among three storage areas and calls them:

  • Prime real estate: which includes the counters, utensil crocks and cabinets that are within easy reach
  • Suburbs: a pantry or closet that is located close to the kitchen
  • Outlands: think of these as the rural areas and they include the garage, basement and those shelves or cupboards that you need a stepladder to reach.

She suggests starting with the prime real estate first so you get some instant gratification going. Wherever you decide to start, you’ll be putting things away according to how often they are used.

Seldom-used items should either be stored in another room or placed in the back of the cupboard. You might also want to install shelves to store some of the more decorative but lightly-used items.

Those appliances you use once a month can go toward the middle of the cupboard and anything you use frequently should go in the front.

Make your storage space work harder

A pantry in the kitchen is a major bonus and most of our home-buying clients agree with us on that. The roomier the better, but even a small pantry can be forced to work hard.

The broad “zones” used in the pantry may be baking items, pasta and rice, breakfast items and snacks. Then, organize each of these zones by placing seldom-used food items toward the back of the zone and those used daily in the front.

Use baskets to hold like items, such as plastic wrap, foil and sandwich bags, in one spot.

For additional pantry organizing tips, visit Woman’s Day, Better Homes & Gardens and HGTV online.

4 brilliant tub/shower cleaning hacks

The one thing we think most of us look forward to after a day out in the winter elements is a long, steamy-hot shower or luxurious soak in the tub.

Busy lives, however, put the thorough cleaning of tubs and showers on the back burner, making spending time in them less-than appealing.

We’ve rounded up 4 brilliant hacks to keep your tub and/or shower looking pristine and oh-so-beckoning.

1. Get rid of the grime on the shower floor

When you take a shower, the hot water and soap do a great job of removing oils and perspiration from your skin.

When you step out, feeling clean and refreshed, that soap you used is back in the shower, mixing with the oils from your body to create a mess on the shower floor.

Over time, especially in fiberglass showers, the soap scum/body oils build up, layer upon layer, until the grime is caked on.

Every professional house cleaner has his or her own special recipe to remove this black, greasy grime off the shower floor.

Some of these recipes work well, others not at all. Here is a surefire method to get off even the most caked on gunk.

  • Tide laundry detergent, original powdered formula
  • Sponge or rag
  • Water

Dampen your sponge using water from the sink. Wring it out very well so that it doesn’t drip water.

Pour a handful of Tide detergent onto the shower floor, in the corner. For some reason, Tide is the only detergent we’ve tried that works.

Scrub the pile of detergent in a circular motion. It will spread out as you scrub, so keep moving to a new area.

Add more detergent as you scrub your way around the bottom of the shower. Try not to add too much water as it will interfere with the mild abrasive action of the detergent.

When all of the grime has been removed, rinse the shower stall well.

Warning: It’s critical that you rinse the shower floor extremely well, as the detergent makes the shower floor slippery.

2. How to clean a cultured marble tub

Cultured marble is the result of mixing ground up marble dust with liquid polyester resin. This is then molded into various household surfaces including sinks, countertops and shower surrounds.

Unlike natural marble, which is porous, cultured marble resists stains, making it ideal for use in wet environments, such as the bathroom.

To avoid the build-up of mineral deposits on cultured marble, use a squeegee or soft towel to dry it after each shower.

After thoroughly drying it, spray the cultured marble surfaces with white vinegar. Allow the vinegar to remain on the surfaces for 45 minutes.

Wipe the vinegar from the cultured marble shower stall with a clean sponge dipped in clear water. If spots remain, repeat the procedure.

Never use abrasive products, such as cleanser, or abrasive scrubbing materials on cultured marble.

To restore the shine to cultured marble, the pros at centralmarbleproducts.com suggest using a product such as Gel-gloss, or wax. Follow the instructions on the package and repeat once a year.

3. Clean that grungy ceramic tile

Ceramic tile showers are lovely when they are gleaming clean. To get them that way takes diligence and a good deal of elbow grease, in some cases.

It takes time to train yourself and family members to perform the routine maintenance necessary. Once this becomes a habit, you will avoid having to do a major cleaning or renovation job on your tile shower.

Here’s what you’ll need to get that ceramic tile looking new again:

  • Towels
  • Commercial bathroom cleaner
  • Alkaline-based tile and grout cleaner
  • Ceramic tile and grout sealer

Wipe the ceramic tile dry after every shower. This helps avoid fungus build-up on the grout and mineral deposits on the tile.

Spray a commercial bathroom cleaner, labeled for use on ceramic tile (Bona and Black Diamond Stoneworks are good for ceramic tile), on the shower walls and floors if they have soap scum or body oil built up.

Allow the product to remain for 5 minutes and then wipe away with a sponge. Rinse the ceramic tiles with clear water until there is no trace of the cleaner and then use a soft cloth to dry them thoroughly.

Use an alkaline based tile and grout cleaner to remove mold or mildew from the ceramic tiles in the shower.

Follow the label instructions and apply it at the rate and in the manner suggested. Do not use vinegar as it can dissolve some ceramic tile finishes, according to Mark Donovan, CEO of Home Addition Plus.

Apply a ceramic tile and grout sealer at least every two years.

4. Acrylic tub woes?

Acrylic tubs are common household features with or without whirlpool attachments.

An acrylic finish is glossy and stain-resistant but it isn’t as tough as porcelain, so it requires frequent cleaning and extra care when doing so, to avoid the buildup of soap scum and body oils.

Wipe down the tub after each use with a soft, dry cloth. You can also use a squeegee.

Use non-aerosol cleaners to remove built-up grime. Kohler recommends Lysol Bathroom Cleaner or Tilex Bathroom Cleaner. Do not use an abrasive scrubber on the acrylic tub.

A rag or sponge is ideal. Use the products according to the label instructions, rinse and wipe dry after cleaning.

Maintain the acrylic finish by applying paste wax to the sides. Do not wax the floor of the tub.

Apply the wax as you would if you were waxing a car, in a circular motion. Wipe off the wax after the recommended amount of time and then buff with a soft cloth.

Happy showering!

Easy growing house plants

After a few tries at indoor gardening, many people give up, assuming the thumb just isn’t green enough.

The problem usually boils down to having chosen a high-maintenance plant and giving it low-maintenance care.

We agree that having a plant in the house shouldn’t be like having another child around that you have to fuss over and take care of. Thankfully, there are many carefree, easy to grow indoor plants.

If you have children and pets in the home, ensure that whichever plants you choose are safe. You’ll find pet-safe houseplants listed at Gardenologist.org and those safe for children at Parents.com.

Heart-leaf Philodendron

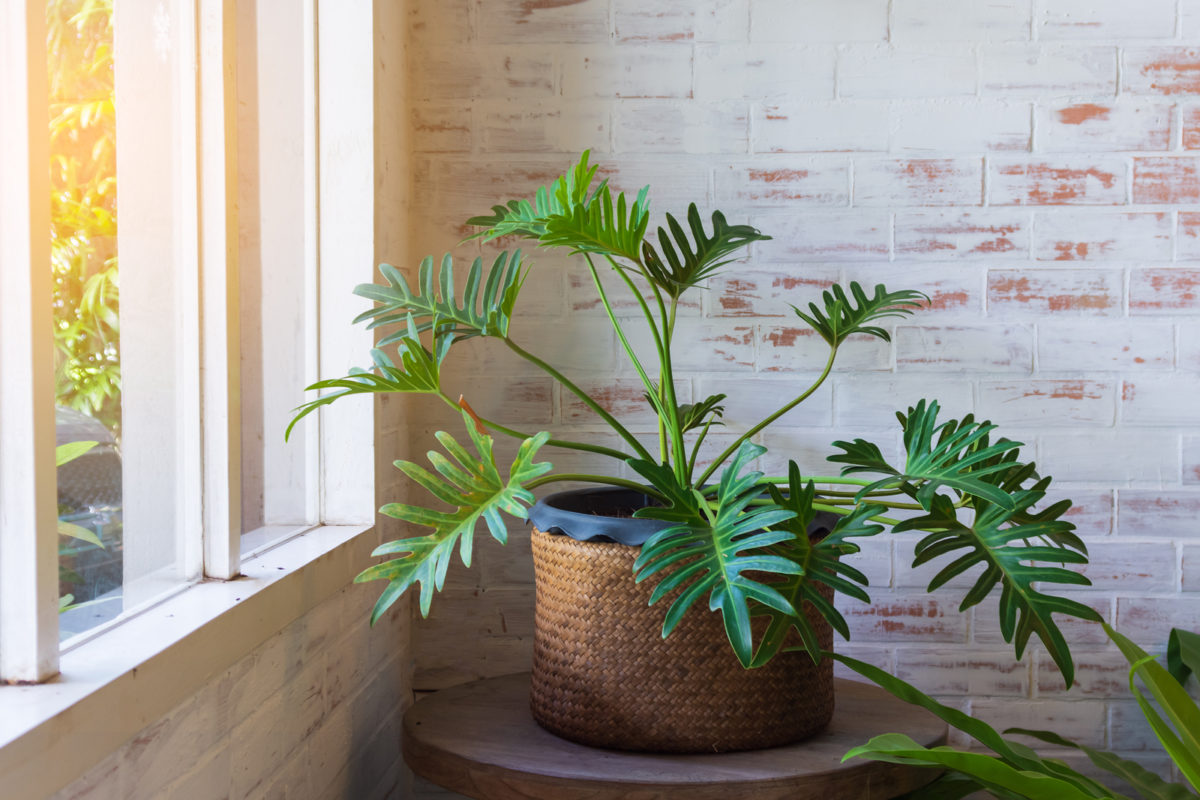
The heart-leaf philodendron (Philodendron hederaceum) is a hardy, tropical vine that loves to climb the walls. You can put it in the sun or in the shade and it won’t matter, it will still thrive. However, it prefers a light area, out of full sun.

When you find the ideal location in the home, the plant will pay you back with deep green, heart-shaped foliage.

Moist soil is the only demand from this plant and, even with that, it can be quite forgiving. Some growers swear that theirs grow better when they allow the soil to dry to about halfway down the pot.

While it’s actively growing, fertilize the heart-leaf philodendron once a month with a houseplant fertilizer, but dilute the fertilizer to half the recommended strength.

When winter rolls around, cut back on watering (allow the soil to dry out more than you do in spring and summer) and stop fertilizing until spring. Then, when you notice new growth, resume fertilizing.

Peace lily

The peace lily (Spathiphyllum wallisii ‘Clevelandii’) is a very pretty plant that prefers a bit of light, but it’s one of the most popular houseplants for its ability to thrive in the darkest corners of the home.

Allow the soil to dry out before watering, make sure the room temperature doesn’t drop below 55 degrees and your peace lily will be healthy. The peace lily rarely requires fertilizer.

As an added bonus, the peace lily helps to clean the air of potentially harmful gases, according to NASA.

There is one major downside to growing the peace lily indoors: it is toxic if ingested. If you have children or pets that like to munch on houseplants, this isn’t the one for you unless you can keep it out of their reach.

Jade

Jade (Crassula ovata) is one of the most popular succulents grown indoors, most likely because it’s so very easy to grow.

It does like light, but it doesn’t have to be direct sunlight. Any somewhat- sunny window is fine.

If you plant the jade in the appropriate medium (commercial cactus mix is ideal), this is one of those plants you can put on the counter in the kitchen or bathroom and forget about it.

It needs good drainage, so if you don’t use commercial cactus mix, plant it in a mixture of  sand and peat moss. Take care not to overwater the plant. Watch the leaves and if they start to shrivel, it’s time to water again.

Palm trees

Yes, there are palms that are not only easy to care for, but do well indoors. The kentia palm (Howea forsteriana) likes direct light but will tolerate lower light.

This is a palm that doesn’t need too much moisture either, just water when the top inch or two of soil is dry. You will want to fertilize the kentia in spring and again in summer. Use a fertilizer labeled for palms, with an 8-2-12 analysis.

Ensure the fertilizer also contains minor nutrients such as magnesium, sulfur and iron. Follow the instructions on the fertilizer label and always apply fertilizer to moist soil.

As a rule of thumb, apply fertilizer granules at a rate of 1 tablespoon for a 6-inch pot, 3 tablespoons for a 10-inch pot and ½ cup for kentia in a 14-inch pot.

If you are looking for a palm tree that will thrive in a little less light than the kentia, the lady palm (Rhapis excelsa) might be worth considering. It has similar watering needs and does better without fertilizer, so it’s truly a low-maintenance plant.

10 ways to transform your home

Home improvement projects can not only be fun, but they add value to your home as well. Whether you’ve decided to add improvements to your home before it goes on the market or are planning improvements to your new home, here are some creative ways to add sparkle.


1. Window Treatments

Because windows are such a focal point, it pays to decorate them. It’s amazing what a simple curtain or valance can do to change the atmosphere of a room.

Your bedroom can be transformed with sumptuous drapery fabrics.  A kitchen can become a country charmer or sleek and modern with the addition of the appropriate window treatments.

Walk through your local fabric store to find fabrics that suit your decorating taste.  If you’re handy with a sewing machine, all the better.  Simple curtains and drapes are easy to make (check out this YouTube video walk-through) and will save you a lot of money.


2. Paint and Wallpaper

Painting a room not only adds an air of freshness but can serve as a backdrop for your decorating ideas. If your home is on the market, your color choices are limited as its best to stick to neutral colors.

If the home is one in which you plan to stay for some time, don’t be afraid to experiment with your favorite colors.

TIP:  If you are decorating your home because you’ll be selling it, stay away from wallpaper. Patterns are a matter of personal taste. If you currently have wallpaper in the home it will need to be stripped and the walls painted.

3. Area Rugs

Area rugs are so versatile. Use them to accent a seating area or to add color, texture and a hint of personality to a room. Area rugs can also be used to delineate “zones” within a room.

There are “rules” about the size and placement of area rugs to get the most impact. LampsPlus offers a tutorial at YouTube and find additional tips at PotteryBarn.com and HGTV.com.


4. Furniture

New furniture, such as a sofa or other seating, can dramatically change the look of your living room. If there’s no room in the budget for new furniture, gently used items are widely available both online and at consignment stores.

If you’re budget is really squeezed visit a thrift store, such as Salvation Army. Sometimes you can find pieces that can be slip-covered.

5. Rearrange Existing Furniture

Find the focal point of your room, usually an interesting architectural element, a fireplace or a view from the window. No, the television is not a focal point. Then, rearrange your furniture to take advantage of the focal point.   

Learn more about decorating around a room’s focal point at RedHouseStaging.com, FreshHome.com and TheCasaCollective.com.

6. Fun with room functions

It isn’t written in stone that a bedroom has to be a bedroom. If you don’t need a guest room or already have one, why not transform a bedroom that isn’t being used into an office, a gym, a library or even a theater room?

A formal dining room that never gets used can easily become a family room.

7. Bedroom Linens

Bedrooms can be so much more than repositories for a weary body after a hard day’s work. Wouldn’t it be wonderful to come home to an oasis in the middle of a hectic world? 

Bedroom linens are the first step in creating this relaxing atmosphere. From comforters and duvet covers with matching bolsters and pillows to bedspreads with dust ruffles, your bedroom can easily be transformed into your refuge.


8. Lighting

Lighting is one of the decorating items most overlooked by many homeowners. Reading lamps, floor lamps and under-cabinet mounted strip lighting can all add beauty and function to your home.

Large or unusual lighting can also become a room’s focal point.

TIP: If you’re redecorating to sell the home, add more lighting. You can never have too much when a home is on the market.

9. Artwork

If a piece of art speaks to you, if you enjoy looking at it, then buy it. It doesn’t matter if it’s an inexpensive reproduction or an expensive original, art is a personal preference.

Art is fun, too.  Groupings of small photos or paintings can enliven any wall. Large pieces over a sofa can enhance the atmosphere in your living room.

The trick to hanging art work, even groupings, is to place it so that the center of the piece is at eye level.

And, don’t limit yourself to using only photos and paintings on the walls.  Artwork can be anything from antique plates to your grandmother’s handmade quilt. Mirrors, in groupings or one dramatic piece can make a room appear larger.

10.  A touch of the outdoors

Houseplants add color, texture and charm to a home’s interior. Some even help keep the air clean, according to NASA.

You’ll find houseplants that thrive on neglect and some that will bloom even in dark, shady corners. Yes, there are the divas of the plant world – those that require exacting care but will pay you back with amazing beauty.

MiracleGro.com and BHG.com offer tips on how to choose the right plant for your home and Gardenologist.org offers a brilliant list of “80 Pet-Safe Houseplants.”

Create your dream patio in just 5 steps

Wisteria blooms elegantly along the back fence, temperatures are gradually nudging their way up, grilling season is oh, so close and you’re ready to give your patio or balcony a shot of pre-summer sprucing.

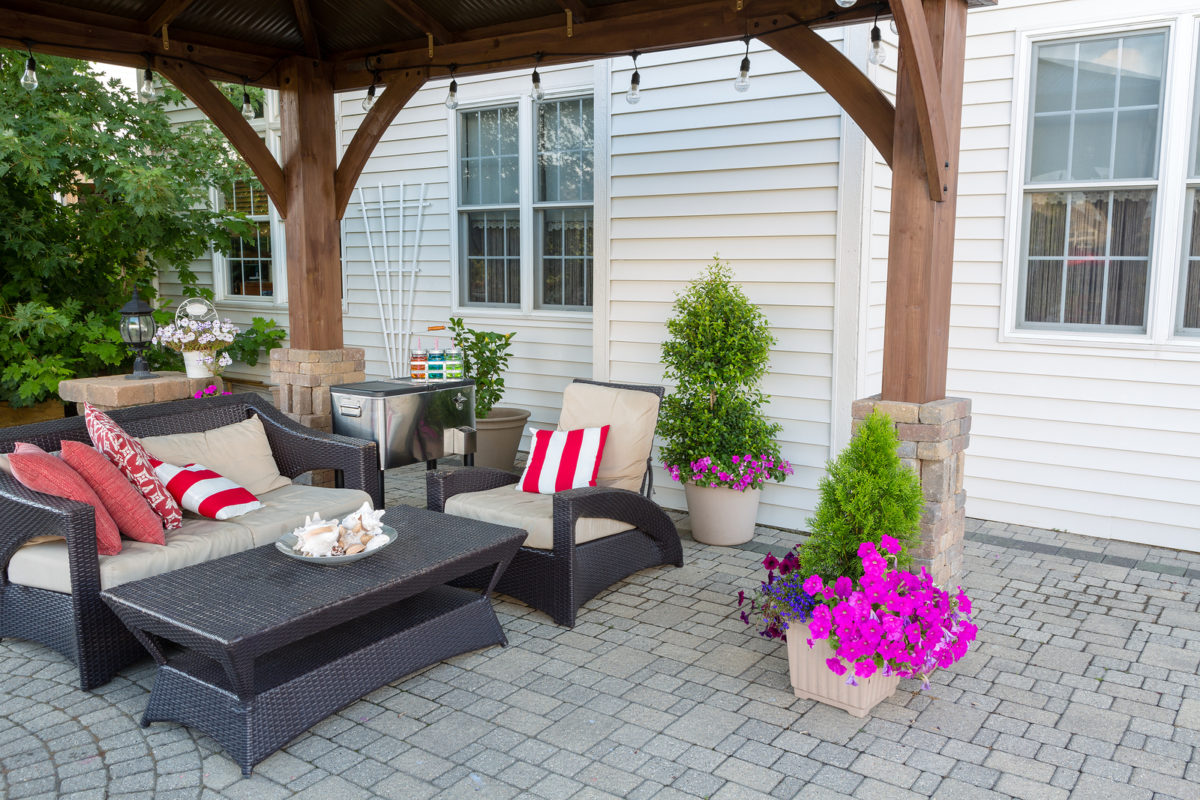
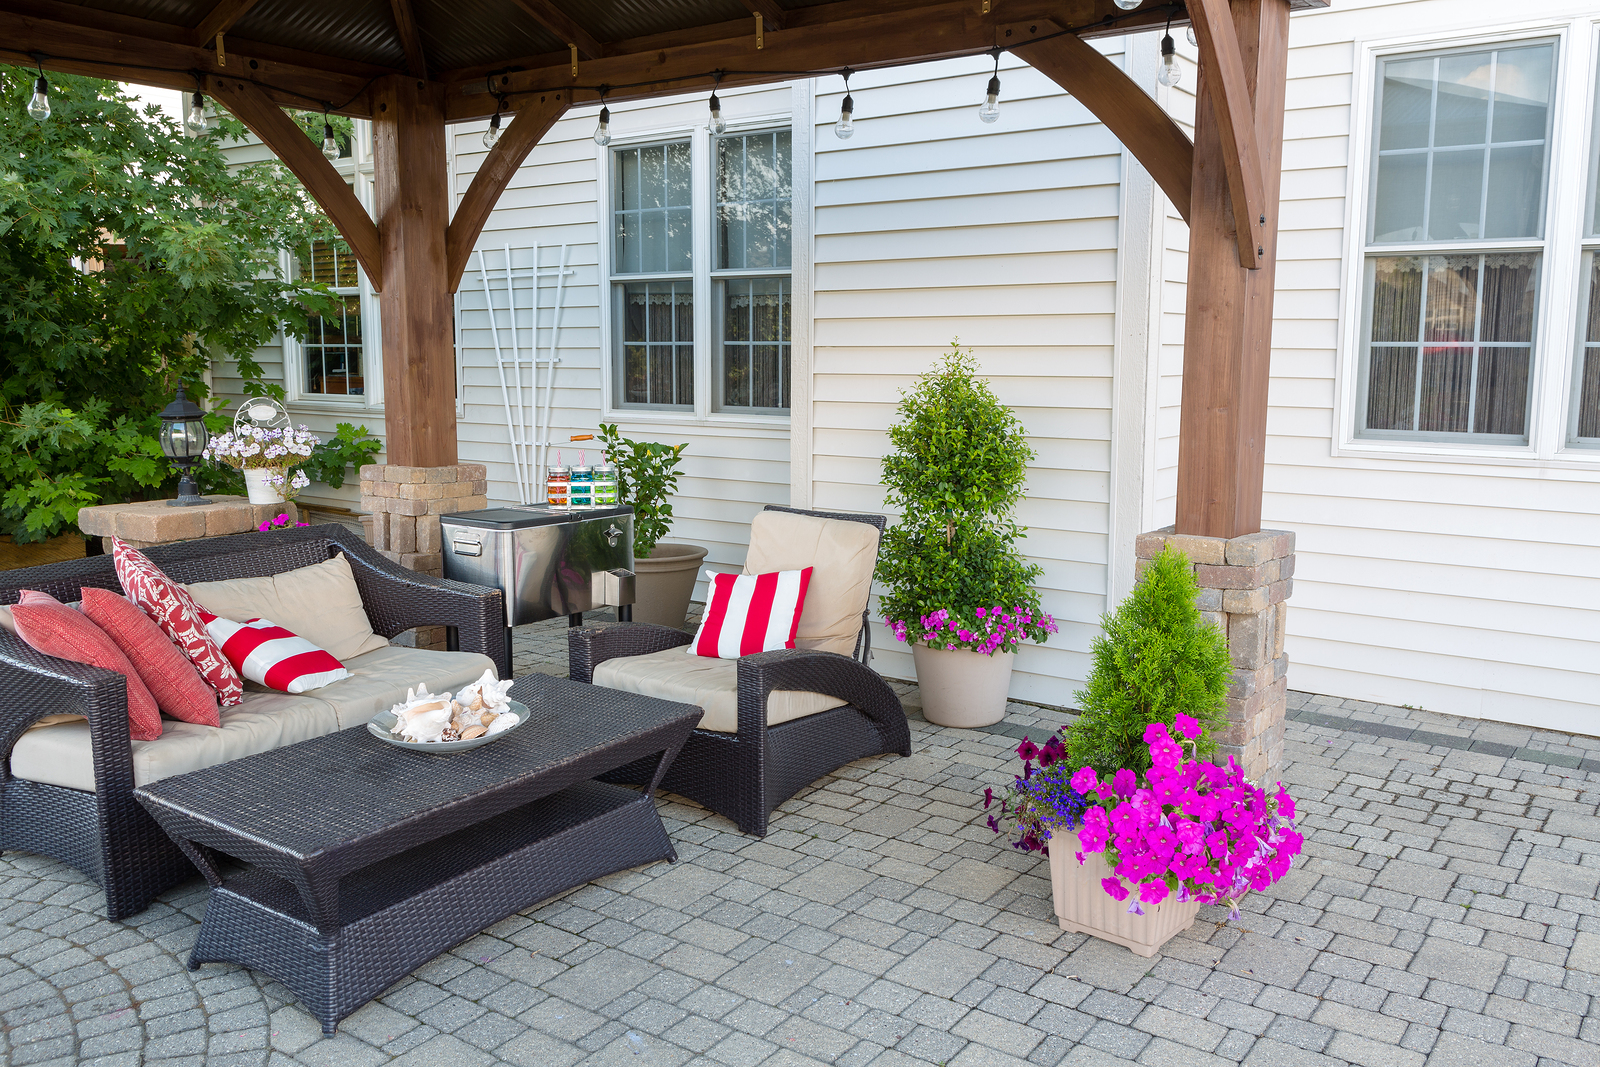
Few things in a busy life feel more luxurious than breakfast on the patio, deck or balcony on a gorgeous spring or summer day, so it’s worth the investment in time, a bit of money and elbow grease to create the patio of your dreams.

This week we offer up 5 steps to get your patio ready for the outdoor-living season.

1. Restore or replace?

If your patio furniture isn’t too terribly shabby, consider restoring it to its former splendor. It’s an easy and inexpensive DIY project, especially if the pieces are made of wood. Wicker or metal furniture are good candidates for restoration as well, but they’ll take a few extra steps.

Use a wire brush or sandpaper to rid metal furniture of built-up grime and rust, thoroughly clean wicker furniture and allow to dry. Then, slap on some gorgeous paint.

The Wicker Woman walks you through the process of painting wicker furniture here. Restoring wood furniture is a snap and you can learn how at Today’s Homeowner.

Need to buy new patio furniture? You can find it at bargain prices at Craigslist.org.

2. Cushions?

It does you no good to refurbish the furniture if you plan on topping it with worn, ratty cushions. New cushions or pillows will add a pop of color and texture. They don’t have to be a budget buster either. Ikea and Walmart carry reasonably-priced cushions.

Prefer to shop online? Check Lowes.com, Amazon.com or Overstock.com.

3. Provide some shade

Your patio will need a shady spot in which to escape the summer sun and there are several brilliant ways to provide it.

If you have money to burn, check out retractable awnings that will cover your patio.  Home Depot and Costco offer them. Read up on the pros and cons of retractable awnings at AngiesList.com.

If you’re on a budget, consider shade sails, which you can purchase at the major home improvement stores or online at retailers such as Coolaroo. Even an inexpensive umbrella can provide shade for people and/or plants.

Need some inspiration? Check out these cool ideas on Pinterest.

4. Water and summer – the perfect pairing

Every patio oasis needs some sort of water feature. Waterfalls and fountains are the most popular and you don’t need an elaborate electrical and irrigation system to build one.

Many of today’s fountains are solar-powered, so you won’t need to perform a major electrical system hack to accommodate them either.

Check out the selection at wayfair.com.

Need inspiration? Find it on Pinterest.

5. Light it up

Is there anything better than al fresco dining? And, no, you don’t need to visit our high-end eateries to experience it.

Once your patio is whipped into shape, all you need to do is add lighting to provide the perfect ambiance.

Get ideas on pinterest.com, hgtv.com and yardenvy.com.

If you live in a condo, the board may have restrictions on what you can do with your balcony or patio, so check with them before spending any money.