Real estate experts recommend focusing on the essentials for your first home. For living spaces, prioritize comfortable seating and proper lighting. In the kitchen, quality appliances and effective storage solutions are key. When it comes to your bedroom, invest in good bedding and an efficient closet system. Guarantee that your bathroom has quality fixtures and user-friendly accessories. Create a pleasant outdoor space with weather-resistant furnishings. Prioritize safety with fire prevention measures and home insurance. Each space in your house has specific needs, and uncovering further insights will help you maximize your comfort and the home’s functionality.
Understanding Your Space
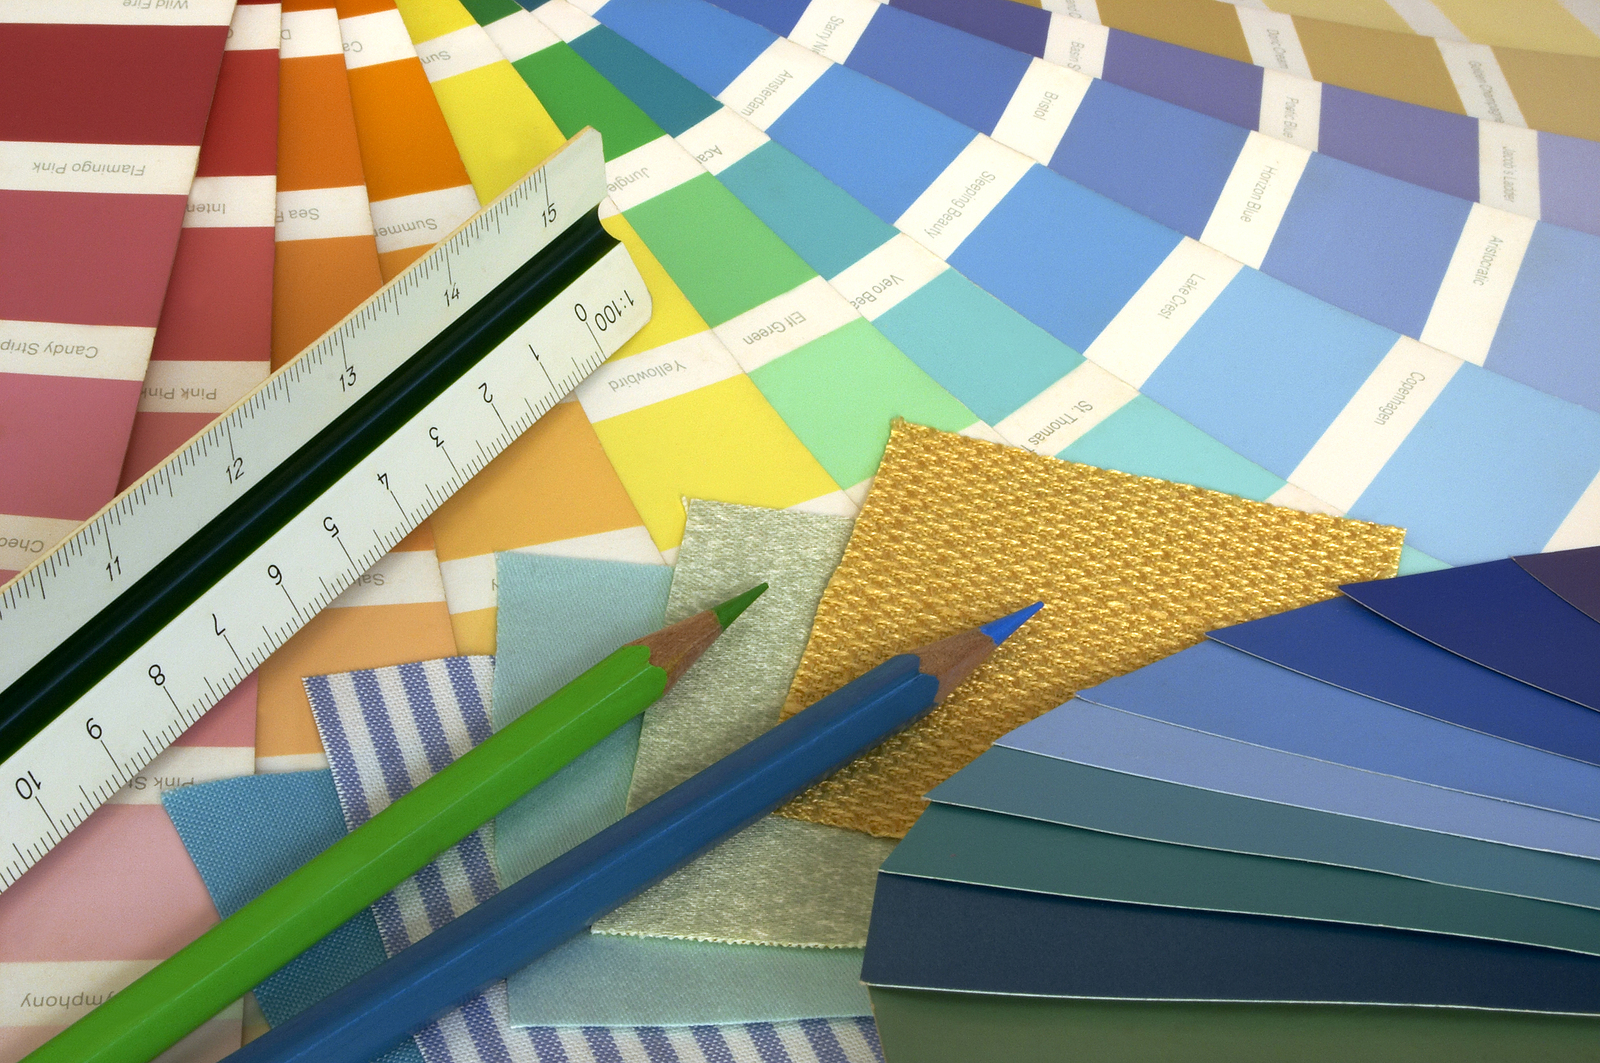
Before delving into decor and furniture purchases for your new home, it’s vital to understand your space, evaluating its layout, flow, and functionality. This important step, often overlooked, directly impacts your space utilization and influences your design decisions. To start, analyze your floor plan. Observe how rooms connect, where doors and windows are positioned, and consider the flow of movement. This gives you an understanding of how you can utilize the space effectively. It’s not just about how much space you have, but how you can maximize its usage. Next, consider the function of each area. A room’s purpose profoundly influences the design. Is it a place for relaxation or work? Will there be heavy foot traffic? These considerations guide your style choices and furniture placement. Lastly, think about the natural light. It’s a design influence that can transform a room, affecting the color palette and mood. Rooms with generous sunlight might benefit from cool, light-absorbing colors, while darker spaces may require brighter hues and additional lighting. Consider the space for kids, if you have any, as important as choosing a new light. The kids can run around comfortably. Understanding your space isn’t just practical; it’s pivotal to creating a home that’s both beautiful and functional.
Essential Living Room Items
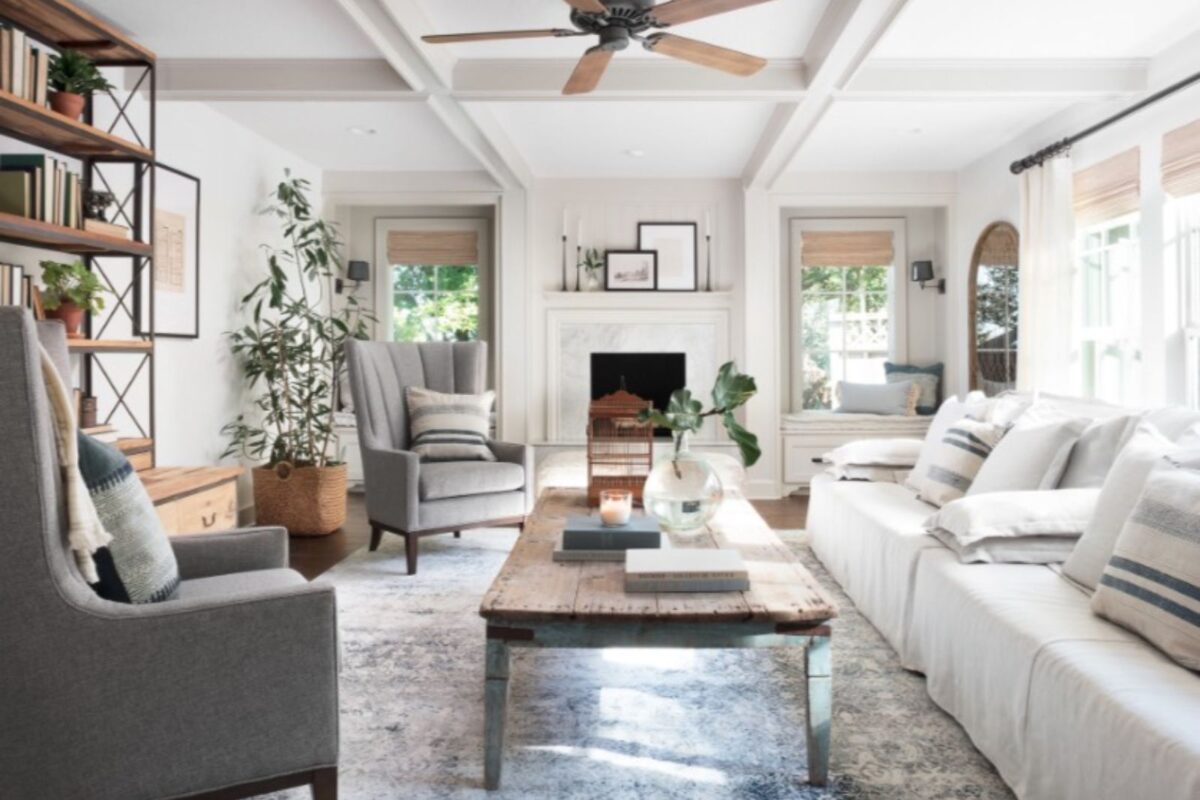
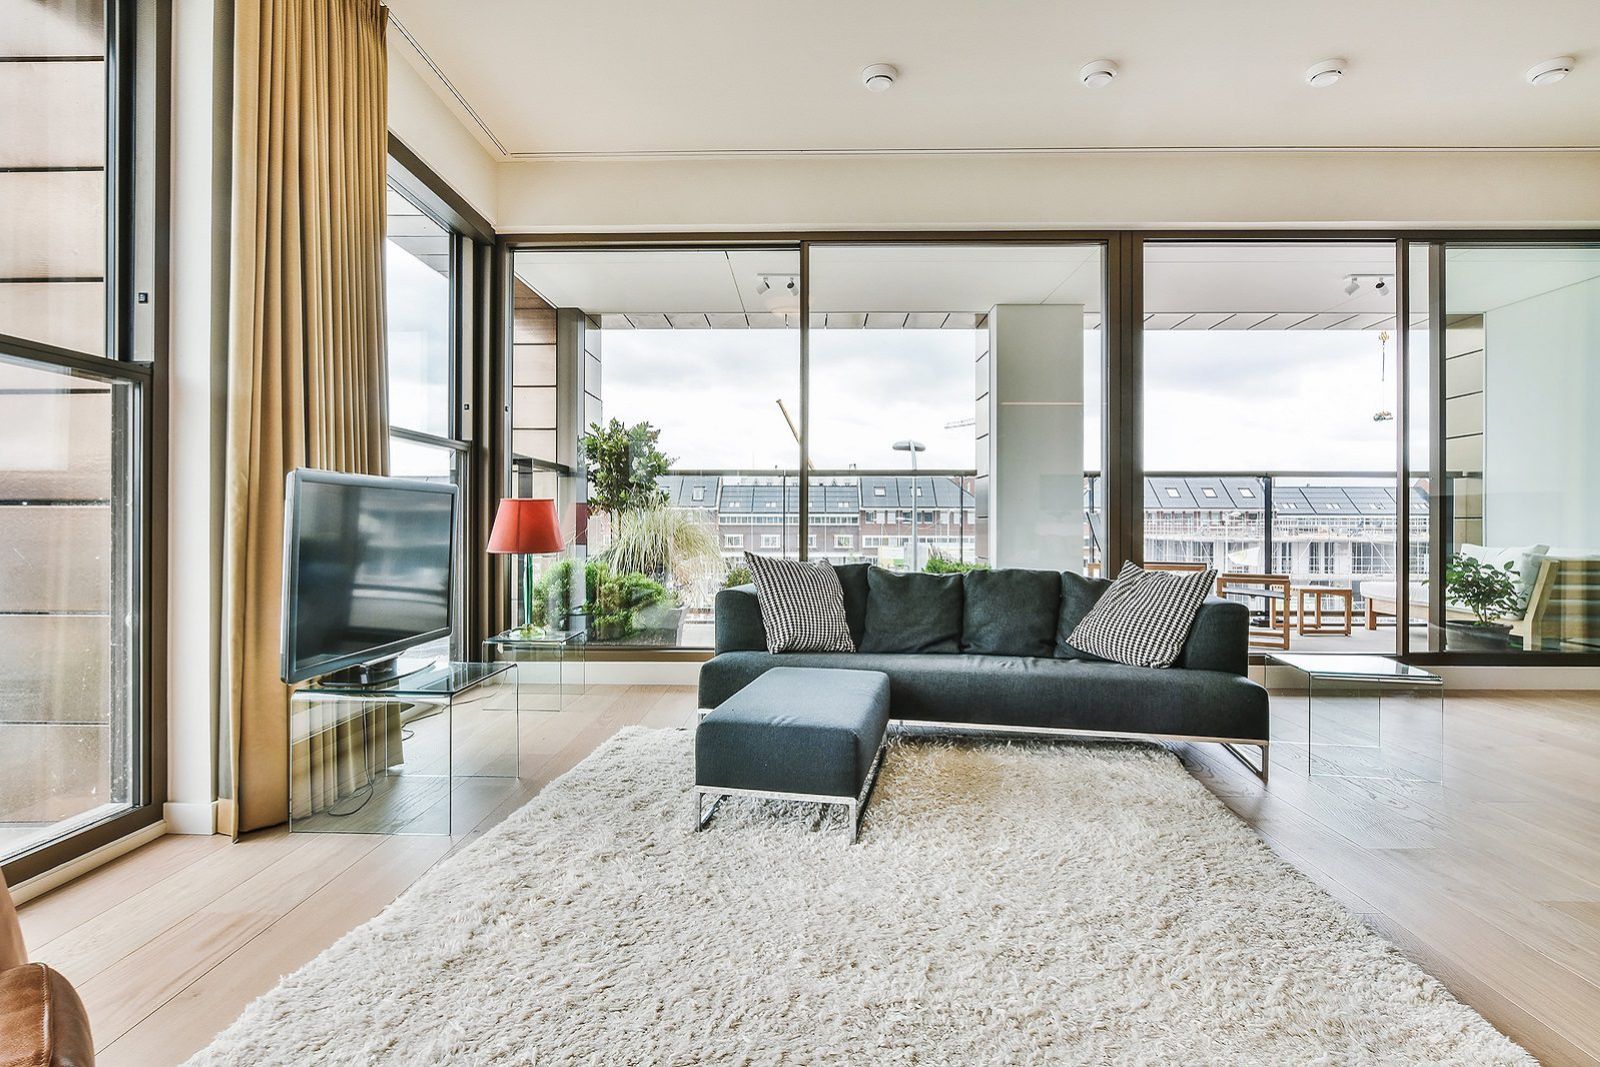
Shifting our focus to the living room, it’s essential to contemplate both cozy seating and suitable lighting. You’ll want to choose furniture that not only complements your style but also provides comfort for daily use. Similarly, lighting should enhance the room’s ambience while also offering functional illumination for activities.
Choosing Comfortable Seating
When setting up your living room, prioritizing comfort in your seating choices can make a world of difference in creating a welcoming and relaxing space. Consider seating ergonomics, which involves designing furniture that supports good posture and reduces strain. Versatile furniture, which can adapt to different uses and layouts, is also a smart investment. Invest in a quality sofa because, when mentioning a new house, a sofa is the first thing to buy for your first home. It’s where you’ll unwind after a long day, so don’t skimp on comfort. Incorporate ergonomic chairs that support your back and encourage good posture. Opt for versatile pieces like ottomans or poufs that can function as extra seating, footrests, or even makeshift tables. Making thoughtful choices in your seating can truly transform your living room into a haven of relaxation.
Selecting Appropriate Lighting
Lighting, an often overlooked element, plays a pivotal role in enhancing the aesthetics of your living room while also ensuring its functionality. When selecting lighting for your living room, you should contemplate the types of activities that will take place in the room. This will determine the kind of lighting aesthetic you’ll need, whether it’s ambient lighting for general illumination or accent lighting to highlight certain features. Energy efficiency is another vital aspect to contemplate. Choosing energy-efficient bulbs not only reduces your electricity bill but also contributes to environmental sustainability. Therefore, selecting appropriate lighting involves a careful balance between aesthetics, functionality, and energy efficiency. These elements combined can transform your living room into a well-lit, comfortable, and energy-efficient space.
Kitchen Must-Haves
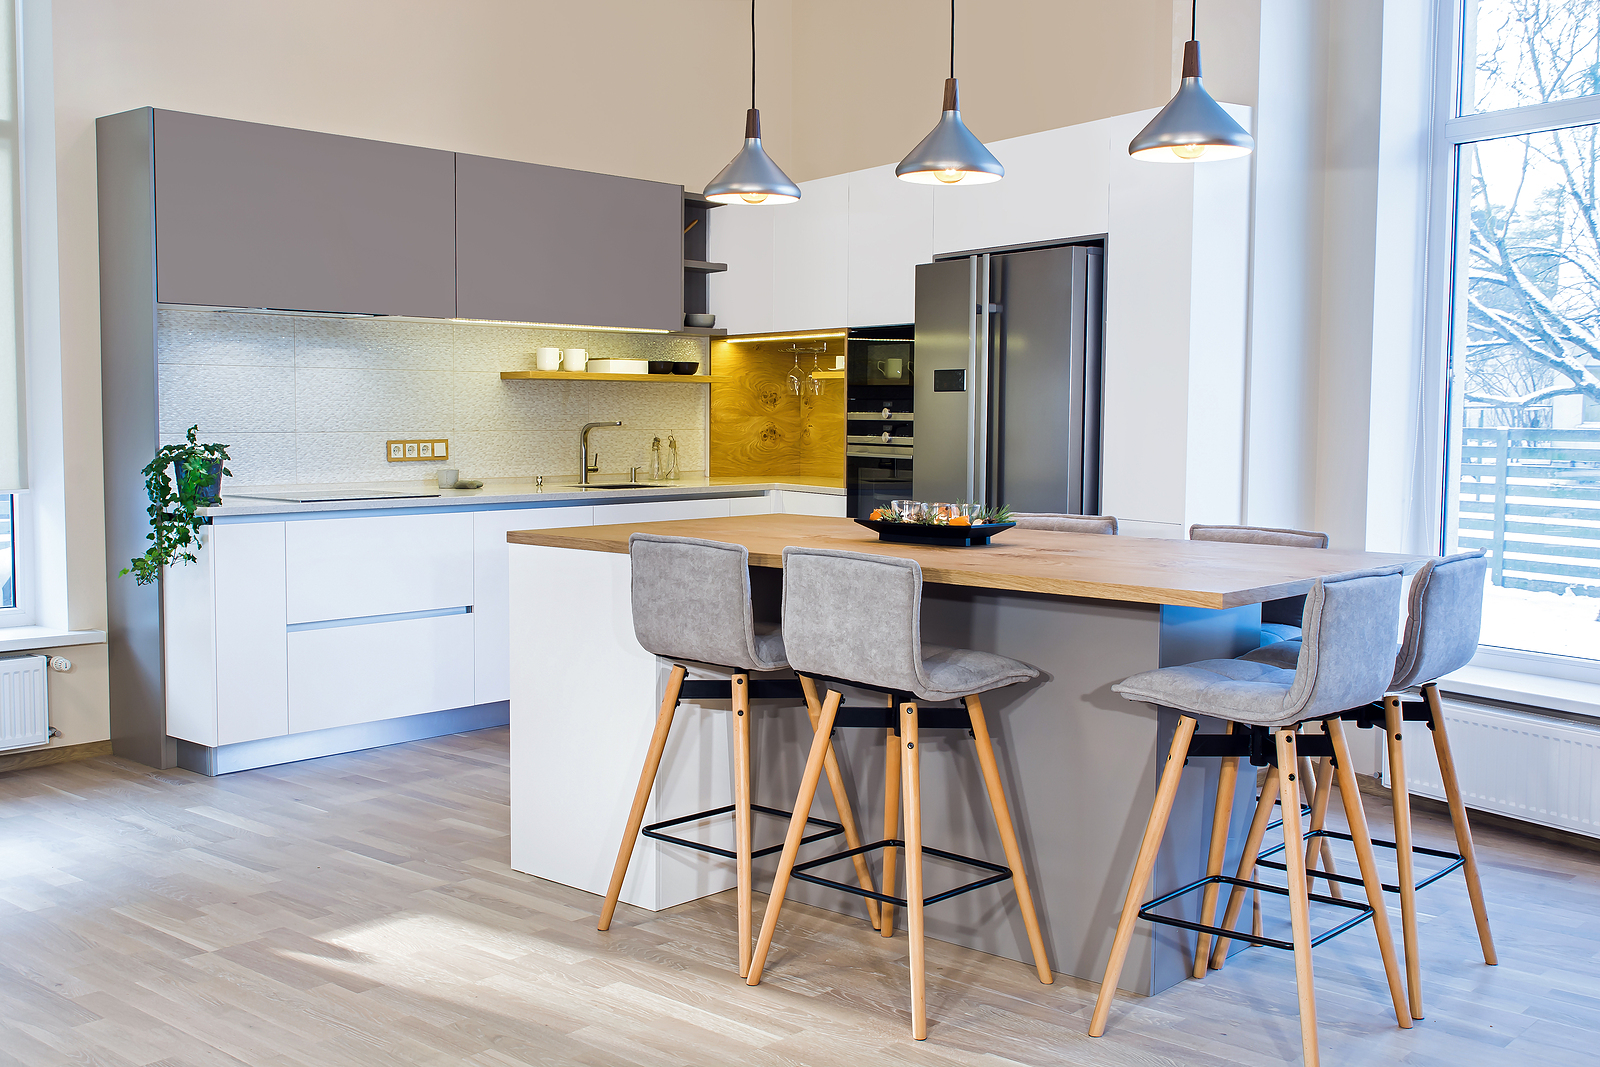
Stocking up your kitchen with essential items is a significant thing to buy for your first home and also a step in making your first home feel complete and functional. One of your first tasks should be the cooking utensil selection. It might be tempting to buy a full set, but you’ll likely only use a handful of them regularly. Opt for a sturdy, high-quality chef’s knife, a silicone spatula, and a set of stainless steel measuring spoons and cups. Next, you’ll need to navigate the Kitchen Appliances Guide. To start, consider these three appliances:
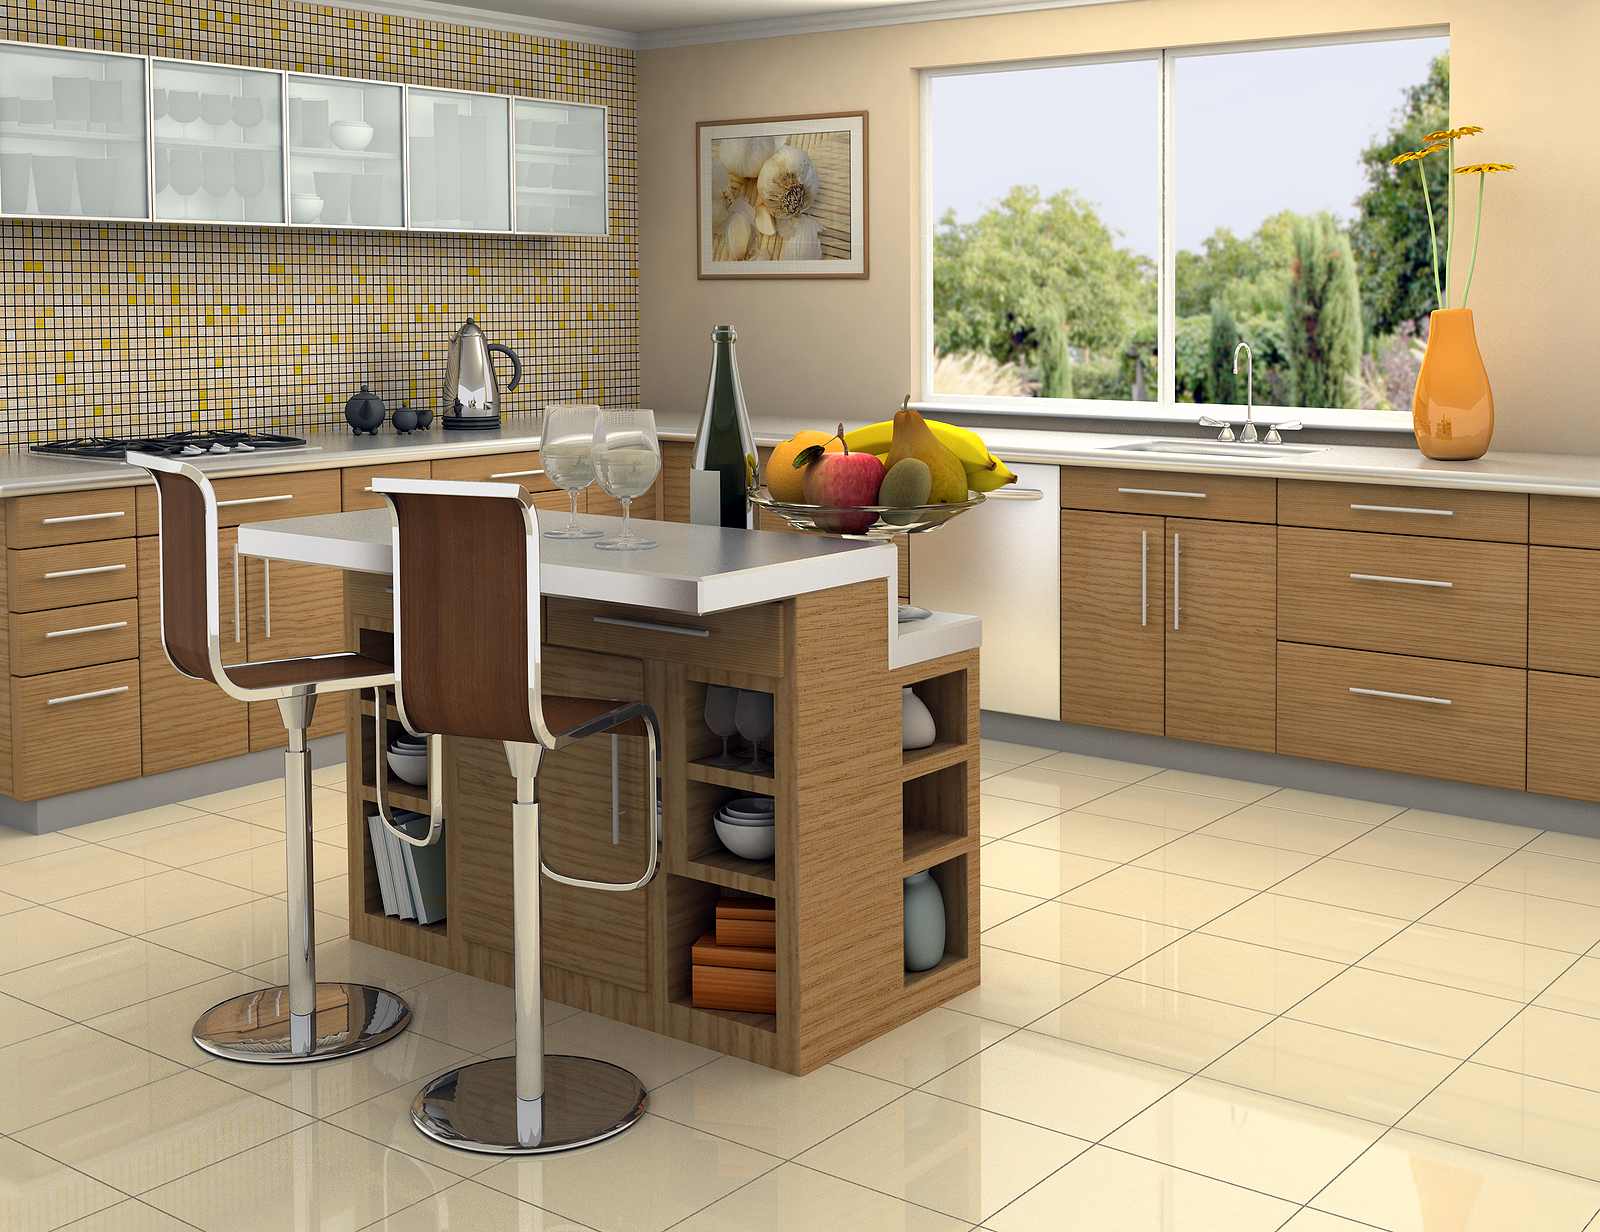
- A fridge: the heart of your kitchen, where you’ll store your perishables.
- A Stove and Oven: Whether you’re a novice or a seasoned cook, this is a non-negotiable.
- A microwave: for those nights when you just want a quick, easy meal. Lastly, don’t forget about storage solutions. A pot rack or a pegboard can help keep your space organized. Remember, it’s not just about filling your kitchen with stuff. It’s about selecting items that make your kitchen work for you.
Design a kitchen that is convenient for your cooking purposes. The household appliances mentioned above and kitchen cleaning tips are also really great for a new home!
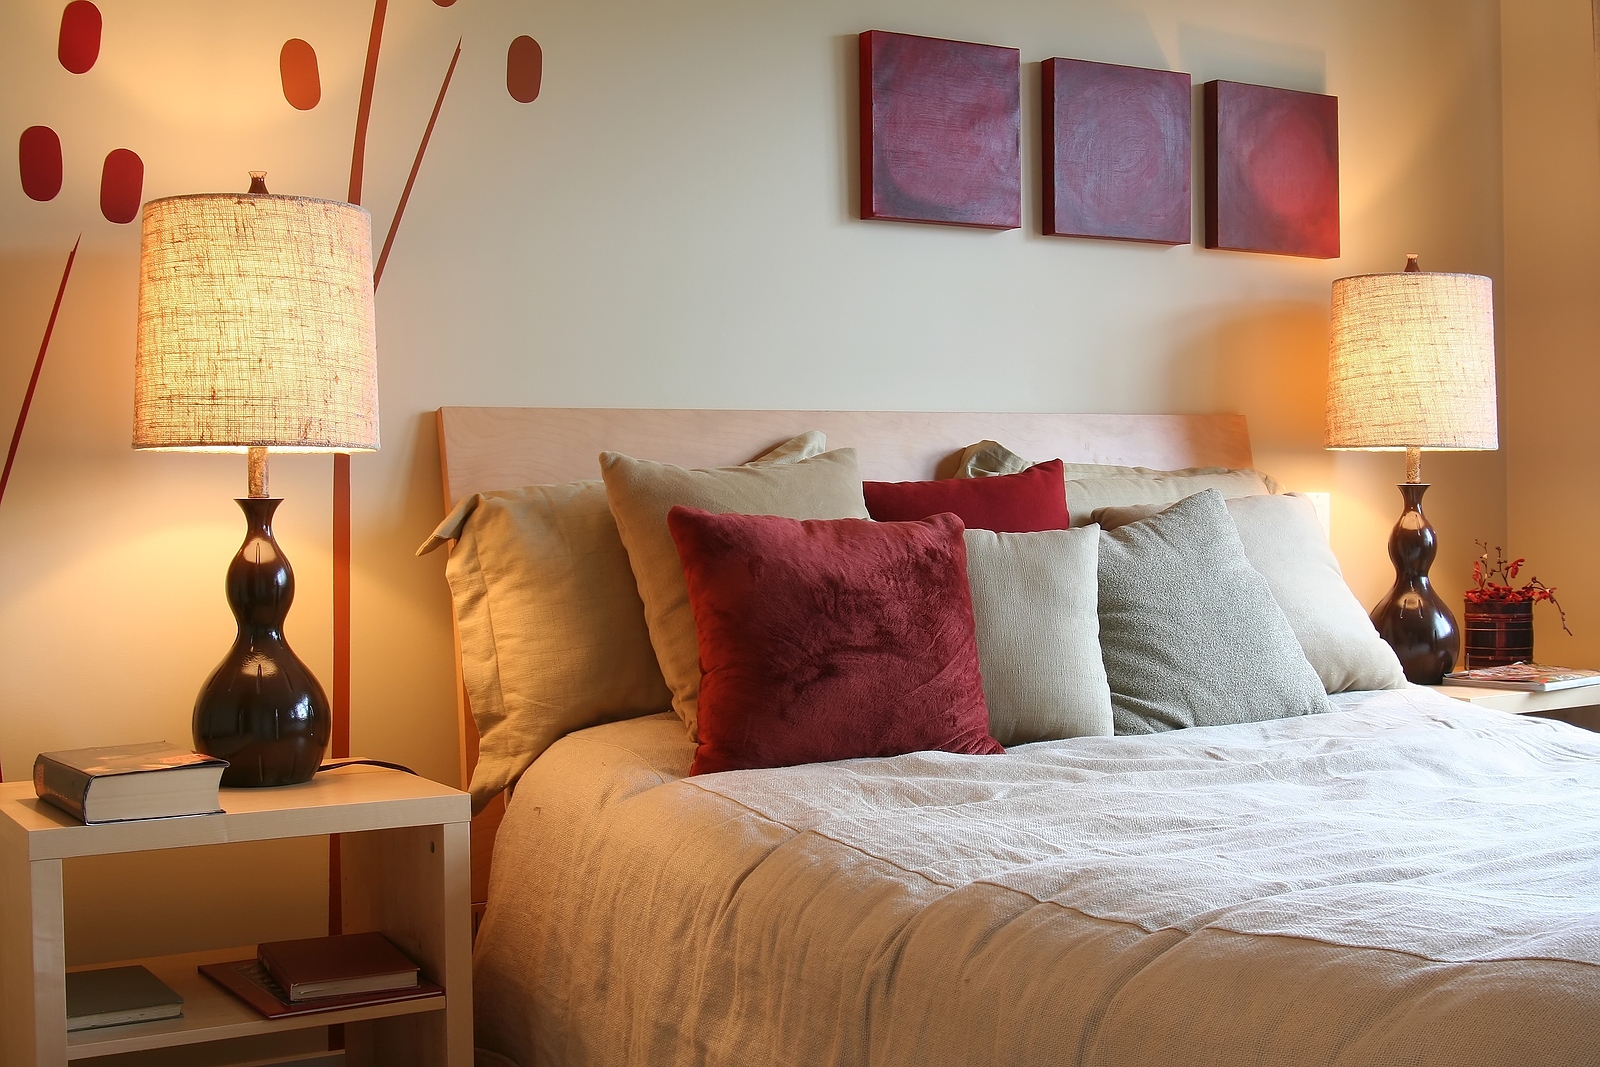
Bedroom Basics for Comfort
Moving on to the sanctuary of your home, your bedroom, it’s essential to curate a space that maximizes comfort and facilitates restful sleep. Begin with bedding options. You’ll want to invest in quality items that enhance your sleep experience. While preferences vary, a comfortable mattress, soft sheets, and supportive pillows are non-negotiable. In terms of closet organization, remember, a clutter-free environment contributes to a peaceful ambiance. Invest in hangers, dividers, and storage boxes to keep your clothing, shoes, and accessories neatly arranged. Closet systems or organizers can be an excellent option to maximize space usage efficiently. Also, consider the importance of lighting. A dimmer switch allows you to adjust the brightness according to your needs, promoting a calm environment before sleep.
Bathroom Necessities
Arranging your bathroom might seem simple, but there’s more to it than you might realize. Key fixtures and essential accessories play a vital role in functionality and comfort. Let’s move on to discussing what these necessities are, and why they’re so important in your first home.
Essential Bathroom Fixtures
When it comes to kitting out your bathroom, some fixtures are absolute must-haves, offering not only functionality but also contributing to the overall aesthetics of the space.
- Plumbing Essentials: Prioritize an efficient and reliable plumbing system. High-quality faucets, showerheads, and toilets not only last longer, but also minimize potential leaks and maintenance costs.
- Innovative Sanitation: Consider incorporating innovative features like touchless faucets or self-cleaning toilets. These additions can enhance hygiene while offering a sleek, modern look.
- Spacious Vanity: A well-designed vanity can provide ample storage and counter space, making your morning routine a breeze.
Must-Have Bath Accessories
Beyond the basic fixtures, your bathroom experience can be greatly enhanced by a selection of must-have accessories that add both functionality and style. Consider incorporating spa-like features and sustainable choices into your bathroom necessities.
| Must-Have Accessory | Description |
|---|---|
| Spa-like Showerhead | Provides a relaxing, rainfall-like experience. |
| Eco-friendly Towels | Made from organic, sustainably sourced materials. |
| LED Vanity Mirror | Offers energy-efficiency while enhancing your grooming routine. |
A spa-like showerhead not only offers a luxurious experience but also promotes relaxation. On the other hand, eco-friendly towels reflect your commitment to sustainability, being kinder to your skin and the environment. Finally, an LED vanity mirror, apart from being energy efficient, provides adequate lighting, ensuring you look your best at all times.
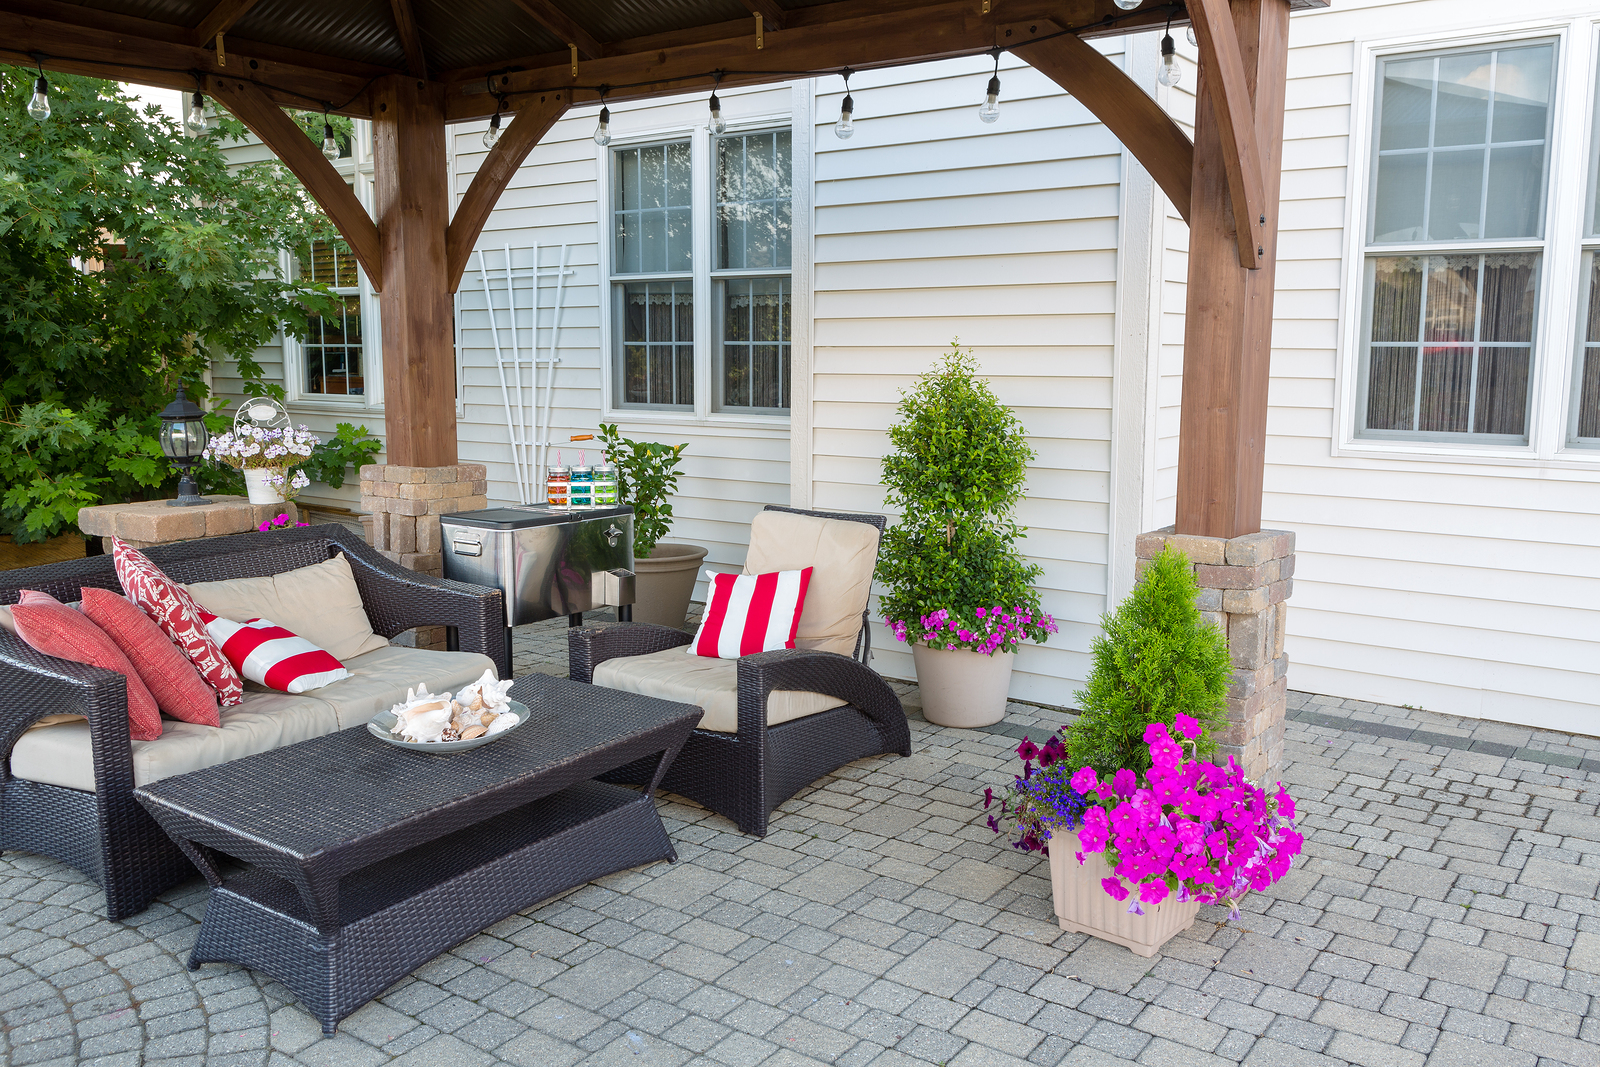
Outdoor Essentials
From patio furniture to essential gardening tools, there’s a wide array of outdoor items you’ll need to make your first home’s exterior as comfortable and functional as the interior. Establishing a relaxing and inviting outdoor space is just as important as setting up your indoors. Garden landscaping and patio essentials are vital to creating an exterior that isn’t only aesthetically pleasing, but also serves a purpose.
- Garden Landscaping: This involves planning and designing your outdoor space to achieve a balanced environment. You’ll want to invest in quality gardening tools, plants, and perhaps a water feature. Remember, a well-landscaped garden enhances the overall appeal of your home.
- Patio Essentials: Furnish your patio with comfortable seating, weather-resistant tables, and perhaps a grill for outdoor cooking. A well-appointed patio can serve as an extension of your living area, perfect for social gatherings or quiet relaxation.
- Outdoor Lighting: This not only adds ambiance but also guarantees safety and security. With the right lighting, you can highlight landscape features and illuminate your outdoor space for evening use.
Safety and Maintenance Items
Ensuring your home is safe and well-maintained should be a top priority for any new homeowner. It’s not just about aesthetics or comfort; it’s about maintaining the value of your investment and ensuring the safety of your family. Fire prevention measures are an essential factor to consider in the 5 things to buy for your first home. This includes installing smoke detectors in key areas and keeping a fire extinguisher within reach. It’s also wise to have a fire escape plan and conduct regular drills. Next, let’s explore home insurance basics. This is a non-negotiable expense that provides financial protection in case of damage or loss due to disasters, theft, or accidents. It’s not just about the structure of the house, it also includes your belongings inside. Understanding what your policy covers and ensuring it’s adequate is paramount. Regularly review and update your coverage as needed.
Frequently Asked Questions
What Are Some Suggestions for Eco-Friendly Household Items to Purchase?
You should consider sustainable cleaning products and green energy solutions. They’re not only better for the environment, but they can save you money in the long run. Eco-friendly appliances are also a great option.
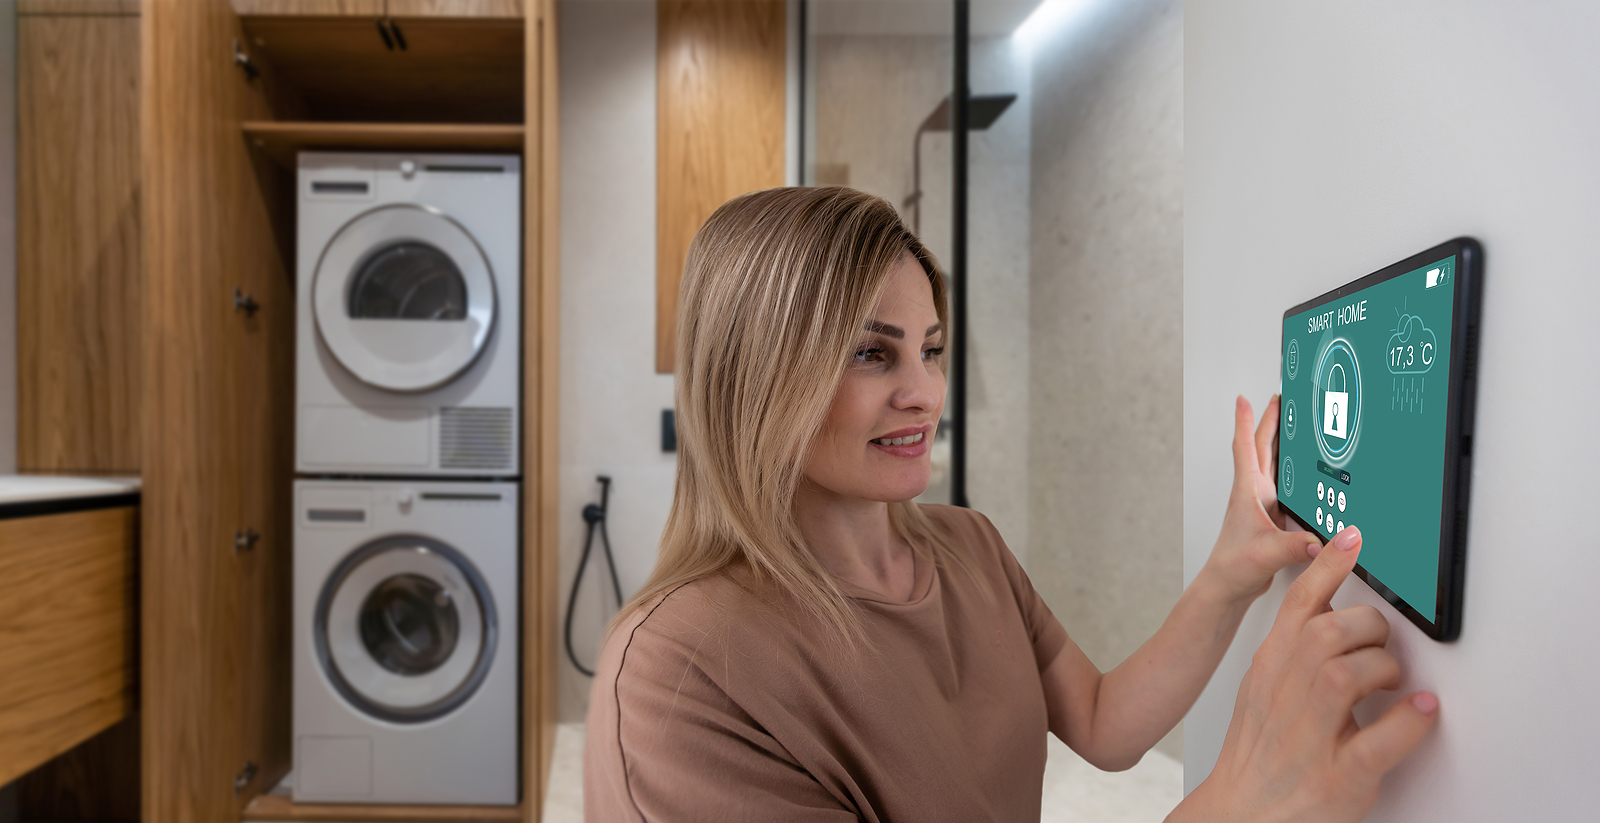
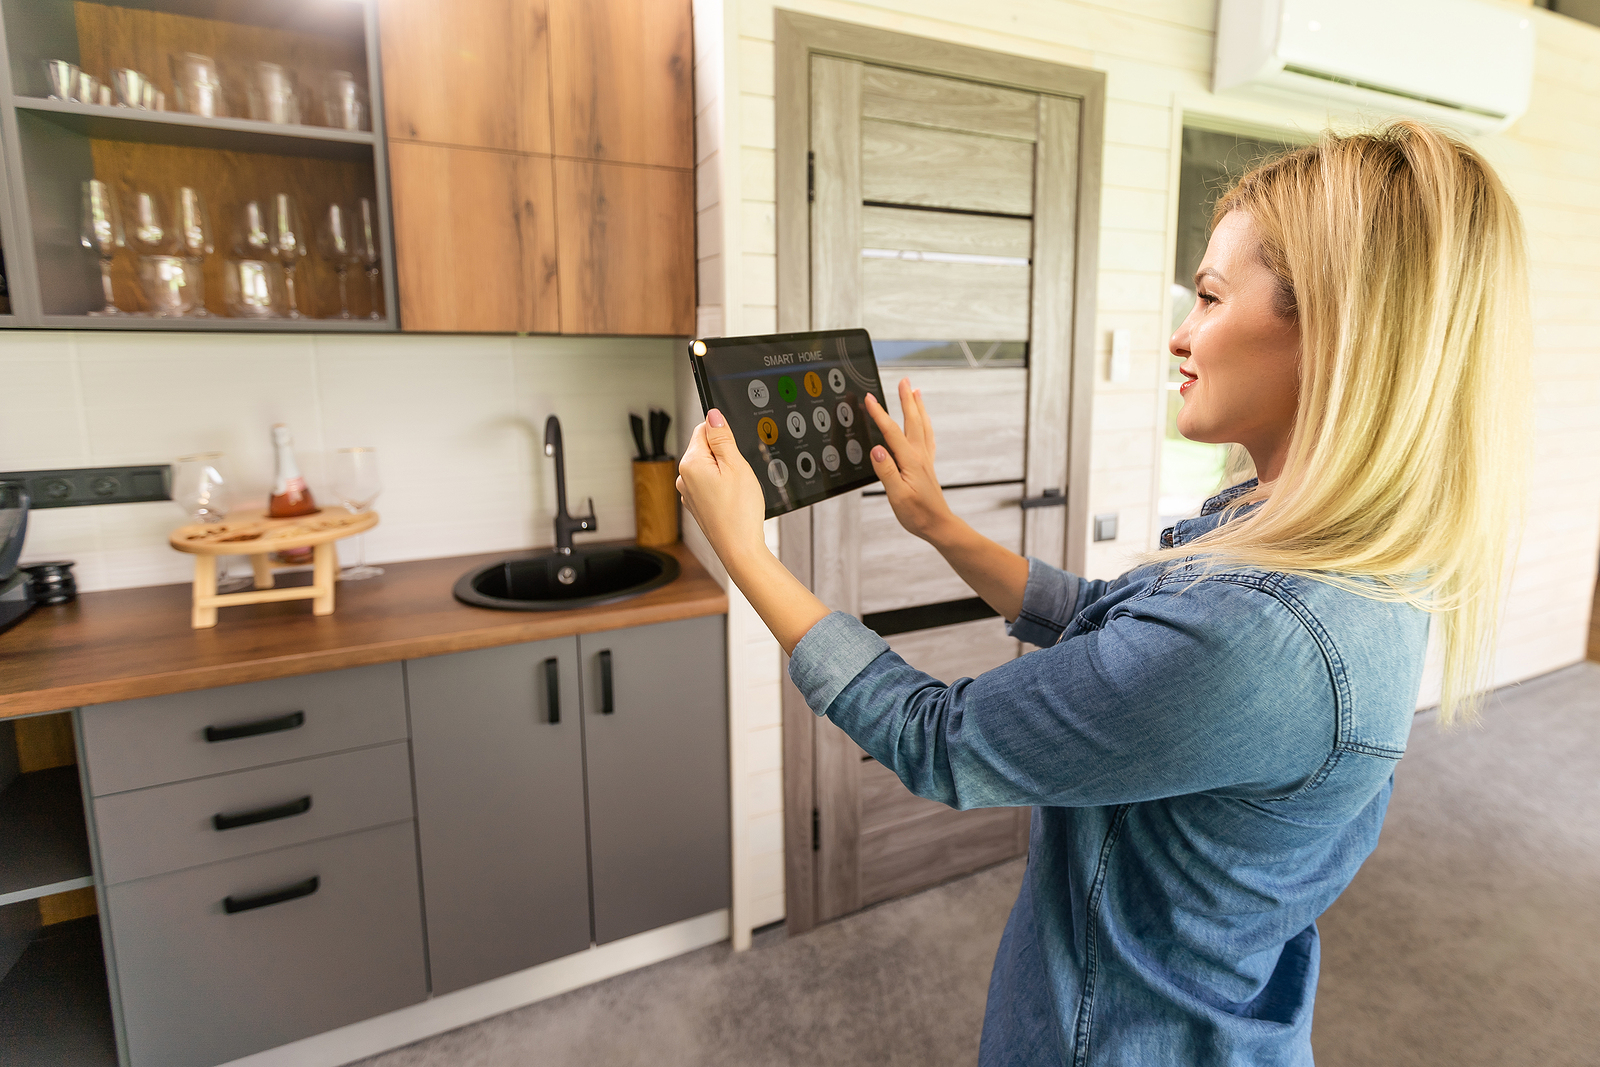
How Can I Incorporate Smart Home Technology into My First Home?
You can integrate smart home technology by starting with smart lighting options. They’re energy-efficient and customizable. Next, consider voice control integration, which allows you to command your home’s functions just by speaking.
What Are Some Essential Items Needed for a Home Office Setup?
For an ideal home office setup, you’ll need a cozy chair, a roomy desk, and a quality computer. Don’t underestimate home office lighting; it’s essential for reducing eye strain and sustaining your productivity.
Can You Suggest Any Essential Items for a Home Workout or Gym Area?
Absolutely. For your home gym, consider budget-friendly fitness equipment like resistance bands and dumbbells. Also, invest in space-saving workout solutions such as a foldable yoga mat or a wall-mounted pull-up bar.
Do Real Estate Experts Recommend Any Particular Brands for Essential Home Appliances or Furniture?
Yes, experts often suggest top brands for home essentials due to their impact on home value and durability. They typically recommend brands like Whirlpool, Bosch, or La-Z-Boy for appliances and furniture, respectively.
Conclusion
To sum up, establishing your first home can be thrilling yet challenging. As advised by real estate experts, investing in key items for each room is crucial. Don’t overlook the outdoor space and safety necessities. Keep in mind, it’s not about filling up the space, but creating a cozy, functional environment to call home. As you settle in, you’ll discover what things to buy for your first home, additional items you require, making your home uniquely yours.