
Tenants come in two “flavors,” affable and nightmarish. We hope, for your sake, that when it comes time to sell your rental your tenants are the former. The whole process will go much smoother.
If they are disagreeable, you may want to take option 1 when deciding when to list your rental property.
Timing the sale of your rental property
Option 1: Wait
Many landlords decide that their tenants aren’t the type of people to tolerate the home sale process so they decide to wait until the lease is up.
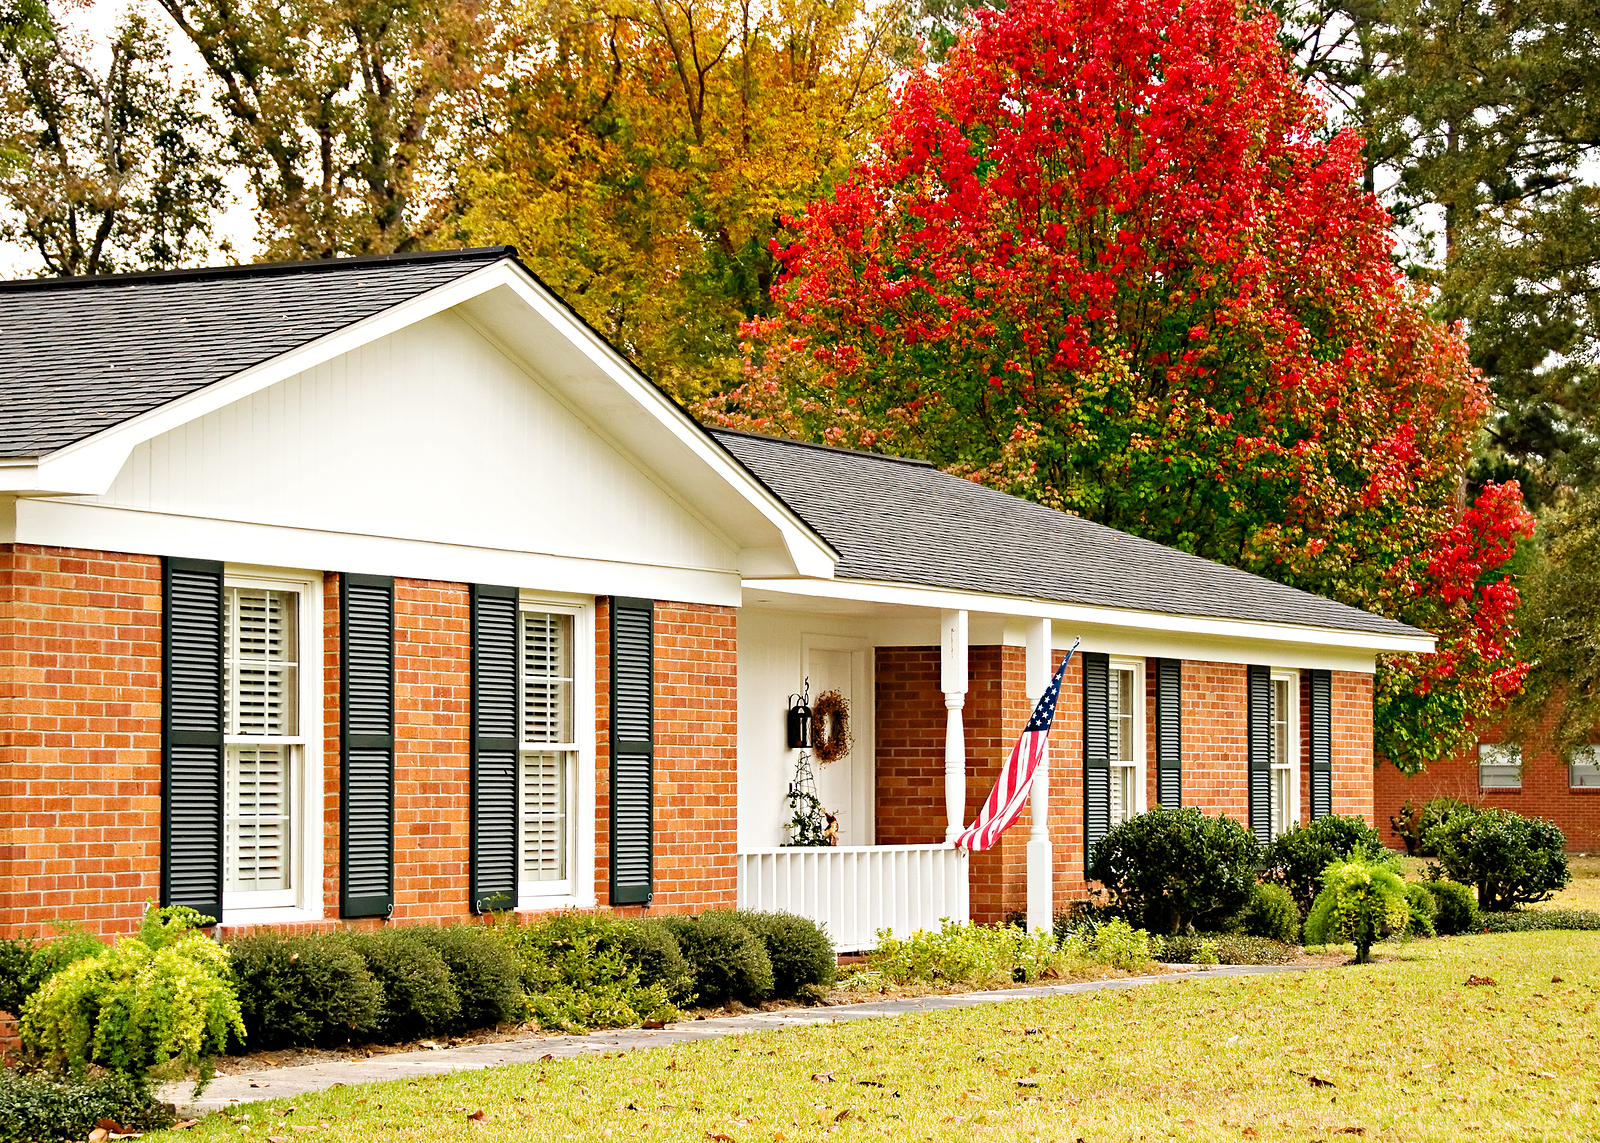
The biggest problem with this decision is that the property will be vacant, and vacant homes don’t show as well as furnished homes. Of course, you can get around this problem by hiring a professional home stager.
If you’re on a tight budget, have only the most important rooms staged, such as the kitchen, bathrooms, master bedroom and garage.
Then, consider that you’ll be on the hook for the mortgage payments until the home closes escrow. Speak with your agent about how long it may take to ready the home for sale, market the home and to close escrow.
This will help you decide if you can afford the carrying costs of the home without tenants in place.
The lack of tenants, on the other hand, makes it easier to perform any needed repairs or updates to the home. It also offers maximum flexibility to buyers’ agents.
Option 2: List now
There are many things to consider if you choose to list the home while the tenants are still living in it. As previously mentioned, you’ll avoid having to pay the carrying costs of the home while it’s for sale.
Another advantage to listing now is that the home will be attractive to investors. If the tenants want to remain after the sale, they are much more likely to be cooperative during the process and the potential investor/buyer has the bonus of in-place tenants when the purchase closes.
The disadvantages of this scenario are many, however. Here are a few things to consider:
- Although a furnished home is easier to sell, is the tenants’ furniture, accessories and overall taste in decor something that will appeal to the home’s target buyer or what a stager can work with?
- Has the tenant taken care of the home?
- Is the tenant amenable to keeping the home clean at all times?
- Do you have a good relationship with the tenants or can you create goodwill prior to listing the home?
- The tenants will be acting on your behalf when it comes to scheduling showings with buyers’ agents. An unhappy tenant can make or break the sale by sabotaging showings, delaying inspections and being generally uncooperative.
There are ways to entice your tenants to be more cooperative. Consider the following concessions:
- If it’s not already in the lease, offer the tenants the first right of refusal. This means that before accepting an offer, you must notify the tenants. At this point, they will decide whether or not they wish to buy the home. If they decline, you are free to entertain other offers.
- Give the tenants a rent-free month.
- Offer the tenants a reduced rent until the home sells.
- Offer them a financial bonus for every showing. Have the showing agent sign off on a register to prove the home was shown.
- Offer to pay their moving costs.
- Offer a bonus when the home sells (such as an extra $500 when they move out).
Review the lease and, if necessary, consult with your attorney before you make a final decision on which path to take. We’re happy to work with you on timing the sale for your needs.