Gardening ideas for a condo balcony

balcony gardening

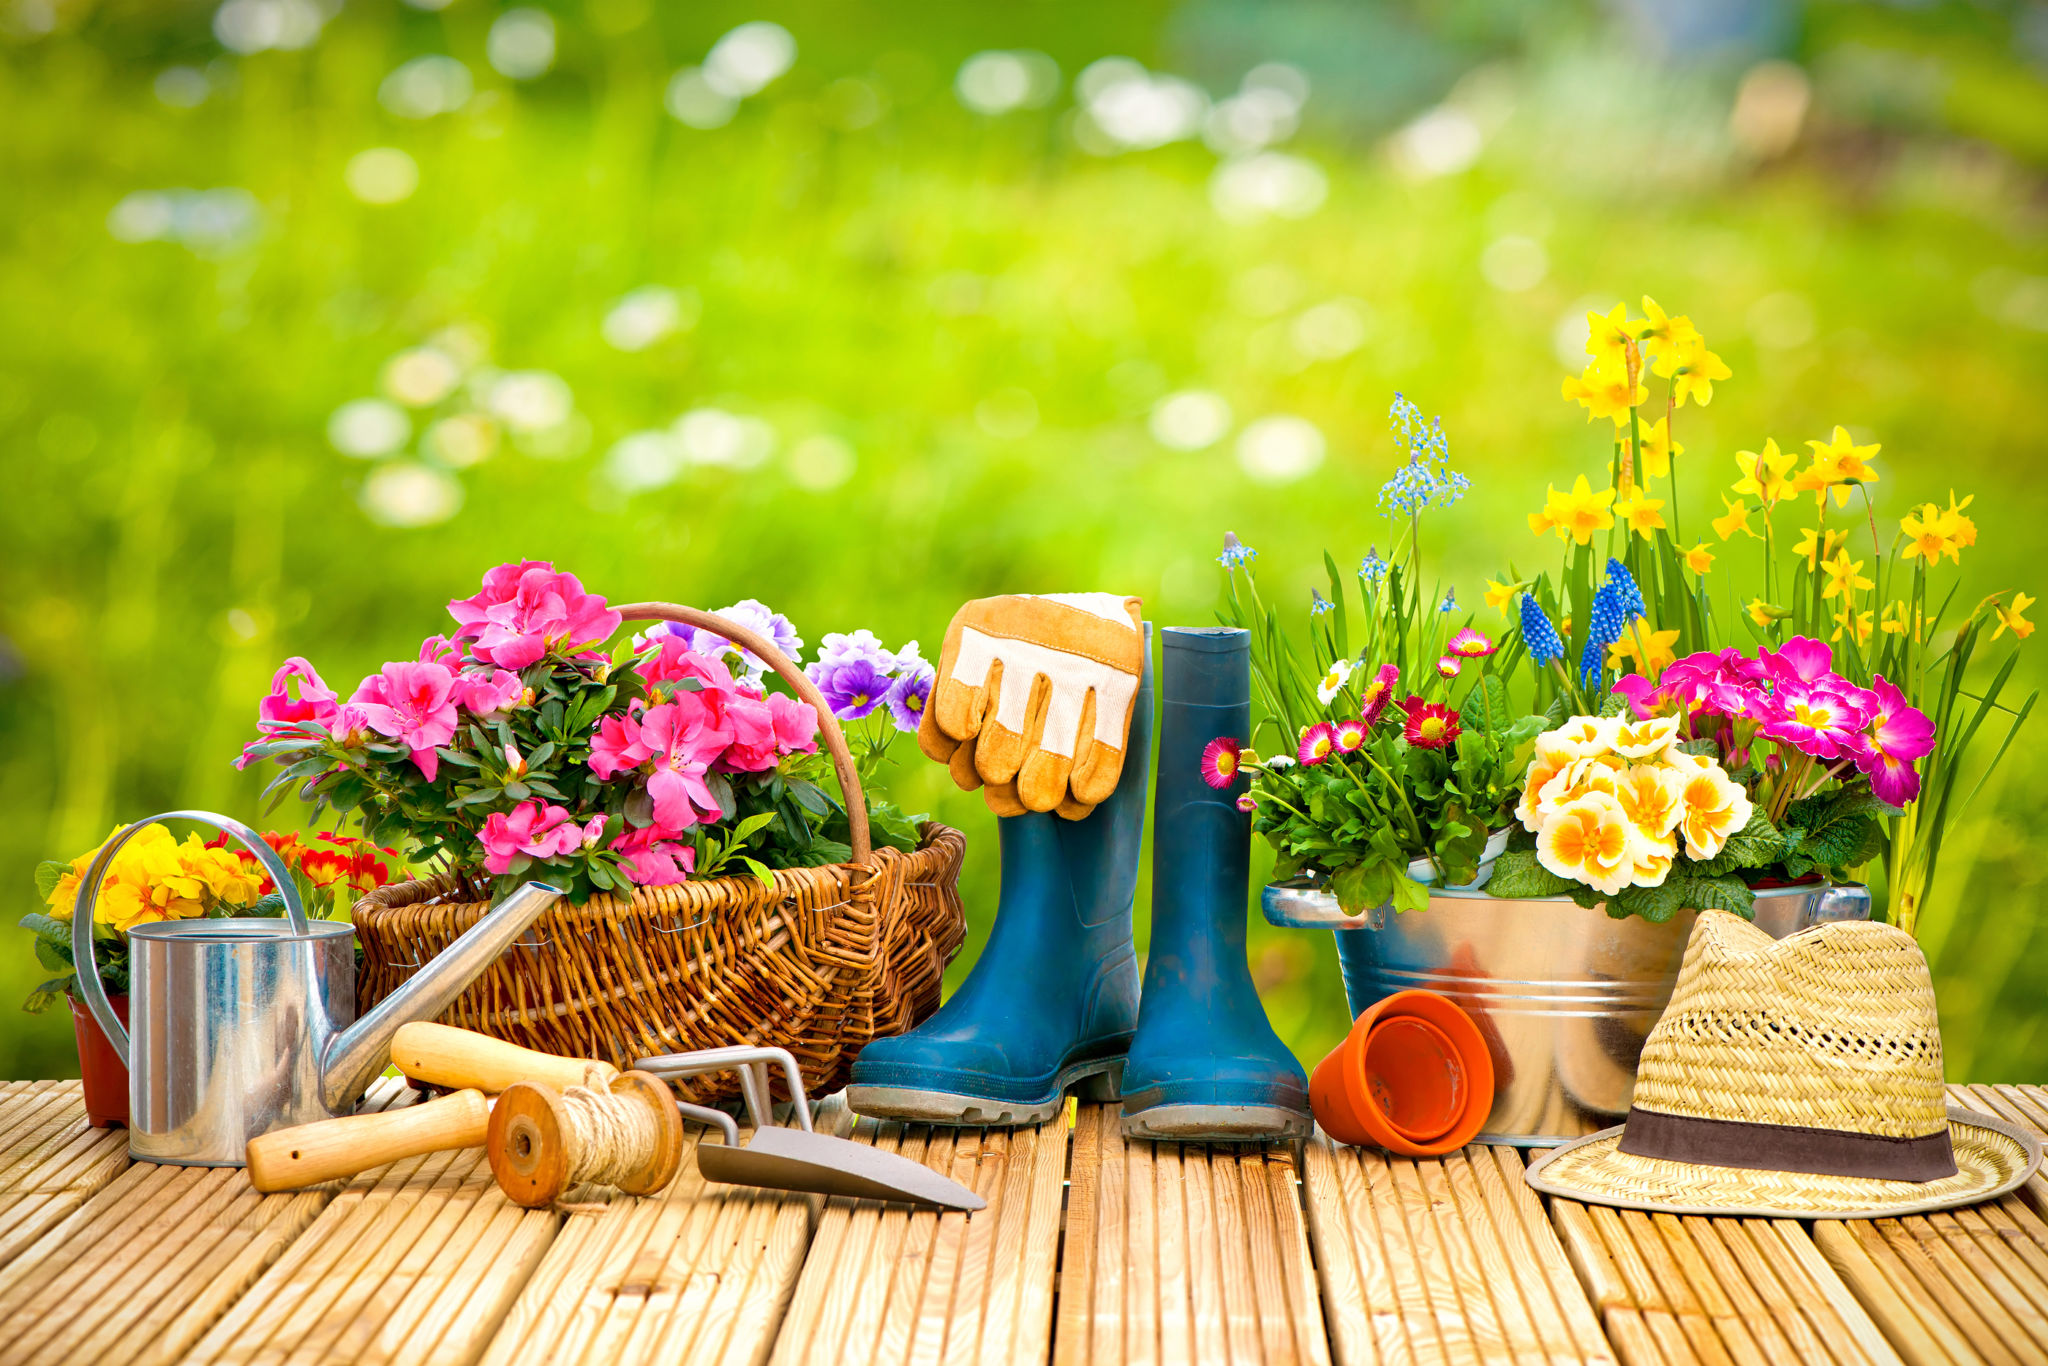
Garden envy – a common malady of the condo dweller who longs for a patch of dirt in which to work his or her botanic magic. The arrival of spring only worsens the symptoms but it doesn’t have to. Whether your condo has a balcony or a patio or even just a front porch, you can garden; it just takes fewer lofty dreams and a bit of creativity.

It’s all about the light

The first consideration when creating your balcony paradise is to ascertain how much sun the area gets. This means watching it over the course of the day. Does the sun shine on the area most of the day, half of the day or not at all? Morning sun or afternoon sun?

Yes, shady spots are challenging for most plants to thrive in, but not all of them. Forests are full of specimens that do quite well in the shade of giant trees. The trick is to do some research or speak with a gardening professional at the local nursery. Remember, not only do you need to find plants that eschew sunlight, but they must also be suited to growing in a container.

Some to consider for your shade garden include the gorgeous foliage-bearing coleus (Coleus spp.), tuberous begonia (Begonia Tuberosa Group), the adorable fuschia (Fuschia spp.) and coral bells (Heuchera Americana).

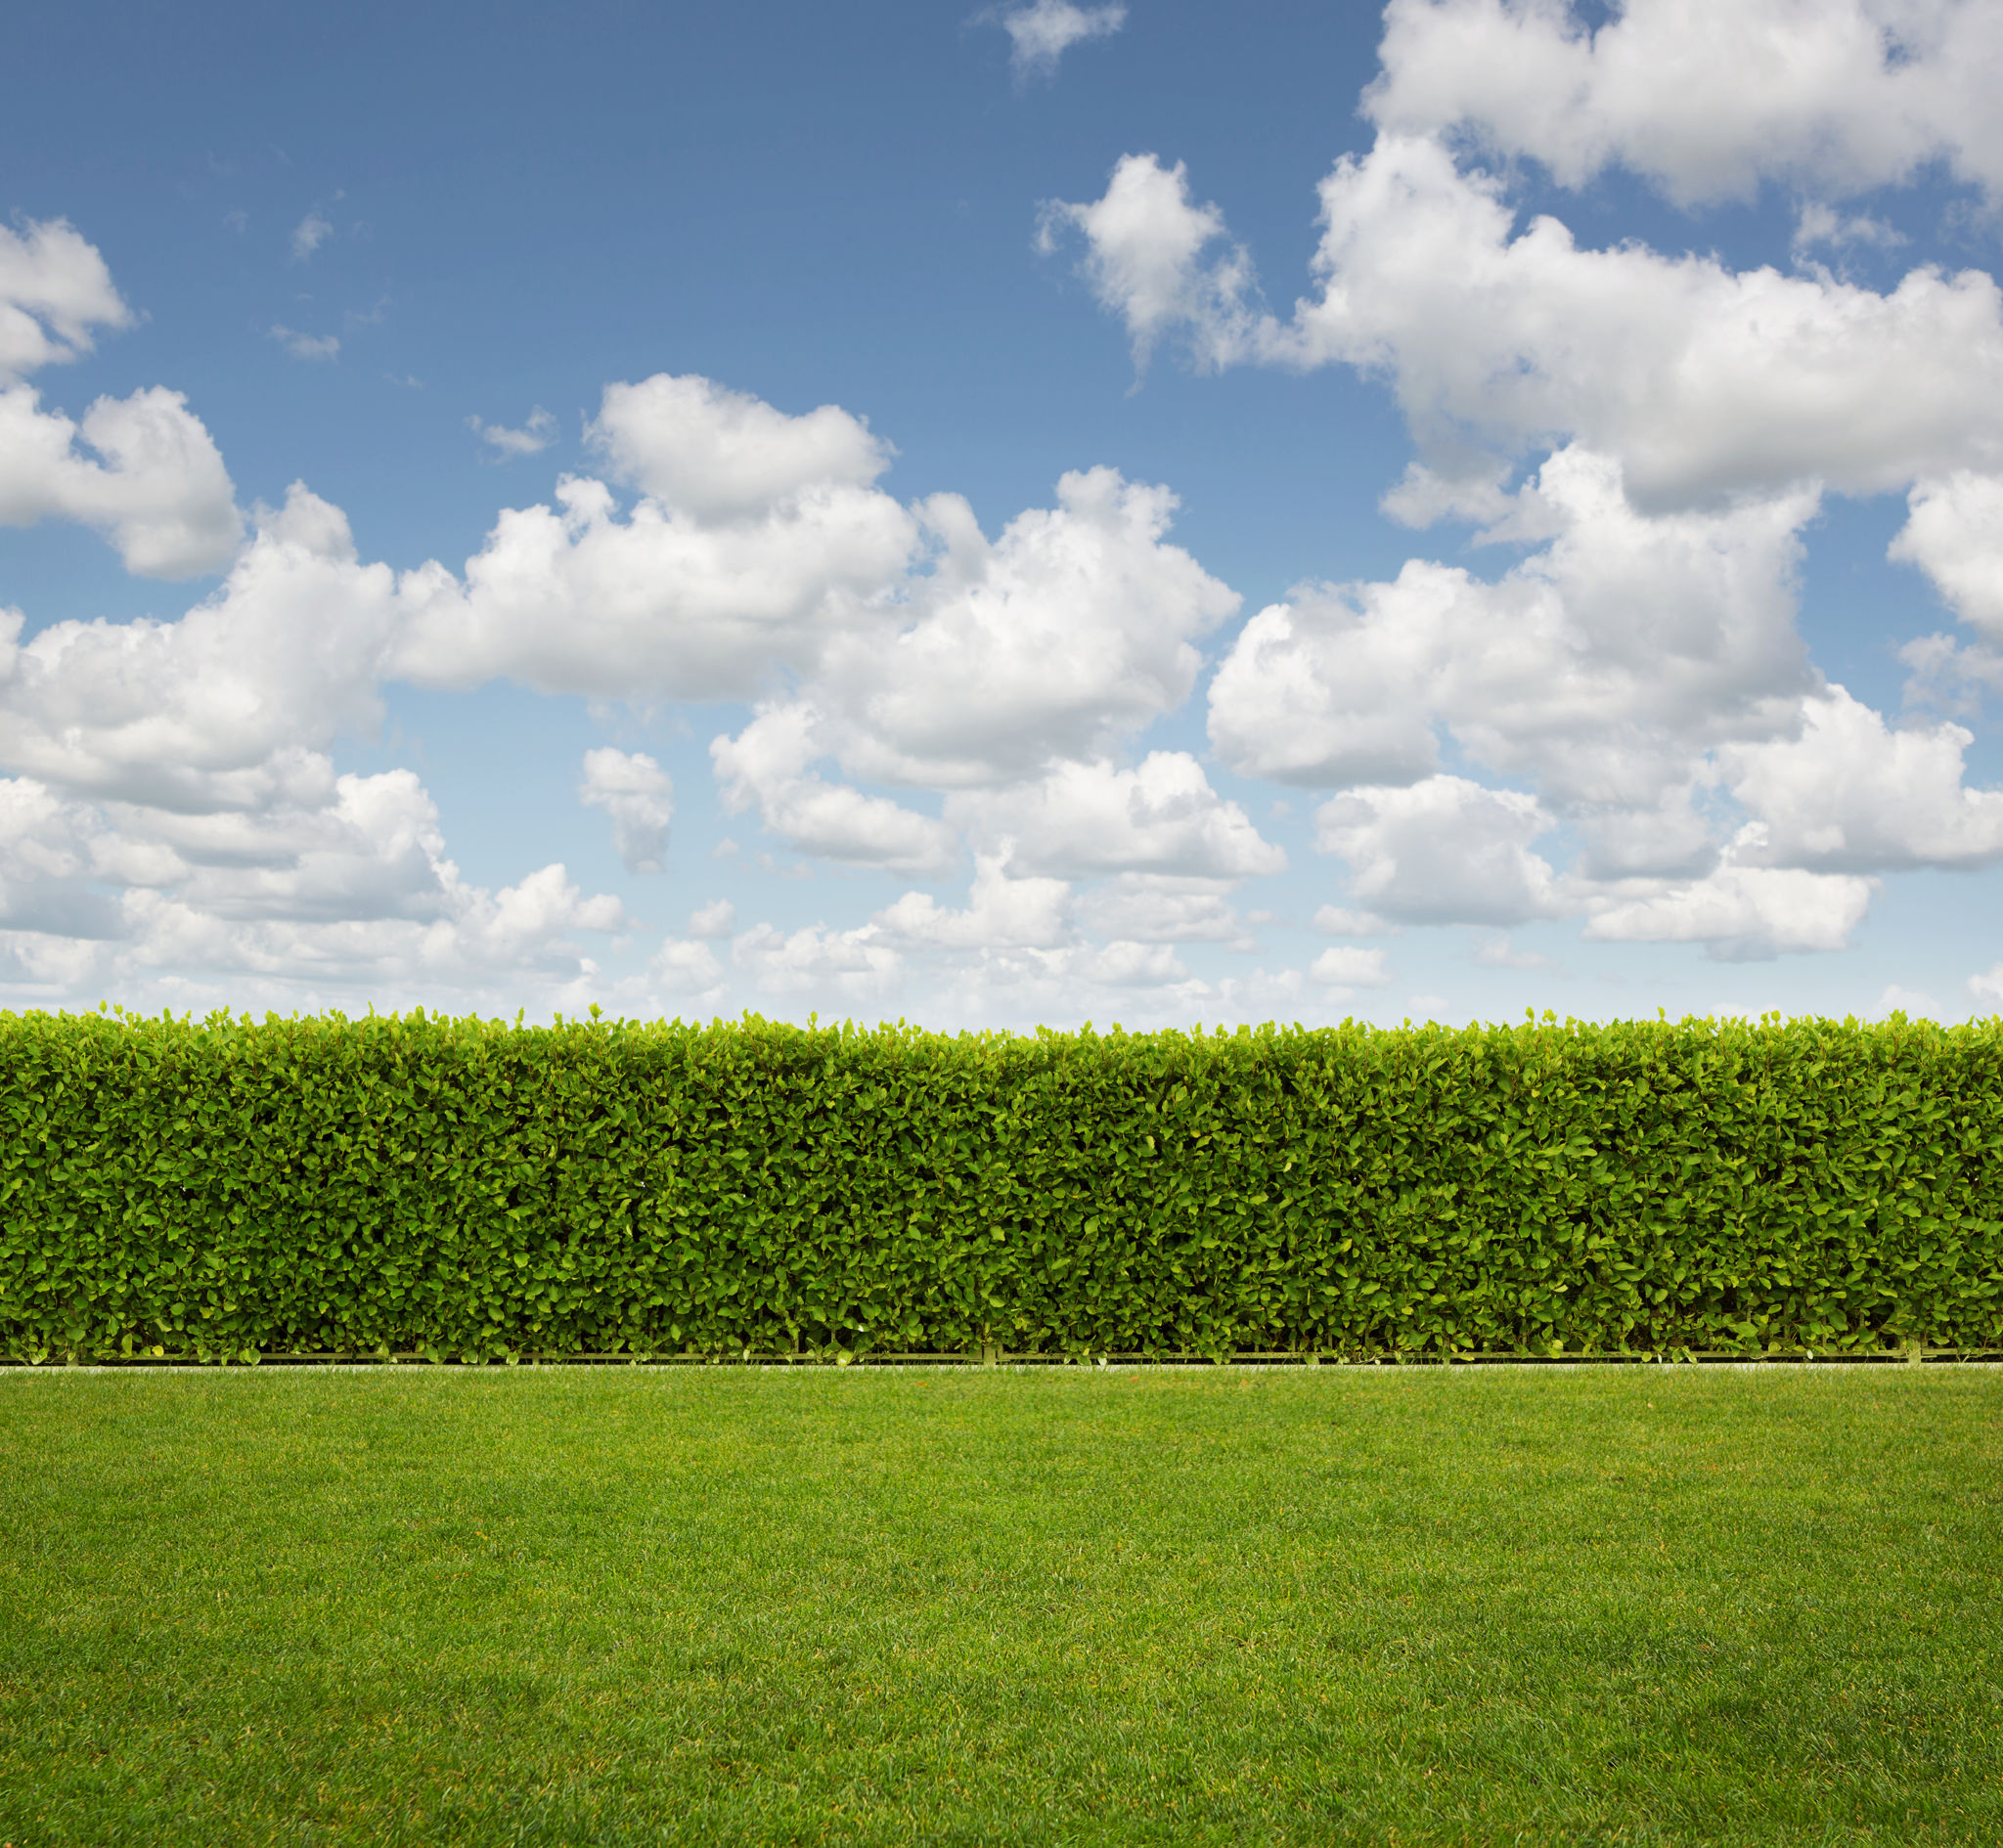
Gardens provide privacy

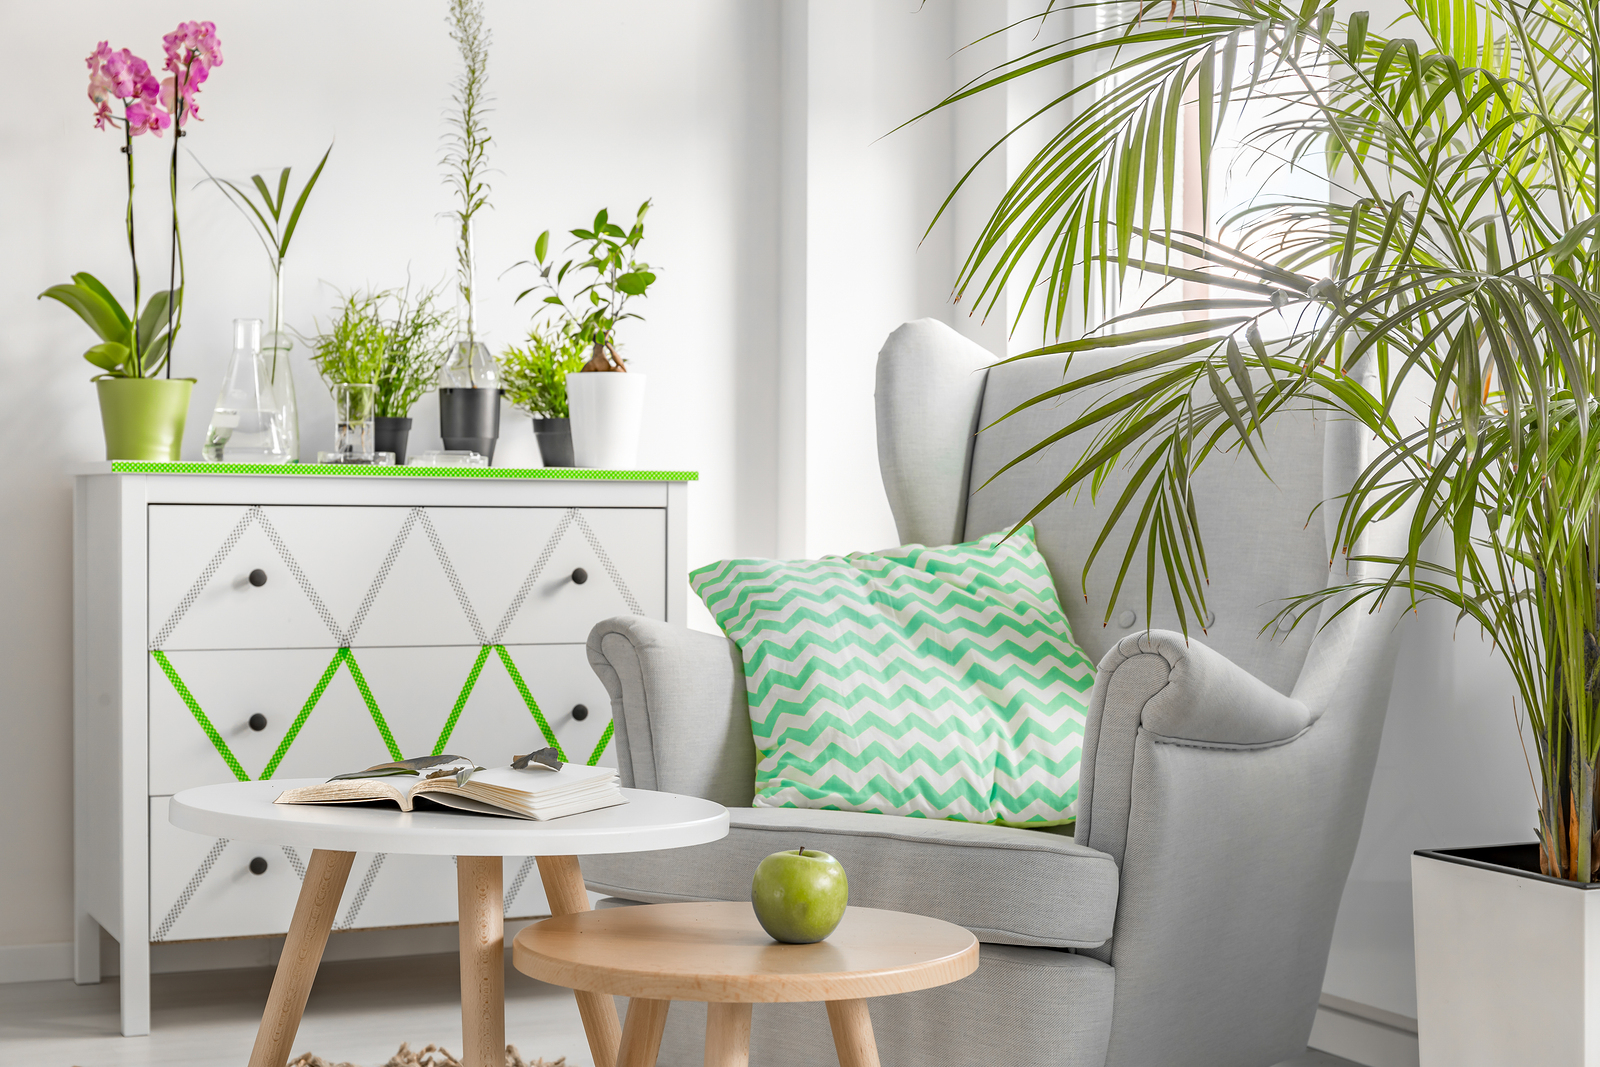
Condo living is not especially known for its privacy. Whether it’s an adjoining building that looks directly onto your balcony or patio or your unit is located on the street, folks can (and most likely will) peer in. Rather than tolerate that living-in-a-fishbowl feeling, use your mini-garden to help provide privacy.

Look for tall, dense plants and learn how to strategically space what you grow. Plants with a shorter silhouette can also be used if you elevate them. Hit the flea markets or Craigslist to shop for used end tables, nightstands, shelving units or any other item that can be used to raise the shorter plants. The bonus is that these repurposed items act as decorative hardscape elements.

Vegetables can be decorative

Urban gardeners are well aware that one need not live on a farm or even have a backyard to grow a nice crop of vegetables. Vertical gardening is one of the biggest trends in the gardening world and a boon to the micro-gardener. Get ideas online at Pinterest, Popular Mechanics (an excellent how-to article) and HGTV.

Don’t want to go vertical? Grow bags come in all sizes and the deeper ones will even accommodate a hefty potato crop. Peppers and bush beans take up little space and cucumbers, tomatoes and squash can be grown upright. Then there are the fruit trees bred specifically for container growth. These include dwarf varieties of blueberries, lemons, limes and mandarins.

Harvest to Table offers a handy guide to determine which pot size to choose for specific vegetables and Texas A&M University published on its website a list of easy-to-grow container vegetables.

Don’t forget the accessories

Hardscape doesn’t merely describe walkways and other paved areas, but has grown to encompass just about any garden feature that isn’t organic. Aside from seating for your guests, consider adding a small fountain if you have room, lighting (a lamppost or string of lights), statues and even a small birdbath will all add charm and interest to your mini-garden.

Spring has sprung – how’s your garden growing?

3 things to know about buying new construction

new construction house

When homebuilders stop building, inventories of homes for sale dwindle and we end up in a tight sellers’ market. While there are many reasons for the recent slowdown in new home construction (high material costs, unavailability of labor, etc.), there is good news on the horizon: they are building again.

In fact, new home sales increased more than 6 percent in February, which is “nearly 13 percent higher than February of last year,” according to AP economics writers Christopher S. Rugaber and Josh Boak.

That makes this the perfect time to learn the ins and outs of buying a newly constructed home. Sure, a lot of the process is similar to buying an existing home, but, if you’re considering a new home, it’s critical that you understand some of the differences – critical to both your sanity and your pocketbook.

1.The builder has an agent and a lender . . .do you?

If you’ve ever visited a new home community, you no doubt noticed the fencing that corrals folks to ensure they visit the builder’s office prior to viewing the model homes. The greeter inside this office is typically a licensed real estate agent, employed by the builder or developer. His or her job is to not only let you know all the fabulous features the homes and the community offer, but to peel off those potential buyers who aren’t working with another agent.

While it’s often legal for one agent to represent both the seller (in this case, the builder or developer) and the buyer, and this “dual agency” situation seems like a handy solution for you, be wary. Dual agents are prohibited from representing one party exclusively so you’ll receive only limited representation.

Since the seller is paying for your agent’s services, your best bet is to go into the situation with your own representative. So, when the builder’s agent asks you if you’re working with an agent, let him or her know that you are and you can move on to view those amazing new homes.

Whether or not you should work with the builder’s preferred lender may take some research. Often that lender will be able to save you money on your mortgage but the only way to know for certain is to obtain quotes from other lenders and compare them all.

2. Research is a bit more challenging

The initial steps in the house hunt, after seeing a lender, include deciding where you want to live (at the neighborhood level) and in what type of a home. When the neighborhood is brand new, you’ll be presented with several challenges not present when purchasing an existing home. Keep the following in mind when researching homes and communities

  • Even new homes can have problems. Visit the existing home areas of new communities and do stop and chat with any residents you see. Ask about their experience with their homes and with the neighborhood overall.
  • Ask the builder’s agent about the Homeowners Association (HOA) and how much the monthly fee will be. Ask to the see the HOA documents, such as the CC&Rs – the covenants conditions and restrictions. Run them by your attorney if there is anything you don’t understand.
  • Determine if Internet and TV service will be available in the community as of your expected move-in date.
  • The Better Business Bureau is a valuable resource. Use it to research the developer/builder.
  • Visit the city planning office to determine what they have planned for the area surrounding the community.
  • If noise bothers you, check the neighborhood’s proximity to busy roads, the airport flight pattern and the number of young people residing there.
  • Although it is great to be one of the “founding” fathers or mothers of a new neighborhood, keep in mind that if you move in before the neighborhood is complete you’ll be forced to live with the dust and noise of construction work for a while.

3. New home upgrades can be confusing

As you tour the model homes, unless you purchase identical upgrades, your home will not look anything like the model. In fact, it will be a bare shell, with the least expensive flooring, appliances and fixtures. Find out exactly what comes with the basic home price. With that in mind, you can add upgrades and keep within your budget.

Typically upgrades performed by the builder during the construction process are more expensive than if you hire someone to do them later on. The advantage of having them done during construction, though, is that you can roll the costs into the loan.

Let’s take a look at three of the most popular builder upgrades.

  • The lot — The one upgrade that you can be assured will hold its value is land. Unless you live in Hawaii, no more land is being created. A larger lot, or a better-located lot (if you can afford it), is worth the money it costs.
  • Structural upgrades — Creating a three-car instead of a two-car garage or adding an extra bathroom are popular upgrades because of the expense homeowners would incur if they saved these upgrades for after they close escrow.
  • Plumbing and electrical — Anything that will help save money while you live in the home is worth considering. For instance, a super-efficient HVAC system and tankless water heater are worth considering purchasing as an upgrade.


Think about your wants and needs and whether any would be costlier to add once the home is built. Any time a wall needs to be opened you can expect a huge mess that costs lots of money.

Lock down your furniture for kids’ safety

anchor furniture to wall

Even brand-new moms know to put those plastic things in electrical outlets and to child-proof cupboards that contain hazardous materials. What is less well known, however, is that the furniture in your home creates an enormous hazard to toddlers who love nothing more than to throw open dresser drawers to facilitate their scrambling and climbing endeavors.

In January, NBC News posted a horrifying video of two Utah toddlers doing just that. Thankfully, the outcome for these munchkins wasn’t disastrous, but it has been for more than 40 children in the past 27 years, according to foxnews.com. Six of those children were killed when furniture toppled over on them, trapping them underneath.

In fact, the federal government claims that “Every 24 minutes, tipped furniture or a falling TV sends an injured child to the emergency room.”

In June of last year, Swedish retailer Ikea recalled 29 million chests and dressers which, if not anchored to a wall, pose “a tip-over and entrapment hazard that can result in death or injuries to children.”

Preventing furniture tip-overs is easy and inexpensive.

Secure the TVs

A child in pursuit of his or her favorite cartoon program will stop at nothing to get that TV turned on. This may include using the drawers of the TV stand as a ladder. The experts at anchorit.gov suggest using sturdy furniture to hold the CRT TV or, even better, something that sits low to the floor so the child won’t need to climb to reach the power button. Flat-screen TVs should be mounted to the wall securely.

If you must keep the TV up high, anchor it to the wall to prevent it from tipping and falling.

Furniture anchoring

All bookcases, dressers, appliances and other items a toddler may climb should be securely anchored into a wall stud. You can purchase furniture anchors and restraints at large hardware retailers, baby supply stores (such as Babies”R”Us) and at big-box department stores. If you are anchoring Ikea furniture, the retailer offers anchor kits free of charge.

Safety experts suggest that you avoid restraints that utilize plastic cable ties as these can degrade over time and aren’t quite as strong as one might think. Use angle braces, such as those used for earthquake safety.

Don’t skimp on the number of braces used, either. Use at least two for each appliance or piece of furniture and install them into a thick, solid piece of wood near the top of the item and then into a wall stud.  Ikea offers a “wall anchoring guide” on the company’s website.

Follow up on your safety precautions by checking the restraints on a monthly basis to ensure they remain tight.

Additional considerations

Busy Moms and Dads know how easy it is to scoop up a toy and stick it on top of the TV or other tall piece of furniture until it can be put in its proper place later on. Frighteningly, it takes only seconds for a toddler to notice it, become curious and start climbing to reach it. Avoid temptations – put away items that may cause curiosity or, if they are toddler-appropriate, place them at kid-level.

Hide electrical cords or place them out of the reach of your children.

Kids love to explore and, with just a few dollars and a half hour of your time, they can do so safely in the home.

5 tips for choosing a closing date

choose a closing date

One of the decisions you’ll need to make when you make an offer to purchase a home is the closing date. Yes, it goes into the contract and all efforts, from the time the contract is accepted by the seller until you’re handed the keys, are aimed at meeting this date.

If you are the seller, by the way, you should know that the closing date, like many of the contract terms, is negotiable, as long as the buyer’s lender can fund the loan by the chosen date. We have often seen protracted negotiations over closing dates since both the buyer and the seller have a vested interest in this contract clause.

That said, there are several things to consider when choosing a closing date aside from when your lease terminates (if you are currently renting) and the estimated date on which the lender will be ready to fund the loan.

1.Since prepaid interest, which is paid at closing, is prorated from the date you close to the end of the month, you will pay less if you close at the end of the month, a good choice for the cash-strapped homebuyer.

For instance, suppose your loan amount is $300,000 at 6 percent interest and the sale closed on January 10. You will be required to pay for 22 days of interest, or $1,085.04. If you close on           the 25th, however, you will only pay six days of interest, or $295.92.

Keep in mind, however, that there are many cash-poor homebuyers, or those that are hoping to hang on to their cash to use to fix up the new home, so there is typically a backlog of closings         toward the end of each month.

2.If you’re worried about cash flow, close early in the month. Yes, you’ll pay more in pre-paid interest, as the above example shows, but because interest in paid in arrears, you won’t have a house payment for slightly less than two months. Suppose you close on January 5. The prepaid interest covers you until January 31 and, since interest is charged in arrears, you won’t have a house payment for February until March 1, giving your cash flow some breathing room.

3.Avoid closing during the winter holidays, especially near Christmas and the week before New Year’s Day. Most of the real estate industry closes up shop during this week so the chances of closing on time are diminished. Plus, there’s enough stress around the winter holidays without adding closing on a loan and moving into a new house to the mix.

4.If you want to be able to move in over the weekend, close by at least Wednesday. This gives the title company time to get the deed on record and you’ll have keys in hand in time to move in on Friday or Saturday.

5.If you are also selling a home, consider your existing loan. The interest rate may be higher than that of the new loan so it may be better to choose your closing date based on that fact – close as soon as possible.

By the way, if you’ll be using an FHA-backed loan, you will be expected to pay 30 days of interest regardless of when in the month you close. In this case it may be better to close at the end of the month since you are paying for it anyway.

Tip: The closing date and the occupancy date are not necessarily the same. The date on which you close is the date on which the ownership of the home is transferred to you yet occupancy typically doesn’t take place until after the sale goes on record at the country recorder’s office. This date, like most in the contract, is negotiable. Some sellers allow the buyer to move in prior to closing, but there are insurance issues to consider with this scenario. Then there are the sellers who may need more time to move out and need to “rent back” the home. Ensure you consider all your options when choosing the occupancy date.


Make your neighbors disappear with privacy landscaping

privacy screening for your yard

When looking at homes for sale, how much is privacy worth to you? If you place a premium on not feeling like you live in a fishbowl, but can only afford to purchase a home in developments where the builder obviously tried to cram as many homes onto the parcel as possible, we may just have a solution for you: landscaping. Or, to be more precise, creative landscaping that assures privacy.

How much privacy do you want?

Before you can come up with a landscaping plan you’ll need to determine just how much solitude you want and need. The plan will be significantly more complicated and expensive if all four sides of the home need to be screened than if you only require something to block out the nosy neighbors behind the home.

Do you want the home completely shielded from view or is a lighter touch sufficient? Dense privet hedges will screen out most views while a combination of tall perennials and trees, or widely spaced trees will ensure privacy but with a softer silhouette.

Make the plan

Take measurements of the space you need to fill. Knowing the size of the space will help you choose the appropriate plants. Measure not only the length of the area but approximate height of your barrier.

Choose the right plants

American and Green Giant arborvitae (40 to 60 feet tall in maturity) are popular and will do the trick for those who need something tall, according to the National Arbor Day Foundation.

If something more shrub-like will suffice, consider two other arborvitae – Emerald and Nigra. The former grows to 15 feet in height while the latter may reach 30 feet tall. Both can be pruned to the height you desire.

Ensure that the tree, shrub or hedge that you purchase is evergreen or you’ll lose your privacy in the winter. If you prefer deciduous plants, the experts at Colorado State University suggest you choose those with lots of stems and branches to help provide a screen even after the plant loses its foliage. Rose of Sharon (Hibiscus syriacus) is one suggestion.

The eventual height and width of each plant is important, but so is its hardiness zone. Assure that what you choose is adapted to our area. Native plants are the ideal choice.

Landscaping narrow areas

Few homeowners feel comfortable being greeted by their neighbor’s face as they make their morning coffee. If the area between your house and the neighbor’s is narrow, fill it with quick-growing, columnar trees. Although Italian cypress (Cupressus sempervirens) remains slender, it will grow quickly (up to 3 feet per year) to be quite tall. Plant several, 5 to 6 feet apart, for a dense screen, or consider native vines with lattice, painted an attractive color, on which to climb.

Privacy for front and backyards

Typically, it’s the front and backyards that require blocking from prying eyes. And, since these spaces are larger than side yards, landscaping can be pricey. Consider using a mix of trees and shrubs with a few perennials thrown in for interest.

Blocking the bird’s eye view

Providing the privacy you crave is a bit trickier when the neighbor’s home looks down on yours. Consider planting trees with wide canopies, such as American hornbeam (Carpinus caroliniana) American chestnut (Castanea dentate), or Modesto ash (Fraxinus velutina). For year-round privacy, use latticework or an arbor and soften the lines with a vine.

Keeping it legal

If the home you’re considering buying, or the one in which you’re currently living is governed by a Homeowners Association, you’ll need to ensure that the privacy landscaping you want abides by the HOA rules. You’ll typically find landscaping rules in the CC&R section of the HOA documents.


3 reasons to consider a pre-sale home inspection

get a pre-sale home inspection

Picture this: You find the perfect buyer for your home. The offer is clean, the buyer is making few demands and the transaction begins humming along. Then, the home inspection results come in. To your chagrin, negotiations begin anew and that formerly speedy progress toward closing comes to a screeching halt.

This isn’t a scenario; it is the reality of thousands of real estate transactions across the country and, yes, right here in our backyard. It doesn’t have to be like this, however. Have the home inspected before you put it on the market, even if you have no intention of fixing the problems the inspector finds. Here are a few reasons why you should consider a pre-sale home inspection.

1. A pre-sale inspection prevents delays

The pre-home inspection gives you an idea of what needs to be repaired before putting the home on the market. Getting these fixes out of the way now will prevent delays later on.

If you can’t afford to make the needed repairs, the home inspection results can be used as a list of “items the seller will not be fixing.” As long as they aren’t required by the lender, the buyer can then either accept the home as-is, walk away or negotiate with you for a lower price. It’s much better to have the walk-away happen before you remove the home from the market under the assumption that you have a deal.

Let’s face it: the buyer is most likely going to order a home inspection. The problems you’ll learn about during a pre-sale inspection are the same ones that will pop up weeks after you’ve accepted an offer and taken the home off the market. Without a pre-sale home sale inspection, you can only guess what might end up on the buyer’s inspection report.

Hand in hand with this gamble is the closing date and the sales price. Bickering over repairs or price will hold up the transaction and you may end up making concessions that will lower the offering price, just to get the transaction back on track. If your purchase of another home depends on the successful conclusion of the sale of this one, on time, you may be in big trouble.

2. A pre-sale home inspection keeps the buyer honest

Somewhere along the line during the purchase process, many buyers begin to get cold feet. “It’s ok,” their agents tell them, “you can cancel the contract by refusing to remove the inspection contingency.” They’re led to believe that the home inspection is their get-out-of-the-deal-free card and some buyers will use it as such.

Of course your pre-inspection report won’t replace the one that the buyer will most likely order, but it will help weed out those buyers who are most likely to get cold feet, before an offer is accepted.

3. A pre-inspection is a marketing tool

Remember when you bought your home? The seller was most likely a complete stranger and most of us are a bit wary of buying anything from strangers, let alone something as large and expensive as a house. Now, imagine that the seller had a recent home inspection report. Especially if it shows items in need of repair, the report shows good faith on the part of the seller. You are, in essence throwing all your cards on the table, with nothing to hide.

Now, does the buyer get as much from your competition? Of course not; few sellers will take on the expense (although it isn’t prohibitive) of a home inspection. Yours becomes a way for you to stand apart from the competition.

The disclosure conundrum isn’t really a conundrum

Once you receive the results of the inspection, any “warts” uncovered will need to be disclosed to any potential buyers. But, remember, these blemishes will most likely also appear on the buyer’s inspection report. Isn’t it better that you’ve informed them of the problems ahead of time, rather than they find out later on and hold up the transaction?

Considerations

As an experienced real estate marketer, I understand that in the sales cycle, the best time to get rid of possible objections is upfront, when the buyers are “hot,” so to speak – when they are at their most enthusiastic.

As the transaction progresses (especially right after the offer is accepted), buyers tend to question their decision to buy. The reality of a 30-year commitment sets in and they become stubbornly adhered to ensuring they aren’t getting cheated.

This is right about the time the home inspector releases his or her results. For you, it’s the absolute wrong time for the buyer to learn that the sprinkler system needs repair or that the HVAC system is in its waning years.

When considering whether or not to order a pre-sale home inspection, keep in mind that it won’t mitigate your responsibility to fix or replace lender-mandated items and you may still end up taking less for the home than you’d hoped, if you can’t afford to repair what needs fixing. What you will do, on the other hand, is get rid of the main reason residential real estate sales fail.

Sunshine and fresh air: 4 spring cleaning hacks

spring cleaning hacks

With the official start of spring in less than one week, it’s time to fling open the windows, let out that stuffy winter air and repair the damage to the interior of the home. You know – the mud, muck and grime that accumulates over the harsher season.

Spring cleaning is a huge job, but, like eating an elephant, it’s one that can be taken on one bite at a time. We’ve rounded up some simple sunshine-and-fresh-air cleaning hacks to get you started on your spring cleaning.

Wash the windows

It doesn’t do any good to have gorgeous sunlight streaming through the windows if they’re still covered in winter grime. And, cleaning windows doesn’t have to be the time-consuming chore so many think it is.

Always wait until the sun isn’t shining on the window to begin the job. Then, gather up your tools. You’ll need a bucket, dishwashing soap, a strip applicator for large windows, a squeegee, two lint-free rags (microfiber cloths, old linen napkins or cloth diapers are ideal) and a chamois.

Squirt just a few drops of detergent into a bucket of water and use one of the rags (or the strip applicator), dipped into the solution, to wash the window. Then, use the squeegee to wipe the soap from the window.

“Starting at the top left, pull the squeegee over the soapy pane in a reverse-S pattern (left-handers would start at the top right),” suggests the experts at thisoldhouse.com. “At the end of each stroke, wipe the squeegee’s blade clean with a lint-free rag.” Cloth diapers or old linen napkins are perfect for this task. Use a chamois to remove any moisture left around the edges.

Clean and lubricate the tracks

Now that the windows are clean, don’t neglect the tracks. Sliding door tracks act as a catch-all for dirt tracked in from the outdoors, pet hair and other debris. When enough gunk builds up, the door and the screen fail to work properly.

The basic track cleaning is easy; just use the vacuum cleaner to suck up the loose dirt and then a vinegar-soaked rag to clean what’s left.

Lubricate the rails with WD-40 or a non-stick silicone lubricant, such as one manufactured by Dupont that you can buy at any large hardware store or the 3M product, available at auto products retailers.

If the bottom of the sliding doors haven’t been cleaned in some time, you may want to remove the doors and clean and lubricate those as well. You’ll find a handy walk-through of the process at wikihow.com.

Dust the blinds

We found an amazingly simple blind-cleaning hack at momasaurus.com that involves socks and kitchen tongs. Simply slide a sock over each “claw” of the tongs, secure with a rubber band and swipe each blind while pinching the tongs. Erin, Momasaurus’ diva, suggests you put on your favorite playlist and “shake your hips” as you dust – burn calories AND spring clean!

Clean air vents

Sure, we don’t often catch our guests looking up, but if they do, do you really want them seeing the dirt and fuzz hanging from the HVAC vent covers? Not only are dirty covers embarrassing, but they harbor allergens – something that in spring we have enough of.

The first step is to ensure that the heating/air-conditioning system is off. Then, cover anything below the vents that the grime might fall onto, such as furniture and carpets. Vacuum the vents or wipe them with a microfiber cloth. Use a magic eraser on tougher grime.

If it’s been a long time between cleanings, you may have to remove the vent covers and soak them in a sink or bathtub full of hot, soapy water. Allow them to dry completely before replacing them.

Once the vents are clean, change the main HVAC filter so you can start spring with fresh air circulating throughout the home.

Consider the commute before saying “ok” to the house

consider commute when buying a home

If your commute to work takes 25 minutes, congratulations – you’re average, according to a 2009 study by the United States Census Bureau. Commuting to work is a very real part of American life for lots of people, yet seldom considered when they’re shopping for a new home.

Sure, it’s easy to get distracted by an amazing kitchen or a sexy backyard, but this is your opportunity to possibly cut the time it takes you to get to and from work. We’ve put together a few things you may want to consider as you choose your new neighborhood.

Consider this

We think it’s a safe bet that not many homebuyers are seeking to increase their commute time to work. The more time we spend on the road, the less time we have to enjoy home and family. Keep in mind as you shop for your new neighborhood that gas prices aren’t as likely to decrease as they are to increase so the longer your commute, the higher your monthly gasoline expenses will be.
If you really want to know how long it will take you to get to work from a particular neighborhood, make the actual commute before committing to the purchase.

Road conditions, freeways and highways

A freeway through a region actually has a positive impact on home values in the area, according to a study commissioned by the Arizona Department of Transportation. The study also found that homes adjacent to freeways are worth less than those further away. When deciding between neighborhoods, the home in a community with a freeway may hold its value better than the one in a freeway-less area, provided the home isn’t directly adjacent to the freeway.
Especially if you plan on buying in a rural area, be mindful that weather events may impede your commute.

If you don’t drive

If you utilize public transportation for your commute, the location of your home becomes an even more important factor. The proximity to the bus line, trains and other modes of public transportation should be considered carefully so you don’t end up with an even more horrendous commute.

Chuck the commute

Working from home provides the ideal commute. There’s just nothing that compares to that short trek down the hallway to the home office. If your employer offers a telecommute option, consider taking advantage of it, at least on a part-time basis.  There’s a lot to consider when hunting for a house and location, because it has a direct impact on your quality of life, is one of the most important considerations.


Help! Why are my houseplants dying?

It’s hard enough to keep our outdoor plants alive during hot summers and frigid winters, but when our indoor plants start popping off it can be even more alarming. When symptoms arise, the first step is to check for evidence of a pest infestation. Lacking that, it’s time to reconsider how you’ve been caring for the plant.

Since plants vary in their needs, it is challenging to find the right balance of moisture in the soil, sunlight-to-shade and optimal temperatures. Luckily, most plants sold to be grown indoors hail from the tropics, specifically tropical rainforests. Recreate those conditions and you should be one step closer to providing a healthy environment for your houseplants.

Water

The symptoms of both under-watering and overwatering can be similar, but as a rule of thumb, if the leaves seem soft, with spots that appear rotten, and they aren’t developing as they should, too much water may be the culprit.

Plants that don’t receive sufficient water have foliage that appears dry, with brown edges and the leaves on the lower part of the plant may be yellow or curled. Help the dry plant by watering more frequently.

Few houseplants (aside from succulents) can tolerate dry soil but you don’t want the roots to sit in soggy soil so aim for the soil moisture content to be similar to a well-wrung sponge.

If you aren’t sure when to water, stick your finger into the soil, about an inch deep. If it feels dry, water the plant slowly until water drains from the bottom of the pot. Another way to water is to place the pot in a container and add water to the container until it reaches halfway up the outside of the pot. The soil will suck the water from the container. When the top of the soil is wet, remove the plant from the water and allow it to drain completely before placing it back in its saucer.

Light

Even plants that thrive in shade require a bit of light now and then. Think of the understory in a rain forest – the play of light between the tall trees’ foliage. That’s dappled sunlight and many houseplants thrive in it. Others, however, require more sun. If any of your houseplants display the following symptoms, move them to a place where they will get more (indirect) sunlight:

  • Foliage that curls upward
  • The plant is stretching toward the light source
  • New growth is unusually small
  • Leaves fall off the plant

Before moving the plant, check the foliage for dust. Even a small amount can block sunlight, so dust the leaves before relocating the plant.

Humidity

If you’ve ever visited the tropics, you’ll recall that the air is heavy with moisture. Many houseplants, such as the Boston fern and African violet, thrive in this type of environment. Unfortunately, with heaters running in the winter and the A/C in the summer, the air inside our homes tends to dry out.

If your African violets’ buds fail to open, suspect a lack of humidity as the cause. Other symptoms include darkened edges of leaves, dry and shriveled leaves and slow plant growth.

A cool-mist humidifier, set close enough to the plant so that it benefits from the moist air but the foliage doesn’t become wet, is the ideal solution. Double potting the plants may help as well. Choose an additional pot that is just slightly wider than the one in which your plant is growing and place the potted plant in it. Then, fill the empty spaces around the smaller pot with peat moss. Keep the moss moist and it will provide a moderate amount of humidity for the plant.

Temperature

Plants that drop leaves may be telling you they don’t like the temperature of the room. The ideal temperature for many houseplants is between 68 to 70 degrees Fahrenheit. Place plants away from any sources of drafts, such as doorways, furnaces and air conditioning vents.

Nutrients

Experts recommend that houseplants be fed monthly while they are actively growing, and that fertilizer be withheld in the winter. The symptoms of a plant in need of nutrients mimic those of other maladies, so if none of the above seem to help the plant, consider how much and how often you fertilize it. Dropping lower leaves, weak growth or a pale or yellow-green color signifies a nutritional deficiency. Burned leaves means it may be getting too much or that the fertilizer isn’t diluted properly. Organic fertilizers will help you avoid the burn, as long as you don’t use too much. Follow the label directions carefully.


What retirees need to consider about their homeowners insurance

Homeowner insurance retiree

Paying for your homeowner’s insurance is a routine that, over the years, becomes habit. The experts at AARP warn that allowing this routine to continue mindlessly can be a costly mistake.

As we reach retirement, our insurance needs change. You may find yourself scaling back on many things, including the contents of your home. This makes pre-retirement the ideal time to reflect on your homeowner’s coverage to ensure that your current policy protects the assets you’ve worked so hard to accumulate and money isn’t being wasted to insure items you no longer own.

Do you know what your homeowners insurance covers?

Many homeowners don’t have a clue as to what is and isn’t covered by their insurance policy. Ask yourself some basic questions: Are you absolutely sure of what is both covered and excluded in your policy? Does your policy cover you for burglary and acts of God? How much will the insurance company give you in cash and how long will it take them to pay? If you don’t know the answers to these basic questions, it’s a good idea to take the time to dig out your policy and do a little detective work and some number crunching. Ask your insurance agent to run an official analysis on what it would cost to rebuild your home.

By the time you reach retirement, you’ve accumulate lots of “stuff”

Next, take an inventory of the contents of the home. This is a time-consuming process so don’t feel as if you need to tackle it all at once. Do one room at a time and be thorough. Use a video camera, if you have one, and narrate the scene as you film. A regular camera will suffice if you don’t have a video camera.

Take close-up photos of anything of significant value and write a description of the item on the back of the photo. Be specific on your inventory, making note of each item’s current condition, how much you paid to acquire the item, and where and when you purchased it. If any item has a brand name or model number, make note of that as well.

Be especially mindful of any expensive items, such as art, jewelry and antiques. Finally, make a copy of your inventory and place it off-site, such as in a safe deposit box, or with one of your adult children. You should now have a good idea as to the value of your home’s contents.

Keep in mind that most homeowner’s insurance policies cover the contents of the home only up to a certain amount. You may need a separate insurance schedule for any items of significant value.

Deciding on a deductible

Determine how much of a deductible you can afford to pay now that you’re on a fixed income. If disaster strikes, will you be able to come out of pocket to cover the current deductible? This is an especially important consideration for retirees who need to weigh their cash assets against the savings that may be realized with a higher deductible.

Finally, consider the liability coverage on your home and ensure that it is enough to protect your assets.

Notify your insurance agent upon retirement. She can help you to determine any discounts you may be eligible for and how to become eligible for even more. For instance, did you know that installing burglar alarms, sprinkler systems, smoke detectors and dead bolt locks might result in a lower premium? Insuring your car with the company that provides your homeowner’s insurance may result in a reduction in premium as well.

Experts recommend that retirees revisit their homeowner’s insurance policy annually, especially if you downsize your home or acquire or sell any of its contents.

Many retirees place their sole focus on their health insurance needs while the homeowner’s policy falls through the cracks. Don’t be one of them.