A recent Google Trends announcement included a graph of a “breakout trend” for two search terms: Eviction and Foreclosure.
With unemployment rates at record highs due to the COVID-19 pandemic and subsequent business closures, renters and homeowners are still scrambling to make their rent and mortgage payments.
Back in April, “New mortgage delinquencies hit a record, … well above anything seen during the Great Recession,” according to Andrew Van Dam at WashingtonPost.com.
Some of these homeowners are taking advantage of forbearance offered by their lenders, others, because their loans aren’t backed by the Federal Government, are sadly at risk of losing their homes and investment properties.
In fact, when those with deferrals are removed from the equation, “… about 8.4 million households missed a mortgage payment” as of the end of June, according to Van Dam.
If you are among them, read on to learn about how you can avoid foreclosure and the devastation it brings to your credit rating.
The ramifications of foreclosure
There are several tough consequences when a homeowner allows the home to go into foreclosure:
- You will lose your home.
- You will lose any equity in the home.
- There is a waiting period before you can purchase another home. For a conventional loan, you’ll need to wait seven years. If you can prove extenuating circumstances (which you most likely have, given the pandemic), the waiting period is three years.
- Your credit will need to be repaired before considering another home purchase. “… if your credit score is 680, a foreclosure will drop your credit score on average by 85 to 105 points,” according to FinancialSamurai.com, citing the experts at FICO.
- The damage to your credit score may affect how much you pay for insurance, whether or not you’ll qualify for a job and even your ability to rent a home.
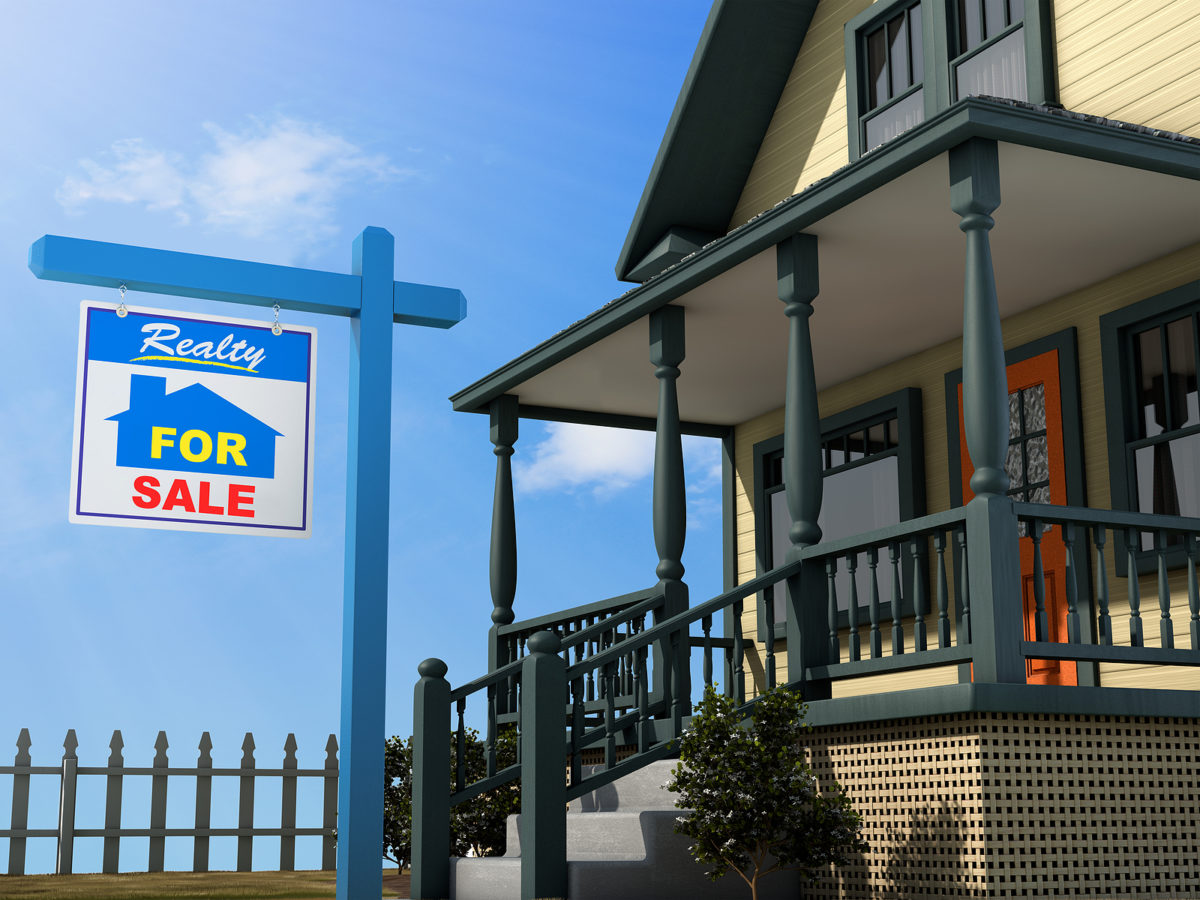
Alternative number 1: Sell the home
Selling the home is the most obvious choice for the distressed homeowner. Yes, your lender will get paid from the proceeds of the sale and you may not end up with as much money as you’d hoped.
The advantage to this solution, however, is that your credit score won’t be impacted as hard as it will if you allow the home to be taken by the lender.
“If your credit score is excellent at 780, a foreclosure will drop your score by 140 to 160 points. In other words, the higher your credit score the more it will get smashed!”
If you sell the home, however, the late payments or even missed payments won’t be as tough on your credit.
Plus, you may be able to qualify to purchase another home right away.
If your loan is delinquent and you’re considering selling, the longer you wait, the less money you’ll end up with at closing. Reach out to us and we’ll show you how we can sell your home quickly and for the most money the market will allow.
2. Deed in Lieu of Foreclosure
A deed-in-lieu of foreclosure agreement is one in which the lien holder agrees to take the deed back in satisfaction or partial satisfaction of your obligation, in lieu of foreclosure.
Government entities, such as the FHA and the Veteran’s Administration, have their own deed-in-lieu programs with various requirements. Typically, these programs and lenders in general require that the property be lien-free before they’ll accept it back.
Why would a lender agree to enter into this type of an agreement? Since this arrangement is quicker and less expensive than foreclosure, according to Gary Neustadter, Santa Clara Law professor, a lender is more likely to be amenable to the deed-in-lieu agreement if it believes that the home is worth close to market value or to the amount of your debt.
There are tax ramifications to this alternative, so consult with your financial adviser before proceeding.