![]()
Violence sells and “If it bleeds, it leads” has been the media’s strategy for the past decade or more. The gorier, more brutal the death, the more it’s hyped.
What we rarely hear about are the less dramatic, less clickbait-worthy ways we can die. Which is sad, because some, such as carbon monoxide (CO) poisoning, are preventable with just a little basic knowledge.
Think CO poisoning isn’t common? Think again: it’s the leading cause of accidental poisonings in the U.S. according to the Journal of the American Medical Association.
In fact, the Centers for Disease Control and Prevention (CDC) claim that it’s responsible for the deaths of more than 400 Americans and the medical treatment of an additional 50,000 each year. Half of these deaths, they say, happen between November and February.
What exactly is carbon monoxide?
Known as “the silent killer,” carbon monoxide is a colorless, odorless gas which can cause sudden illness and death” and it is “produced anytime a fossil fuel is burned,” according to the CDC.
Sources of carbon monoxide in the home include:
- Charcoal grills
- Clothes dryers
- Fireplaces, both gas and wood burning
- Furnaces or boilers
- Gas stoves and ovens
- Lawn equipment
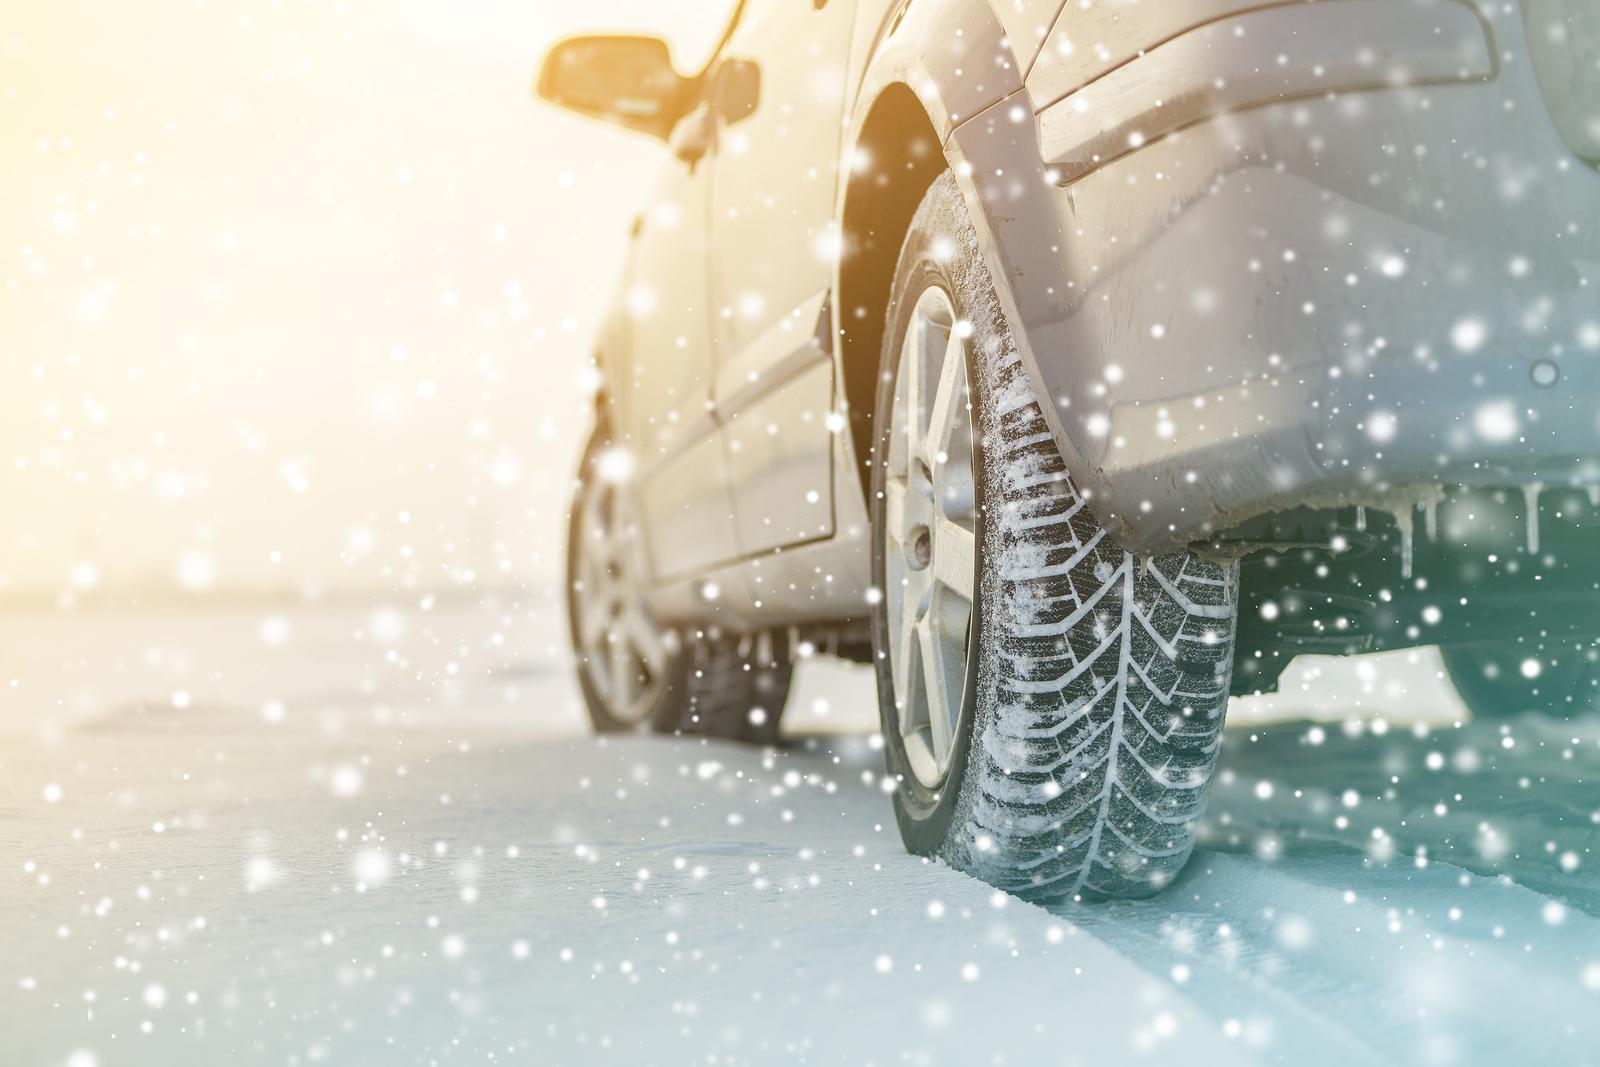
- Motor vehicles
- Portable generators
- Power tools
- Tobacco smoke
- Water heaters
- Wood stoves
Symptoms of carbon monoxide poisoning
According to the Minnesota Department of Health, “Identifying CO poisoning can be difficult because the symptoms are similar to the flu … people will ignore early signs and eventually lose consciousness and be unable to escape to safety.”
Early symptoms include a mild headache and a feeling of breathlessness after moderate exercise. The difference between these symptoms and those of the flu include:
- Symptoms ease when you are out of the house
- Symptoms are more pronounced in family members who spend the most amount of time in the home.
- Pets may exhibit signs of illness.
- Your symptoms do not include body aches, a fever and other common flu symptoms.
Prevention
The CDC offers up plenty of tips to prevent carbon monoxide poisoning in the home. Here are just a few.
- Don’t use your gas oven for heating the home.
- If you use your fireplace, have the chimney swept annually.
- Don’t leave your car or motorcycle’s engine running in a closed garage.
- Have your water heater and heating system checked annually.
- Ensure that all rooms are ventilated adequately.
- When using a generator, keep it at least 20 feet away from a vent, door or window.
- Install CO alarms in the home. The CDC recommends one in each bedroom and one on each floor of the home, including the basement. If the alarm sounds, leave the home immediately and call 911.
Learn more about carbon monoxide in the home and how to prevent poisoning at the CDC website.