
“Power outages likely if there is an extreme weather event this winter,” warn meteorologists at kens5.com.
“Report warns Texas to take certain steps to avoid future winter power outages,” blasts a recent headline at mysanantonio.com.
“Longer, more frequent outages afflict the U.S. power grid …,” according to a story in the Washington Post.
From coast to coast, Americans can expect at least one power outage in the coming years. In fact, according to Garrett Herring at spglobal.com, “US power outages jumped 73% in 2020,” resulting in 1.33 billion outage hours.
Short-term power outages are typically easy to handle. But, when the lights go out for an extended period of time, life becomes exceedingly more challenging.
Even if you haven’t yet experienced a prolonged blackout, the chances are good that one day you will. This is when a generator will come in handy.
Standby or portable generator?
Standby generators (also known as whole-home generators) are connected to your gas or propane source, permanently.
It is hooked into the home’s electricity so that when the unit senses that your power is out, it will switch itself on and shoot power to the circuits and appliances that you’ve previously selected.
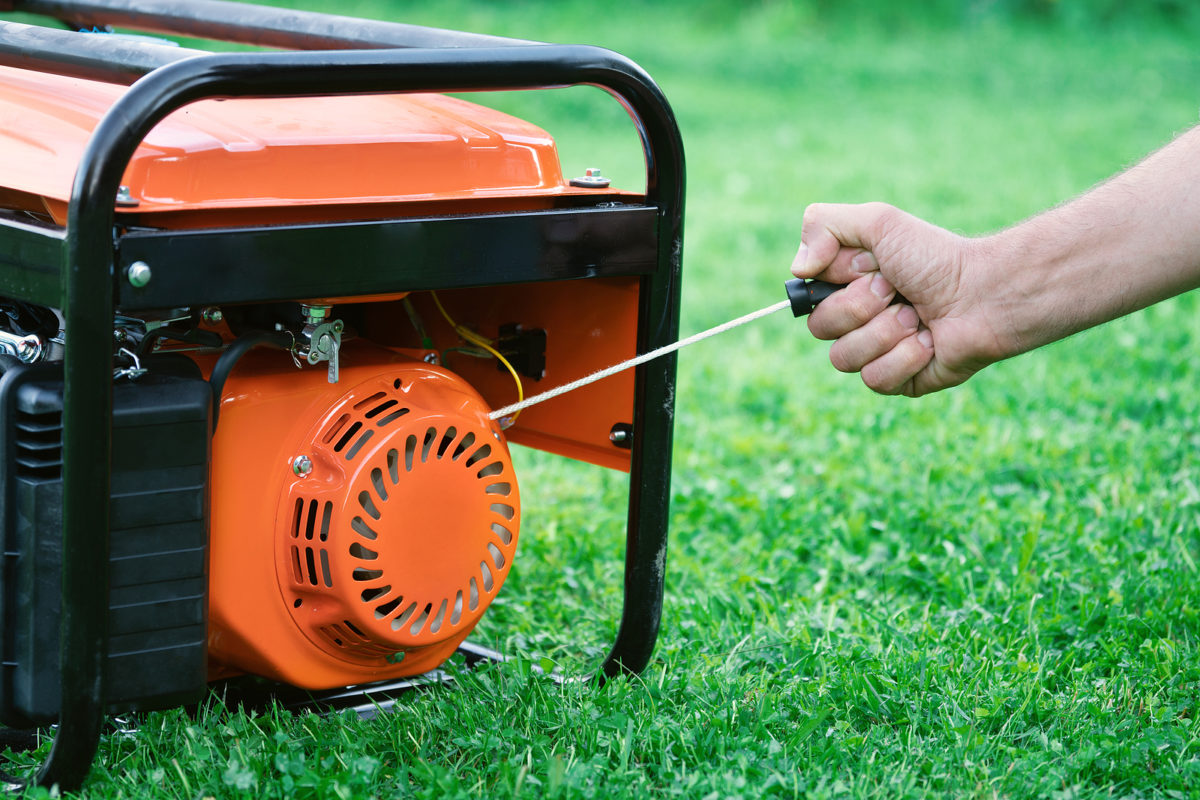
Portable generators, on the other hand, don’t typically power the whole house. They also don’t turn themselves on and they need frequent refills of fuel (gasoline, propane, diesel, etc.).
Finally, portable generators must be located outdoors.
Cost, naturally, will play a big part in which generator you’ll choose.
“Whole-house generator cost averages $15,000 nationally,” according to Meghan Wentland at bobvilla.com. She goes on to state that the cost ranges from $10,000 to $20,000.
A portable generator, according to Wentland, will run you between $500 and $2,000.
If the cost doesn’t matter, your next decision will be exactly what you want to have powered during an outage.
If it’s just an appliance or two and a few lights, a portable generator may serve your purposes.
If you want to power the entire home, consider going with the standby generator.
Safety considerations
“Running a generator improperly can kill you in as little as 5 minutes if the concentration of carbon monoxide is high enough,” according to Haniya Rae at consumerreports.com.
Sadly, it happens to between 60 and 70 people each year.
“No matter what, resist the urge to move a portable generator inside the house or the garage,” cautions Don Huber, Consumer Report’s director of product safety.
Locate the portable generator at least 20 feet from the home and ensure that it exhausts in the opposite direction of the home.
For more generator safety information visit energy.gov.