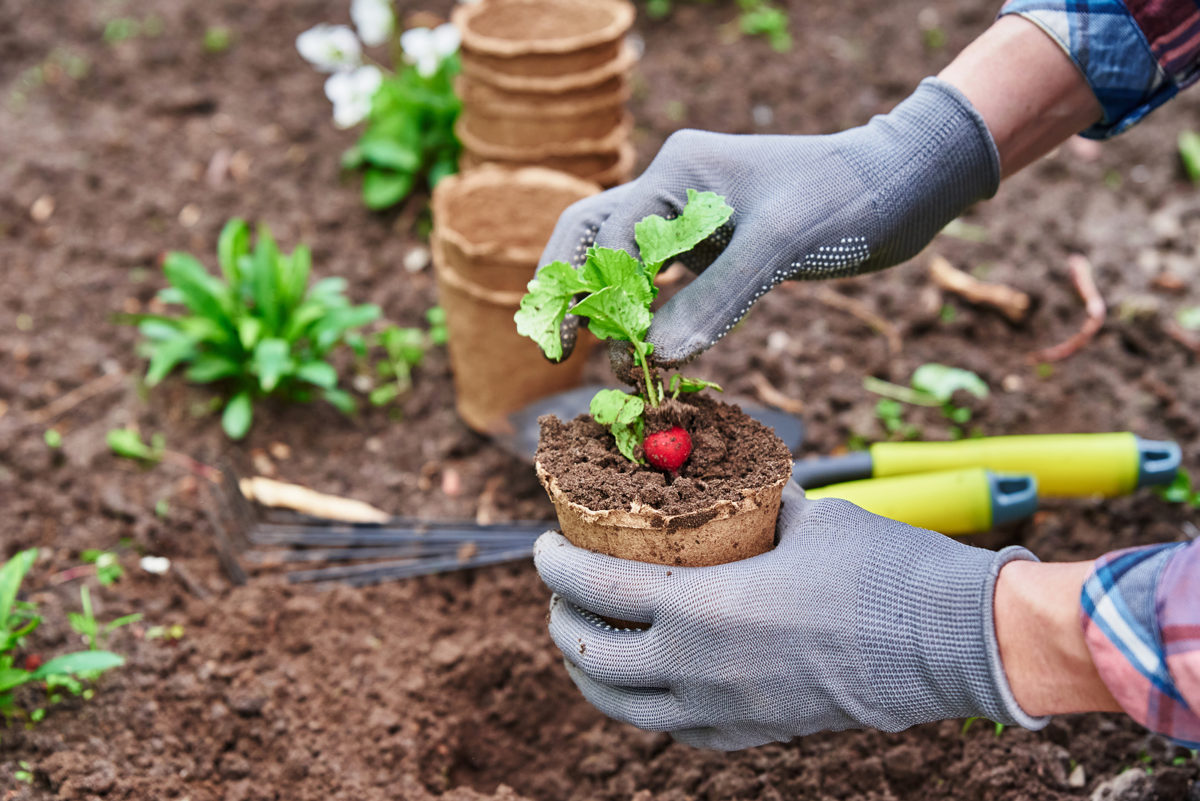
Fall: Time to plant those mums!

Fall mums, also known as garden mums, used to be commonly known as chrysanthemums. They are available in many colors and sizes, are easy to grow in the garden bed as well as containers and they’re sure to add a jolt of color when everything else is dying back.

The best time to plant the fall mum is in late August to mid-September.

The fall mum is planted either in late August or early September. But you can still plant until “… six weeks before the first killing frost,” according to Leanne Potts at hgtv.com.

What you’ll need

  • Shovel
  • Compost
  • Gardening fork
  • 5-10-5 fertilizer
  • Pruning shears
  • Mulch

Prepare the planting bed

The ideal place to plant your fall mum is one that gets a full day of sunshine. The plant will produce more and better blooms the more sun it gets.

The fall mum has a very shallow root system so you won’t need to dig up the soil too much when preparing the bed. Dig down to a depth of 4 inches, turning the soil and crushing any large clods of dirt.

Remove any rocks or old roots or other debris that you find. Spread a 2-inch layer of compost over the planting bed and, with the gardening fork, mix it in well with the existing soil, and then level the bed so that there aren’t any depressions.

Plant the mums

The distance you place between plants is going to depend a lot upon the size of the mums you are planting. Generally, you will want to space them 18 inches apart.

Remove the plant from its current pot by tipping the pot over and gently coaxing it out. Squeezing the sides of plastic planting pots helps disengage roots that are stuck to the sides.

Once it’s out of the nursery pot, loosen the mum’s outer roots with your fingers.

Dig a hole twice the width and the same depth as the pot in which the mum was growing. Place the roots of the plant into the hole and backfill, patting the soil around the roots as you go. Firm the soil around the plant and then water deeply.

Care of the newly-planted mum

Regular, deep watering is vital for the success of your fall mum garden. Give them a good soak twice a week.

They won’t require any fertilizer their first season in the garden. Next season, plan on feeding monthly with a 5-10-5 fertilizer at the rate of 1 lb. per 100 square feet of garden space.

When your mum plants have reached 6-inches in height, cut an inch of new growth from every shoot. These cut shoots will produce more branches and, when those have grown 3 inches, cut them as well. Keep doing this until July. This will encourage the mum plant to be bushier and it will provide you with more flowers.

As winter approaches, keep the plants moist. There’s no need to cut them back, as you will do this in the spring. When the soil freezes, add a 4-inch layer of mulch around them.

In the spring, rake back the mulch and cut the mum plants back to the soil. As you did last season, start trimming the new growth when the plant is 6 inches tall.

Happy Fall!

Tips to close your pool

Summer 2020 and 2021 saw the sale of pools, and homes with pools, skyrocket. In July of this year, “… a basic vinyl in-ground pool — without the bells and whistles of heating, decking or any further customization — costs $85,000 on average, up from the $60,000 to $65,000 in 2019,” said Zachary Kussin at nypost.com.

As a result, a huge swath of the American public has been subjected to crash courses in subjects such as balancing the chlorine and pH levels in their pools, checking alkalinity and calcium hardness levels, keeping the pool chlorinated and more.

With winter just few months away, their next question will be “What do I do to get this thing ready for winter?”

If you’re among the curious, read on.

Open your pool early and close your pool late

It’s tempting to want to get a head start on closing your pool as summer winds down and kids head back to school. Tempting, but not wise.

“If you close your pool while the weather is still warm, the winter protection chemicals you’ve added will often not last until spring,” according to Lana Seidman with HIC of Staten Island, Inc., a non-profit trade association

She goes on to explain that “… pool chemicals are consumed much faster in hotter temperatures versus cooler temperatures.”

How hot is hot? Sixty degrees Fahrenheit appears to be the magic number. This is the temperature at which algae goes dormant, according to Seidman. Wait until the water temperature remains consistently lower than 60 degrees before closing your pool.

Give the pool a good scrub

The experts at Thatcher Pools recommend that you “… grab the pool brush and your telescoping pole and start scrubbing. Scrub everything from the walls to the floor, and get to the nooks and crannies if you can.”

Not only does this process loosen debris but also algae spores that may have settled into those nooks and crannies.

Finally, vacuum up all the loosened debris.

Get those chemicals balanced

Here’s what to aim for, according to those pros at Thatcher Pools:

  • pH: 7.2 to 7.8
  • Alkalinity: 100 to 150 parts per million (ppm)
  • Chlorine: Less than 5 parts per million.

Add an algaecide (never add this when the chloring level is high) and pool enzymes next. Consider using a Winter Pill that will work all winter long.

You’ll also want to shock the pool, regardless of how clear the water is. Find a shock product designed to be used when closing a pool that contains “… at least 65 per cent hypochlorite.”

No, the work isn’t over yet, but this gives you a good head start. You’ll find pool closing walk-through tutorials and videos online.

Pets have accidents: Here’s how to clean them from carpet

Statistics; you gotta love them.

According to the American Veterinary Medical Association, 38.4% of American households are home to a dog, while 25.4% have cats.

That’s a grand total of more than 48 million dogs and nearly 32 million cats.

Imagine the amount bodily fluids that ends up on carpets nationwide. It’s inescapable, really. Even the most well-trained pet can have an accident indoors.

Let’s take a look at some of the more common messes our pets leave behind and how to clean them from carpet.

Pet vomit

Cats vomit more often than dogs. It’s true. Some cats vomit more often than other cats. If you live with a serial vomiter, don’t despair. Whether it’s a cat or a dog who leaves behind vomit, we have a tip to remove it, and the stain, from the carpet.

  • Lay a paper towel over the mess and gently blot the liquid from it. Don’t press to hard while blotting to avoid pushing the vomit further into the carpet.
  • Use another paper towel to gently lift the vomit pile from the carpet.
  • Clean the resulting stain a.s.a.p. with a paste composed of two parts of baking soda in one part hydrogen peroxide. Stir well and use the spoon to spread the paste over the spot until it’s covered entirely. Avoid pressing the mixture into the carpet.
  • Allow the paste to remain on the stained area of the carpet until it is dry. This may take anywhere from a few hours to overnight.
  • Use the vacuum to suck up the dried paste.

You may need to reapply a fresh layer of the paste for stubborn stains. Repeat the procedure, allowing the paste to dry completely, before using the vacuum to suck it up.

Pet urine

Owners of geriatric dogs, more than other pet owners, deal with a lot of pet accidents. As our pets age, especially dogs, they often lose bladder function and become incontinent.

Many owners deal with this by diapering their dogs or crating them at night when they can’t help the dog outside to relieve itself.

Accidents still happen, though, and although urine is a tough substance to remove from carpet, it is possible.

A new urine stains is far easier to deal with than one that is set-in. In fact, when we discover pee long after the fact, we hire a specialist to help. After all, it probably soaked into the pad beneath the carpet as well.

Here’s what you’ll need to clean a new urine stain:

  • Rags or paper towels
  • ½ cup water
  • ½ cup distilled white vinegar
  • ¼ cup baking soda
  • ¼ cup 3% hydrogen peroxide
  • Spray bottle
  • Scrub brush

After mixing the solution, check to ensure it is safe for your type of carpet. Try it on a small section of the carpet that is seldom seen. For instance, under the sofa or behind the drapes.

Use the rags or paper towels to blot out as much of the liquid as possible. When you think you’ve gotten all of it, put a clean rag over the spot and stand on it for a few seconds. You’d be surprised how much urine is left in the carpet.

Combine the water, vinegar, baking soda and peroxide in the spray bottle. Spritz the urine-stained area until it is wet.

Use the brush to lightly work the solution into the stained area, then allow the solution to sit for about 5 to 10 minutes.

Work the solution into the carpet with a brush or by rubbing it in with your fingers while wearing a rubber glove. Allow the solution to remain on the area for about 10 minutes.

Use a clean rag or bunch of paper towels to blot up the solution.

Sprinkle a bit of baking soda (enough to cover the area with urine), allow it to dry completely and then vacuum up the residue.

Now is the ideal time to aerate your lawn

Just when you thought time spent working on your landscape was coming to an end as we approach the cooler season, along come the experts.

The period from late summer and early fall, they claim, is the best time of year to do one last lawn-care maintenance task: aeration.

Now, there are caveats, of course, and not all lawn-care specialists agree on when to aerate a lawn.

If your lawn is composed of cool-season grass, now is the ideal time to aerate. If, on the other hand, you grow warm-season grass, they claim, is best aerated in late spring.

What is aeration?

Many homeowners don’t understand that there is a difference between dethatching a lawn and aerating it.

While both are critical to the health of the turf, they are two different processes, requiring different tools.

“… aeration results in the breakdown of compacted soil whereas dethatching removes layers of thatch, or dead grass and other debris, from the top of the soil,” according to the pros at sodsolutions.com.

In a nutshell, aeration involves punching holes in the turf to allow air, nutrients and water to penetrate the soil.

What happens if you don’t aerate your lawn?

Think back to any spring and summer rains you experienced. Was the lawn covered in puddles of rainwater?

That’s because the soil under the grass is compacted and the water has nowhere to go.

Sure, you can leave the standing water; it will drain eventually, right?

In the meantime, however, it may provide a breeding spot for mosquitos. Standing water also prevents grass from growing “… properly, … leaving the area vulnerable to moss growth,” according to landscaping expert David Beaulieu, at thespruce.com.

“Excess water can even lead to problems with your home’s foundation,” he concludes.

The benefits of lawn aeration

We lightly touched on a few of the benefits of lawn aeration, but here’s the “official” list from the experts at trugreen.com:

  • Aeration lets the soil “breathe.”
  • Aeration encourages “… thatch-decomposing microorganisms …” to move from the soil to the top layer.
  • The process allows more air, nutrients and moisture into the soil, providing the lawn with greater access to these important elements.
  • Aeration helps develop new, healthy roots after a tough, hot summer, making it “…ready for a green spring.”

How to Aerate Your Lawn

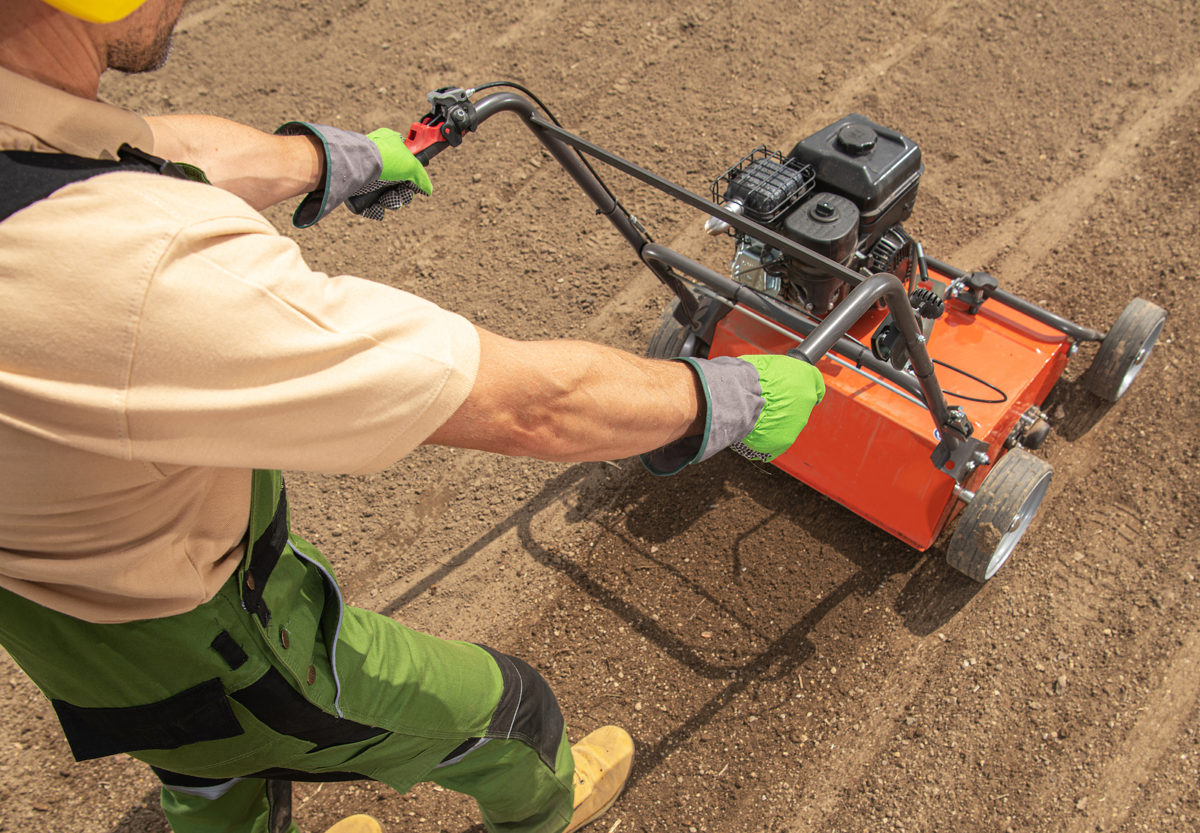
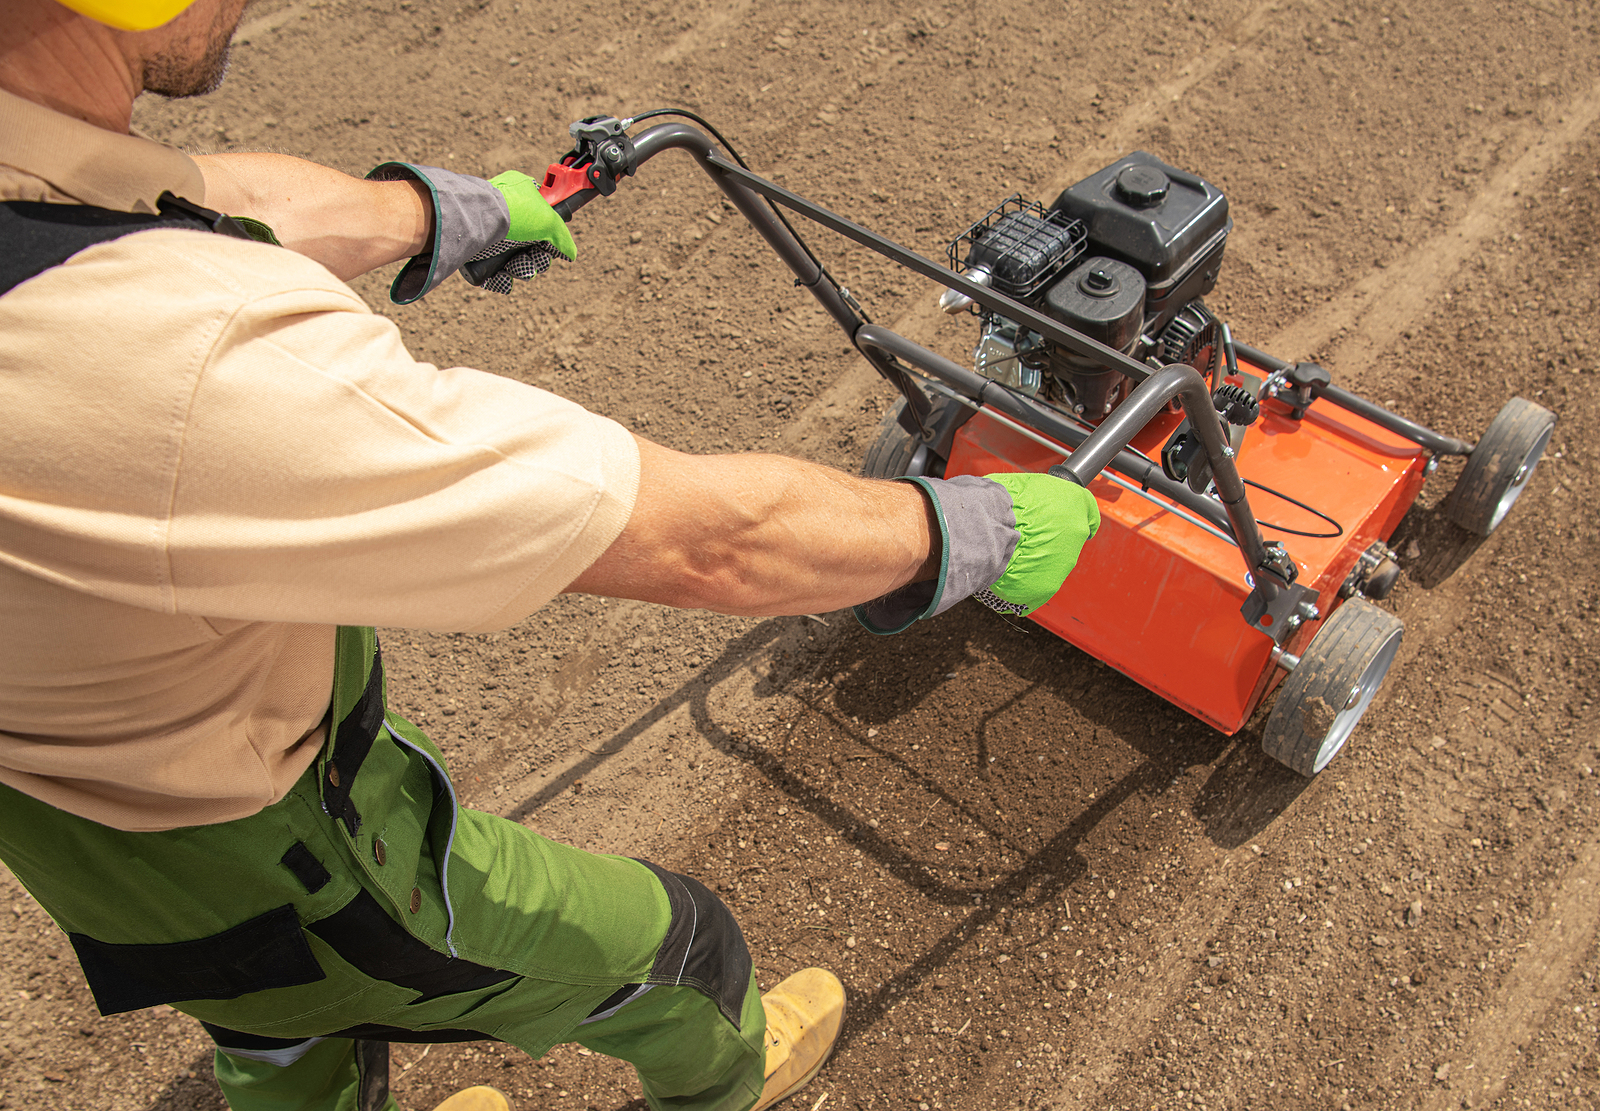
While many homeowners hire a landscaping company to aerate the lawn, it is an easy DIY project.

You’ll need a aerator, of course, and they’re available to rent at big home improvement stores such as Lowe’s and Home Depot. Ensure that you understand exactly how to use the tool and all the safety information the store can supply.

  • Check to ensure that sprinkler heads or other lines won’t be run over or otherwise damaged during the process. Mark areas of concern so that you can keep away from them while aerating.
  • Mow the lawn and apply an inch of water the day before you’ll be aerating.
  • Go over the lawn again, removing any debris, such as twigs and large leaves.
  • One pass is all you’ll need if the soil is lightly compacted. Heavily compacted soil may need an additional pass.
  • Allow the soil plugs to remain on the lawn (they’ll add nutrients to the lawn as they decompose).
  • Water the lawn again when you’ve finished aerating it and then water again every three days for two weeks.

Hey condo owner: Do you know what your HOA is up to?

One of the most frustrating aspects of being a real estate agent in the current market is trying to find homes for our first-time homebuyers. Often, they’re snatched up or in multiple offer situations immediately after being listed.

The condo market is just as popular with these homebuyers, by the way. In fact, I’m working with a lovely couple right now who need a very low-priced condo for sale.

Searches of the MLS don’t yield much but this morning I did find several. I looked first at how long they’ve been on the market and all of them have been sitting longer than normal for this fiery sellers’ market.

In fact, the lowest priced condo has been on the market for almost a year. Now why, I thought to myself, is that?

I sleuthed

So, I then looked at the photos to see if there was anything there that might explain why an inexpensive condo isn’t flying off the market. Aside from a very dated kitchen with a missing refrigerator I didn’t see any obvious flaws.

Then, it grabbed me – $270 a month HOA fees. Now, that may not seem like a lot to some, but for someone who needs a starter home and an $80,000 price tag fits the budget, it could be a deal breaker.

FHA certification is important

But there’s another reason it may not be selling. The majority of first-time homebuyers use loans backed by FHA and it has stringent qualifications when it comes to condos. Most significantly for the homebuyer, the condo community, not just the unit, must be FHA-approved to get FHA’s backing for a loan and many across the country aren’t.

It just so happens that this particular community is not FHA approved so between the high monthly HOA fees and the fact that it’s not approved for an FHA loan, the poor homeowner is having a rough time selling.

Pay attention to your HOA

If you own a condo, it’s important to be active in your Homeowners Association. Even if all you do is attend the meetings, it pays to know what is going on.

For instance, if the ratio of rentals to owner-occupied units happens to increase to more than half of all units, your community will lose its FHA approval. Even with some conventional loans there’s a cap on rentals (30 percent with Fannie and Freddie).

If 15 percent or more of the community’s homeowners are behind in their association dues, if someone decides to sue the association and it enters litigation or if the association’s cash reserves fall below one year’s worth of the fees collected, the community may lose FHA certification.

The biggest problem is the first one I mentioned – too many tenants. The wise buyer will refuse to buy a condo where the HOA doesn’t impose a cap on rentals. Then, he or she will be vigilant in monitoring the enforcement of that cap.

Hey, it’s important to pay attention to the future resale value of your property and the longer a home remains on the market the less you’ll make on it. If you can’t sell it at all, it’s worthless, right?

If you want to check if a particular condo community is FHA certified, check HUD’s website.

Use your senses to detect problems with your home’s pipes

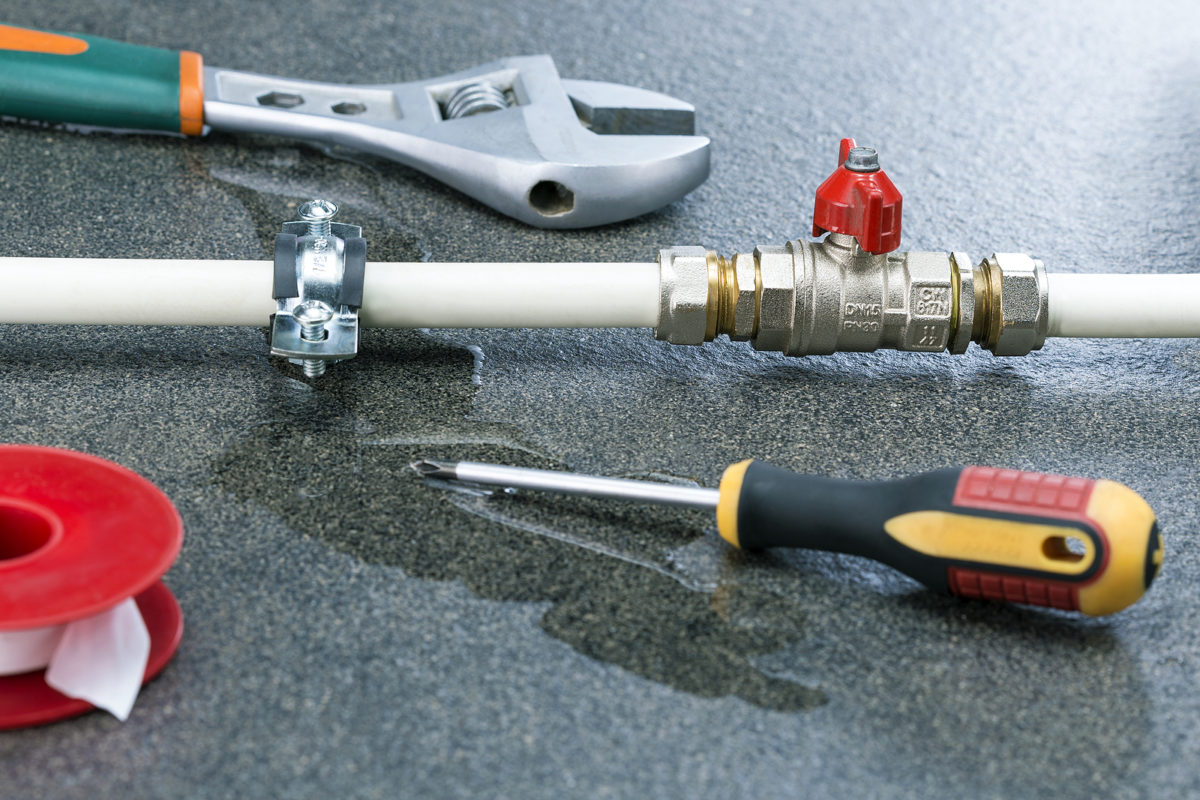
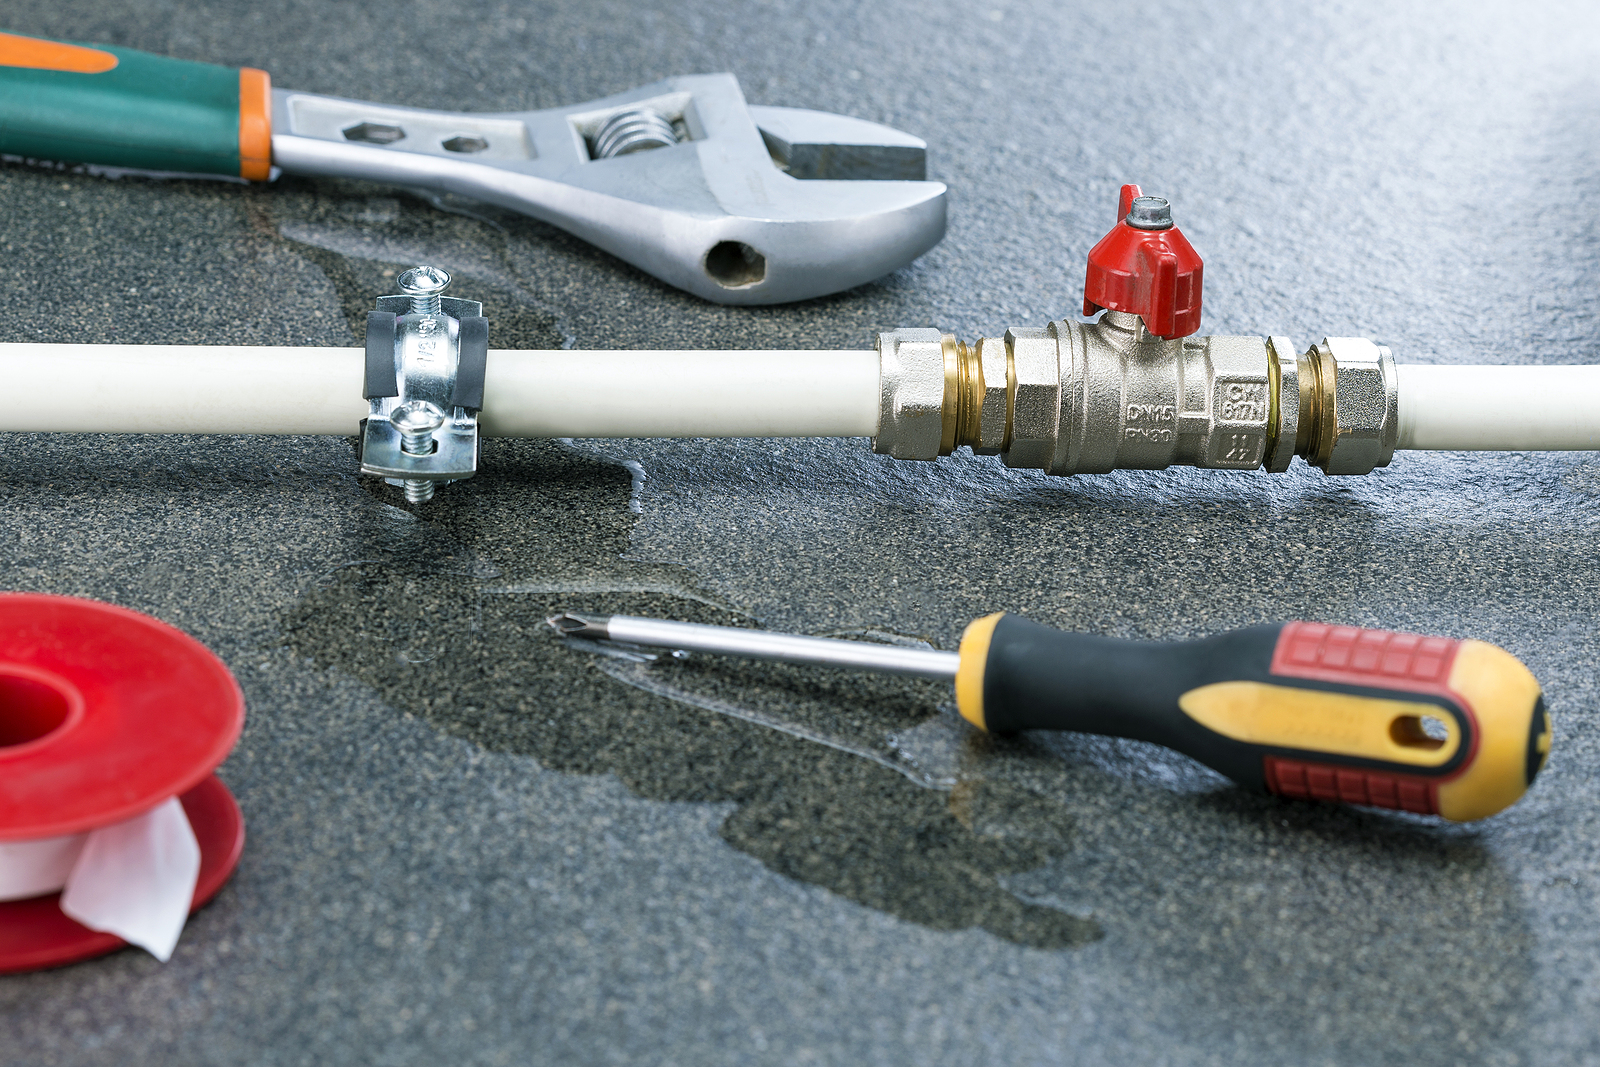
Some of the problems in homes that can cause the most damage may be challenging to detect. Your pipes, for instance, are hidden behind walls. When they spring a leak, you may not know about it until mold forms, you notice water damage or your water bill skyrockets.

By then, the damage will be pricey to remedy.

Thankfully, some of the most common pipe problems give clues; you just need to know what to smell, look or listen for.

Use your sense of taste

If your water tastes odd or stinks, don’t drink it.

“Foul-smelling or bad-tasting water are signs of impurities,” according to the experts at the Water Quality Association (WQA).

If the water tastes salty, there may be hydrogen sulfide in the pipes. Caused by bacteria, you’ll need to find the source and eliminate it. Your plumber can help you here.

Does the water taste metallic? “It may be a sign of mercury, lead, copper, arsenic, or iron in the water,” cautions the folks at WQA. It may be originating from the pipes themselves.

What’s that smell?

One of the more common odors when there’s a problem with pipes is that of a rotten egg, which the WQA says is also indicative of hydrogen sulfide in the water.

Catch a whiff of turpentine? There are a number of reasons for this, none of them pleasant, so call your plumber for an inspection and drink bottled water in the meantime.

Listen

If you hear banging when you turn on the water in the home, it may be a sign of a major problem, according to the experts at American Home Shield (AHS).

There is actually a name for that sound, “water hammer,” and it can damage connections and joints in the pipe. The folks at AHS tips to help you solve the problem:

  • Start by turning off the water at the main supply (this is usually located at the street).
  • Open all the faucets in the home and allow them to drain completely before closing.
  • Turn the water main back on and open the faucets again.

“The incoming water will flush the air out of the pipes but not out of the vertical air chamber, where the air supply has been restored.”

Finally, if you notice rust, stains or flaking on any visible pipes, they may be corroding and, if not replaced, will most likely spring a leak.

A good plumber will use your observations when making a diagnosis. Ensure you check references and that the plumber is licensed and insured.

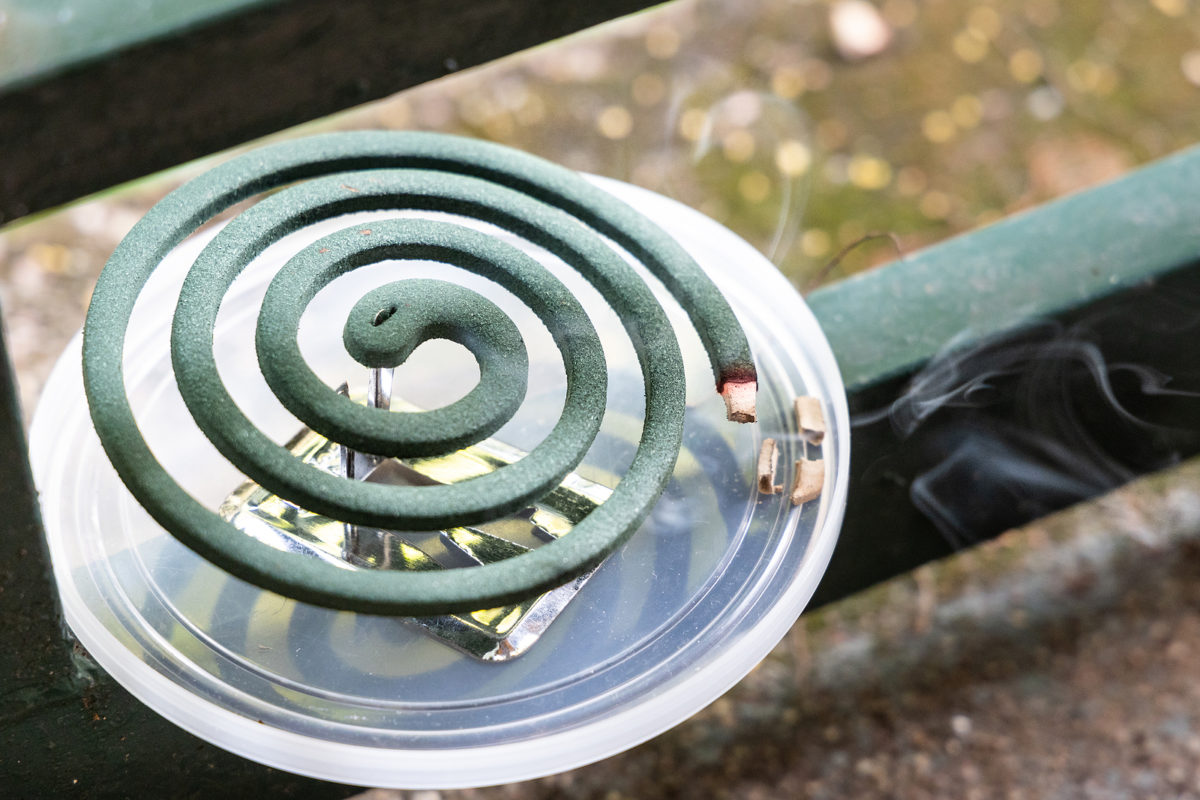
Outdoor entertaining? Get rid of mosquitos naturally

There are two things that qualify to be the bane of summer: flies and mosquitos. Entertaining outdoors seems to triple the pests and their ability to irritate and annoy guests.

Luckily, we found some simple tricks to keep mosquitos at a distance while you enjoy friends and family in your outdoor living space.

Use a fan

Fortunate is the homeowner who has an overhead fan on the patio. “The breeze outdoor fans provide makes it more difficult for these annoying critters [mosquitos and flies] to fly, so they tend to stay away from wherever the fan air flows,” according to the pros at lasco.com.

An oscillating fan or two is the ideal solution because they spread the breeze out more than a stationary fan.

The folks at Lasco also recommend that you consider a fan with a misting apparatus “… for an extra cooling effect.”

If you’ll be buying a floor fan for your next get-together, keep these tips in mind:

  • Look for one with remote control.
  • Large controls that make it easier to see in low-light conditions come in handy in the evening.
  • Ask to plug in and operate the model you’re interested in to make sure it’s quiet enough at high speed to hold a conversation.
  • Ensure that the fan is intended for outdoor use, with grounded plugs and cords and moisture-proof casings.

Get rid of sources of standing water

One of the most common sources of mosquitos is anything that collects rain or irrigation water. This includes:

  • Kiddie Pools (keep the water fresh)
  • Planting pots and saucers
  • Watering Cans
  • Buckets
  • Open trash cans
  • Puddles in your lawn
  • Rain Barrels
  • Tarps
  • Kid’s Toys
  • Birdbaths (keep the water fresh)
  • Wheelbarrows

Seek out even the smallest sources of standing water. All it takes is 1/4 inch of water for a mosquito to “… lay hundreds of eggs at a time—so even very small sources can become a big problem,” according to the experts at the Vector Control Program of San Diego.

Get more tips on how to deal with standing water in your backyard by visiting the U.S. Centers for Disease Control’s (CDC) website.

Set up a defensive perimeter

The folks at the Today Show suggest that you surround the backyard with “… tiki torches with citronella or other insect repellent oil to combat insects.”

In reality, there are no studies that prove citronella’s effectiveness against mosquitos. The CDC, however, suggests that oil of lemon eucalyptus (OLE) is a good alternative.

NOTE: The Mississippi Department of Health says that “Oil of lemon eucalyptus and lemon eucalyptus oil are not the same product.”

Cover your food and drinks

Backyard barbecues are a beacon for lots of flying insects, such as flies and wasps. Cover all food dishes and drinks to keep them at a distance.

Martha Stewart offers up a tip for covering drinks:

  • Use a hole punch to punch a hole in the bottom of paper cupcake holders.
  • Turn the cupcake holders upside down and place them over the drinks, sticking straws through the punched hole.

Avoid mosquito myths

You’ll find plenty of mosquito repellent myths online. Avoid the bad and misleading information by typing “site:.edu” or “site:.gov” (without the quotation marks) after your search term. For instance:

“How to deter mosquitos site:.edu”

Here are a two of the most popular myths you’ll find online:

  • Mosquitos dislike geraniums or essential oils derived from geraniums (National Institutes of Health). Geraniums and pelargoniums have no effect on mosquitos.
  • Citronella candles and other products deter mosquitos. The truth is “Oil of citronella products … have little effectiveness against mosquitoes.” (Mississippi State Department of Health)

Most of the plant-based repellents suggested for mosquito control are not the plants themselves, but the distilled essences.

For more information on finding the right mosquito repellents, consult the U.S. Environmental Protection Agency’s database.

Get started with smart home technology

Whether it’s trying to remember to turn on the porch light at night or the constant fiddling with the thermostat in your home, the day will come when you’ll decide, once and for all, to look into all the hoopla about smart homes.

You’ll soon learn that not only does a connected home offer convenience, but, if done right, it can save you money too. Want to learn more? Check out our tips for the three must-haves to get your home on the road to becoming smarter.

Start with a hub

A hub is the boss of all the connectivity devices you add to the home, controlling each one according to your parameters. You can choose from a wide range of hubs, from budget to ultra- expensive.

Our go-to review site, TomsGuide.com, chose several hubs that they claim are the best of the best for 2021:

  • Best smart-home hub for those on a budget – Amazon Echo Dot
  • Best overall smart-home hub – Samsung SmartThings Hub (Version 3)
  • Best for the hardcore techie – Hubitat Elevation Home Automation Hub

Now that you have the hub, it’s time to decide what else you’d like to add to your smart-home arsenal.

No more hitting switches

If you’re like a lot of consumers, you bought or were given a smart speaker, such as the Echo, with Alexa built in.

While getting weather and news reports, lullabies for the kids and reminders for you are some of the conveniences Alexa offers, she (and other voice assistants) is capable of so much more.

So, which smart home gadget do most people buy first?

The smart plug. It’s inexpensive and versatile. While the experts at TomsGuide.com recommend the Wemo WiFi Smart Plug, those at PCMag.com suggest the Wyze Plug.

Plug the smart switch into a wall outlet and use Apple, Alexa’s or Google Home Assistant’s app to control whatever you plug into it. For instance, we have a friend who uses hers to turn on and off the grow light over her vegetable seedlings in early spring.

Plug a lamp into it and then tell Alexa to turn it off or on, at a given time each day. “It’ll let you automate anything you plug into it — lamps, desk fans, crock pots, space heaters, you name it,” says CNET.com’s Ry Crist.

Security

Another popular beginner smart home gadget is some sort of security product.

TomsGuide.com highly recommends the Arlo Q security camera, “… which is one of the best smart home devices designed for giving you peace of mind.”

The doorbell cams are big sellers. Connected to the internet, the systems allow the user to monitor their homes from any smart device.

Video doorbells such as Nest Hello get the nod from TomsGuide.com while the folks at CNet.com choose Arlo Essential Video Doorbell.

On a budget? Check out Ring Video Doorbell Wired, “The cheapest Ring video doorbell — with some compromises,” according to the review at TomsGuide.

Smart door locks follow close on the heels of the security cameras in popularity. Lock or unlock doors remotely and you can choose to access your home either keyless or with keys (depending on brand).

Speaking of brands, the August Wi-Fi Smart Lock is hands-down the experts’ favorite.

Set up a “scene,” and your voice assistant can put all of these elements together. For instance, say “Alexa, goodnight” and she’ll dim the lights, ensure the thermostat is where you want it while you sleep, and lock the door.

It doesn’t get more convenient than that.


Is it time to replace your windows?

From humans to rocks, everything ages. The average life expectancy for a water heater, for instance is between 8 and 12 years, according to the experts at Lowe’s.

Fortunately, the windows in our homes have a much longer life span–up to 20 years, depending on how they’re maintained, what they’re made of and weather, among other factors.

So, how do we know when our windows are about to bite the dust? We consulted the pros; read on to find out what they have to say.

Do they leak?

The best time to check the windows for leakage is while it’s raining or immediately after the rain stops. If the water intrusion has been persistent for some time, however, you may be able to spot evidence of it on a sunny summer day.

Here’s what to look for:

  • Water leaking into the home’s interior from around the windows
  • Discoloration of the window sill
  • Swollen sills
  • Musty smell
  • Signs of mold
  • Signs of moisture between panes in dual-paned windows

Moisture intrusion typically means you’ll need to replace the windows, or, at the least, the glass.

How’s that trim?

Harsh weather over the decades can take its toll on a home’s windows. In fact, if left too long, the damage may be too extreme to repair, according to Justin Bartley at nextdoorandwindow.com.

Inspect the windows from the outside, looking for cracked or rotted trim. Dark spots may be an indication of rot.

Chipping and decay are two other important signs to look for.

Operate properly?

You shouldn’t have to fight with your windows to open and close them. If you do, you may need to replace them.

“Most aging windows develop balance issues, which lead to jamming and sticking,” according to Bartley. “The formation of rust, rotting, or mold may also factor into this, indicating that your existing windows are nearing the end of their service life.”

Drafty?

If you feel drafts when near the home’s windows, or your heating and cooling bills seem higher than normal, check the window’s seals. If they are damaged, you may need to purchase new windows.

The experts at Lee’s Glass in Pensacola, Florida suggest that you take a look at “… the points where your window meets the wall and the sash meets the frame. If you can see gaps or light coming in, there is a good chance your seals have failed.”

The typical American homeowner can save up to $583 per year on heating and cooling when replacing single-pane windows with ENERGY STAR Certified Products, according to the U.S. Department of Energy.

Do you like how they look?

This is an important consideration, especially if you are planning on selling your home in the near future. Not only are energy-efficient windows attractive to homebuyers, but they can dramatically improve the home’s curb appeal.

Although window replacement is expensive, it does have advantages.

3 reasons to never garden without gloves

We recently read a Facebook gardening group post asking “Who else loves to garden bare handed?” We were shocked at the responses, most of which agreed that they do the same.

“I need to feel the soil in my fingers,” said one response.

While garden soil may “feel” good to some, it may also contain toxins that can cause grave illnesses and even death.

Older gardeners and those with compromised immune systems are most at risk of picking up an infection while gardening.

Thankfully, you can avoid these nasties. But first, an introduction.

Sporotrichosis

Commonly known as “rose gardener’s disease,” sporotrichosis is caused by Sporothrix, a fungus that thrives in plant matter and in soil.

Although most of the gardeners who’ve suffered a bout with this nasty critter contracted it by a thorn puncture, it can also enter our systems via inhalation, according to the Centers for Disease Control (CDC).

The first sign of an infection, a bump on the skin, may not be apparent for up to 12 weeks, but may show up as early as one week.

“The bump can be red, pink, or purple, and usually appears on the finger, hand, or arm where the fungus has entered through a break in the skin,” according to the experts at the CDC.

“The bump will eventually grow larger and may look like an open sore or ulcer that is very slow to heal. Additional bumps or sores may appear later near the original one.”

This disease may result in infections in other parts of the body, such as joints, nervous system and lungs. Diabetics are at an increased risk for contracting sporotrichosis, according to the New York State Department of Health.

Legionellosis

The most common cause of Legionnaires’ disease is the bacterium Legionella pneumophila. Most cases of the disease are from the water-borne bacterium, however the Mayo Clinic says that “A few people have contracted Legionnaires’ disease after working in a garden or using contaminated potting soil.”

The disease is a form of pneumonia

Although rare for gardeners, the CDC claims that “… transmission from potting soil has occurred …” in the U.S.

CDC experts recommend that gardeners wear gloves and a dust mask when handling compost and potting mix.

Sepsis

Manure is great for our plants but not so much for us.

“Bacteria such as Escherichia coli, Salmonella, Campylobacter jejuni, and Listeria monocytogenes are often present in gardens as a result of using cow, horse, chicken or other animal manure,” according to Mark Blaskovich, senior research officer at the University of Queensland in Australia.

Infections with any of the aforementioned can lead to sepsis, a serious blood infection.

In fact, Blasovich refers to a case in England, “… where a 43-year-old solicitor and mother of two died five days after scratching her hand while gardening.”

Again, the use of gloves can go a long way in avoiding this disease.

Additional gardening safety recommendations include:

  • Apply a wound dressing to cover scrapes, cuts or other open lesions on your arms and hands
  • Always wear gardening gloves when working with soil and plants.
  • Purchase puncture-proof gloves, elbow length, when working with and around roses.