
Moving is bad enough, but moving in wet, muddy, sloppy weather should be illegal.
Alas, it’s not, and if you have no choice but to move during winter, do yourself a favor and hire professional movers.
If that’s not possible, pay heed to 5 of the most important tips from the pros.
1. What will you do with pets and kids?
You’ll need to work quickly during a winter-weather move and, since children and pets tend to get in the way during periods of excitement, find a place to “stash” them during the process.
Consider asking a family member to watch the kids or hire a sitter. Pets can be placed in boarding where they’ll be safe.
2. What does the weather service say?
The best way to remain updated on weather conditions is with an app on your phone.
AccuWeather offers a free weather app and also a brilliant Road Trip Planner (you’ll need your laptop for this).
Many local TV station news departments offer apps that provide local weather alerts. In Minnesota, for instance, movers can download the CBS Minnesota app, or get road condition information from the Department of Transportation.
Check their websites or search iTunes or Google Play for a region-specific app.
3. Pack the necessities first
The last thing you’ll want to do after slogging through messy weather is to have to go through all those boxes to find the essential items you’ll need right away.
Before packing anything else, fill a box with the following:
- Old towels and rags to wipe wet floors.
- Snow/ice removal items, such as a shovel, ice scraper and a walkway de-icer
- A change of clothing for all family members (including dry shoes or boots)
- Snacks
- Food for the pets (don’t forget the bowls)
- Several large bottles of drinking water
- Any medications you take daily
- Bathroom items such as a shower curtain, shampoo, soap, toilet paper
- Valuables
- Coffee maker and everything to go with it
- Things to keep the kids occupied
Place the box in the trunk of your car.
4. Protect your electronics
“Electronic components can develop condensation as the temperature decreases,” according to the experts at Bekins. “This condensation can cause water damage or even short circuiting,” they caution.
Think “insulation” when considering how to protect your electronics. First, wrap each item in bubble wrap, then in a blanket. Place each item in a bubble-wrapped box and seal it tightly. Then, wrap the box in either bubble wrap or a moving blanket.
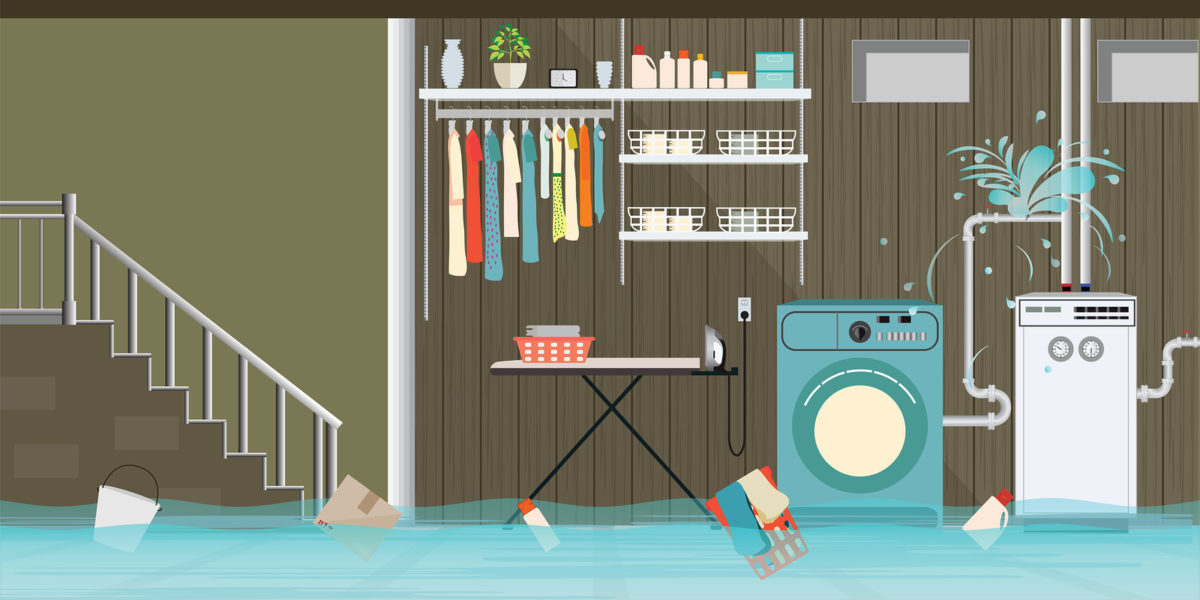
5. Use extra care when moving appliances
As soon as you move in, you’ll be tempted to get the washing machine and dryer set up, but don’t give in to the temptation.
Appliance manufacturers say that washers need to sit for at least 12 hours. This is to ensure that any traces of water that remained in them while moving hasn’t turned to ice, which could damage the appliance.
And, yes, the dryer needs to come to room temperature as well. Otherwise, the igniter and heating element may become brittle.
Sudden changes in temperature can also be lethal to your electronics, so unwrap them and allow them to sit for a while.