“Buying a home is one of the biggest investments you’ll ever make,” is one of the first “tips” you’ll receive when surfing the internet for information about the process.
The statement is ubiquitous, it’s also an understatement and so self-evident that it’s become a cliché.
Most important, though, is that it’s a statement that induces panic.
Don’t let the words get to you. Yes, you’re making a major financial investment when you buy a home, but you’re also buying a HOME. This is a place to live, to build memories and to surround yourself with the things and people you love.
The keys to dealing with homebuying panic include:
- Gaining knowledge about the process
- Adequate preparation
- Following the steps, in order
All of these steps begin with the assistance of one person: your real estate agent.
Knowledge: a brilliant cure for anxiety
I see you shaking your head – yes, suggesting that you choose your real estate agent carefully seems a bit self-serving. That doesn’t make it any less pertinent though, right?
We’re hardwired to fear, or feel threatened by, what we don’t understand. Without getting too technical, there’s a small part of our brain, the amygdala, that tells us when to be afraid, according to some scientists. Short of surgically removing this small, almond shaped structure, the only way to deal with fear is to face it, head on.
“Stress-hardy people focus their energy on those events that they have influence over, rather than situations beyond their control,” according to experts at the University of Minnesota.
And, while there are several aspects of a real estate transaction over which you have no control, there are many more over which you do.
Educate yourself about the buying or selling process by boning up on mortgages, on how to choose your real estate agent and on the processes that will follow and feel your anxiety melt away.
Then, take a preparation and call me in the morning
Even the most experienced professional real estate agent experiences the quickened heartbeat and clammy hands when buying or selling property. The difference between you and them, however, is their experience. They know what to expect, when, so the process is far less foreign.
Being prepared, not only with knowledge, but with practical steps to success, is worth its weight in gold in a real estate transaction. Once accomplished, the typical concerns of a novice fall by the wayside.
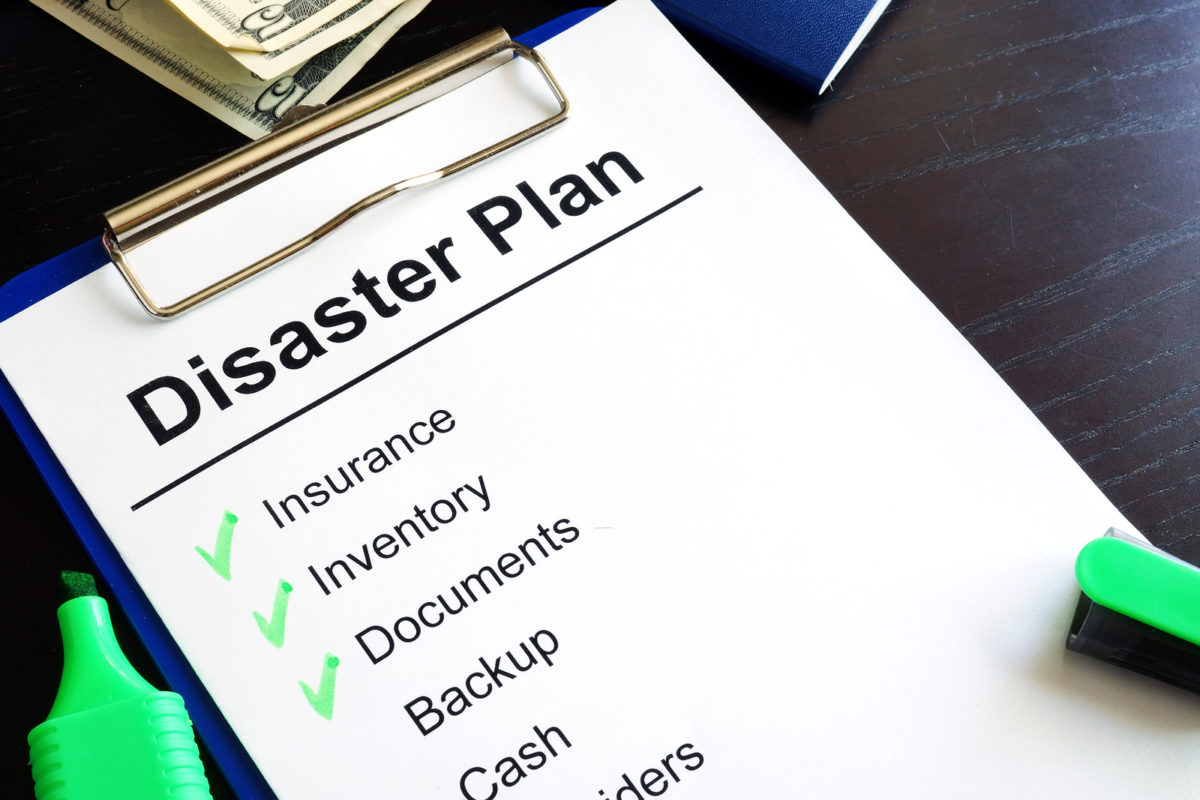
Planning is everything
If you won’t be paying cash for a home, you’ll need a mortgage, so the lending process is a good place to start your prep.
To ease your fears, you’ll need to know exactly what will be required to get the money you need for the least amount of effort and at the best price. This means fixing issues with your credit, raising your credit score and saving cash for the down payment and closing costs.
Learn all you can about the mortgage process. Freddiemac.com offers a brilliant walk-through of the process and who is involved in it.
Then, it’s time to get loan preapproval. Remember, the preapproval is an offer from a lender, not a commitment, so don’t just see one lender, but several. Compare the annual percentage rates offered and the terms.
Now that you know how much you can spend on a home, determine where you can afford to live and get crystal clear on what you want in a home. Yes, make a list and then check it, add to it, delete from it, but for heaven’s sake, share it with your real estate agent.
And, choosing that agent is the next step. Surprisingly, most real estate consumers choose the first agent they speak with, according to the National Association of Realtors.
You, on the other hand, won’t make that mistake. You will be spending a lot of time with your agent, so it’s important to ensure that you choose the right one.
-
- First, the agent must be an ace communicator. Does he or she return calls, emails and texts in a timely manner? Is her knowledge freely given? Does he communicate in easy-to-understand terms?
- The agent you choose should also be a good listener. As you speak with agents, pay attention to whether or not they are truly listening carefully to your priorities. The last thing you want is an agent who doesn’t listen and insists on showing you homes that don’t fit what you want.
- Next, the agent should be experienced in the areas of town in which you’ll be house hunting. Agents who are more active in your chosen neighborhoods tend to be familiar with the market trends, schools and proposed developments nearby that could impact a home’s value in the future.
- Finally, how’s the chemistry? “Finding the right agent takes balancing credentials and chemistry,” according to the experts at CNN Money. As mentioned earlier, you’ll be spending a significant amount of time with your agent. Don’t add to your stress by choosing one you don’t enjoy spending time with.
Once you’ve chosen your agent, get all the answers you need to relax into the process. Curious about what forms you’ll need to sign and their function? Ask your agent for blank copies so you can familiarize yourself with them. Wondering what happens when you make an offer? Ask your agent to walk you through the process.
Typical homebuyer concerns that you CAN deal with
What if I can’t make my payments?
This is why we suggest that you see a lender first. You’ll be given an estimate of the maximum loan amount for which you qualify. If monthly finances are a concern, plan on buying a home well below that amount.
What if I overpay for a home?
This simply will not happen if you hire the right real estate agent. To ease your mind, ask your agent (if he or she doesn’t offer) to run a comparative market analysis on any home for which you plan to make an offer. Knowing the home’s market value will help you structure your offer.
What if there are problems not uncovered during the home inspection?
Even with the most extensive due diligence, problems with a home may not be revealed. Keep in mind that, although a professional home inspection is a must, you don’t have to stop there. You are free to hire a roofer, plumber, electrician, general contractor, engineer and any other inspector you please to produce additional reports.
Throughout the homebuying process, keep checking your home buying plan, take the steps in order and tell your internal threat detector to chill. You’ve got this.