Feeling anxious about buying a home? There’s a cure for that

I think most of us remember buying our first home. Such a mix of emotions involved! Elation, fear, anxiety, and excitement all rolled together.

It’s perfectly normal to feel all of these things, but it is also necessary to try to curb the more negative feelings during the process.

There are numerous ways to deal with emotions without them becoming destructive or disruptive. Let’s take a look at a few of those.

Someone to lean on

Although a step we’ll explore later on will help you learn more about the home-buying process, nobody expects you to be an expert in the beginning.

In fact, most folks who have bought homes will tell you to hire an expert. That would be an experienced real estate agent.

Choose your agent carefully. If you need periodic check-ins by telephone, ensure the person you choose is responsive. If you crave knowledge about the process, choose an agent with patience who can put complicated financial terms into plain English. Finally, ensure your agent is someone you feel comfortable with and can build rapport with.

Visit with a lender early in the process

You’ve probably heard this “tip” before. Most of the advice you’ll find online claims that the reason for the early visit is to become pre-approved for a loan. Sellers, they say, are more comfortable with pre-approved buyers.

While that is largely true, a more important reason to see a lender early in the process is to determine how much you can spend on a home. This allows you to shop smart for a home that won’t break the bank when all is said and done.

Stick to a monthly payment figure (including principle, interest, taxes, insurance, and HOA fees, if any) that you know you can comfortably cover and refuse to go beyond that.

Once you know the maximum amount you will spend on a home, you can ask your agent to not show you homes over that figure. This will go a long way in helping get rid of anxiety.

Get educated

Most savvy homebuyer’s real estate agents understand there is much to know about buying a home that the average American can’t possibly know. Because of this, they provide lots of educational materials on their websites.

This is great for buyers who do best when teaching themselves.

Not all of us can learn that way; however, knowledge, as they say, is power. Consider attending a first-time homebuyer course.

Fannie Mae offers one you can take online; it is free of charge, it’s taught in English or Spanish, and you will receive a certificate at the end of the course.

Knowing the process and what to expect along the way is empowering and will build your confidence. No anxiety for you!

The Savvy Homebuyer’s Guide: Performing a DIY Home Inspection (in Addition to Hiring a Pro)

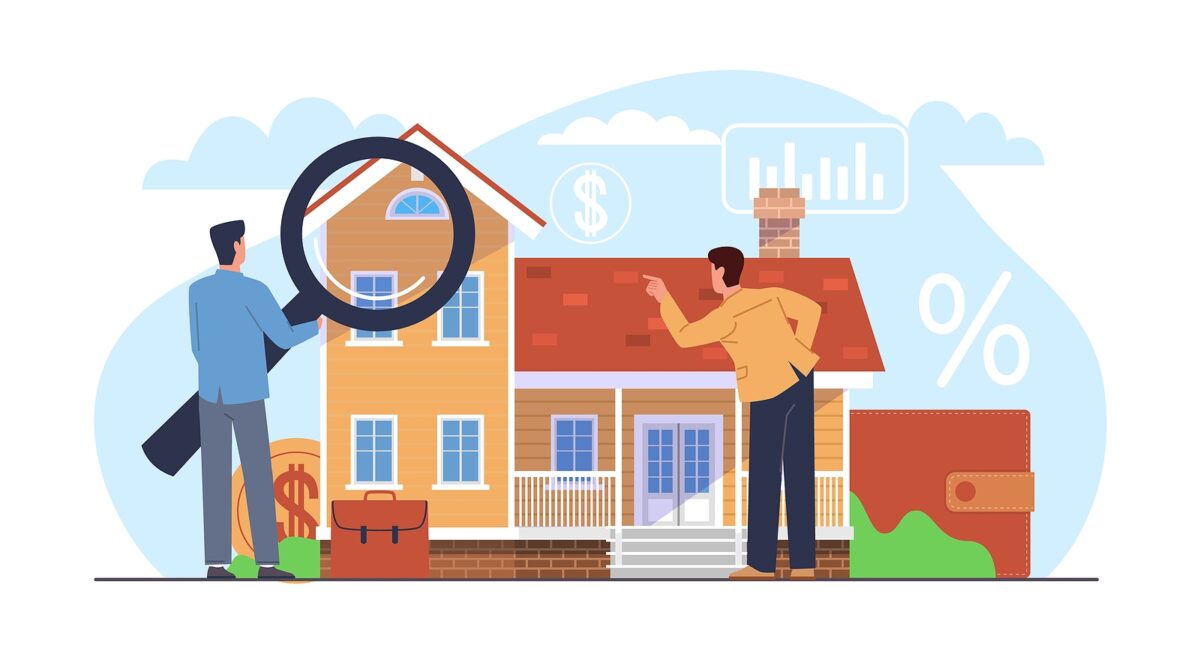
So, you’ve finally found “the one” – your dream home. The excitement is real, but before you dive headfirst into making an offer, it’s crucial to thoroughly understand the property’s condition.

That’s where a home inspection comes into play. While hiring a professional home inspector is highly recommended, there are a few things you, as a savvy homebuyer, can do to perform your own DIY home inspection. Today, we’ll walk you through the process, giving you peace of mind and helping you perform your due diligence.

First, we need to be very clear

A DIY home inspection does not replace the need for a professional inspection. A qualified home inspector has the experience, knowledge, and equipment to identify potential issues you might overlook.

However, conducting a preliminary inspection yourself can help you spot any obvious red flags and provide a foundation for meaningful discussions with the professional inspector. So, let’s roll up our sleeves and get started.

Start with a visual assessment

Take a good look at the exterior of the house. Look for any signs of damage, such as cracks in the foundation, peeling paint, or sagging gutters. Walk around the property, checking the condition of the roof, windows, siding, and doors. Take note of any visible issues that might require further investigation.

Inspect the electrical system

Begin by checking the condition of the electrical panel. Look for signs of rust, burn marks, or loose connections.

Test the light switches and outlets in different rooms to ensure they are functional. Pay attention to any flickering lights or buzzing sounds which might indicate electrical problems.

Feel the outlet plates. “Electric current may make a switch plate slightly warm to the touch, but if the outlet is uncomfortably hot, turn off whatever is plugged in and try it in another outlet.”

“If the outlet grows hot even without anything plugged in, it may be wired incorrectly,” according to the professionals with Underwriters Laboratory, a non-profit organization that performs testing for public safety.

They also recommend that you check the outlets in the kitchen and bathrooms. “… both require special shock-resistant outlets called ground fault circuit interrupters (GFCIs).” These are the outlets with two buttons on the face, often one red and one black.

Examine the plumbing

Check for leaks under sinks, around toilets, and in the basement or crawlspace. Run faucets in all sinks and showers to test water pressure and drainage.

Flush toilets to ensure they are in proper working order. Don’t forget to inspect the water heater and look for any signs of corrosion or water damage.

Assess the HVAC system

Test the heating and cooling systems to ensure they are working properly. Adjust the thermostat and listen for any unusual noises coming from the furnace or air conditioning unit.

Investigate the home’s structural integrity

Look for any cracks or unevenness in the walls, floors, or ceilings. These could be signs of foundation issues or settling. Rockford Mutual Insurance Company offers a list of additional things to look for that may indicate foundation problems.

Open and close doors and windows to ensure they operate smoothly. If possible, access the attic or crawl space to check for any signs of pests, water damage, or insulation problems.

Check for water intrusion

Inspect the basement or crawl space for signs of water intrusion, such as dampness, mold, or mildew. Look for moisture stains on walls or ceilings throughout the house, which could indicate leaks or previous water damage.

Evaluate the exterior

Walk around the property and assess the condition of the siding, roof, and gutters. Look for any signs of damage, missing shingles, or loose gutters that could potentially lead to water infiltration.

Don’t forget the yards

Stroll through the yard, paying attention to the grading and drainage. Ensure that water flows away from the foundation to prevent water-related issues. Look for overgrown trees or branches that threaten the house or power lines.

Remember, while a DIY home inspection can provide valuable insights, hiring a professional home inspector to comprehensively examine the property is essential.

A professional will thoroughly assess the structural elements, electrical and plumbing systems, and more, using specialized tools and expertise. Their unbiased evaluation will give you a comprehensive understanding of the property’s condition, helping you make an informed decision about your purchase.

When hiring a professional home inspector, do your due diligence. Seek recommendations, read reviews, and ensure they are licensed and certified.

Accompany the inspector during the inspection, ask questions, and take notes. This will further enhance your understanding of the property and any potential issues.

Combining your initial assessment with a thorough professional inspection gives you the confidence to make an informed decision about one of the most significant investments in your life – your new home.

What is due diligence when buying a home and why it’s so important

Buying a home is an exciting and significant milestone in one’s life. In fact, it can be so exciting that many homebuyers are solely attracted to the cosmetics of a home or another hot button on their wish list and neglect performing due diligence.

Due diligence, by the way, refers to the process of conducting thorough research, inspections, and assessments to verify the property’s condition and evaluate any associated risks.

Today we dive into what due diligence entails when purchasing a home, providing you with valuable insights to make informed decisions and avoid potential pitfalls.

Understanding due diligence

You’ll have several opportunities along the way to closing to gather information and assess whether the home meets your expectations and aligns with your financial goals.

Due diligence typically occurs after the seller accepts your offer but before closing the sale. Some duties are routine, such as the professional home inspection, seller disclosures, HOA documents, appraisal, and title search.

You must learn all you can about the home before closing. Anything that pops up after that will be your responsibility to remedy.

The importance of inspections

One vital component of due diligence is conducting a professional home inspection. A qualified inspector to thoroughly evaluate the property can uncover potential issues that may not be visible to the untrained eye.

The inspection may cover the structure, electrical systems, plumbing, HVAC, etc. The findings from the inspection can help you make an informed decision about whether to proceed with the purchase, negotiate repairs or price adjustments, or even walk away if the issues are significant.

Keep in mind that a whole-home inspection is a visual inspection. The inspector can’t look behind walls, pipes, or floorboards. If you suspect a problem after the inspection, hire a professional specific to that problem to check it out. This might include a plumber, electrician, roofing contractor, or HVAC specialist.

Research the neighborhood

Another crucial aspect of due diligence is researching the neighborhood in which the home is located. Explore factors such as proximity to schools, parks, shopping centers, transportation, and other amenities important to you.

Additionally, research the area’s crime rates, future development plans, and any potential nuisances or restrictions that may affect your lifestyle. By understanding the neighborhood, you can determine if it aligns with your needs and preferences, ensuring your long-term satisfaction with the home.

Financial considerations

Due diligence also extends to financial aspects. This includes thoroughly reviewing the terms of the purchase agreement, understanding any contingencies, and ensuring that the property’s title is clear.

You may also want to consult a financial advisor to navigate complex financial aspects like loan terms, mortgage options, and tax implications. By conducting a comprehensive financial analysis, you can ensure that the home is a sound investment and fits within your budget.

Additional considerations

While inspections, neighborhood research, and financial analysis are crucial, due diligence can also encompass other aspects, such as:

  • Reviewing homeowners association (HOA) rules and fees, if applicable.
  • Assessing potential environmental concerns or hazards in the area.
  • Obtaining insurance quotes and understanding coverage options.
  • Checking for any pending or past litigation involving the property.
  • Reviewing permits and renovations to ensure they comply with local building codes.

Due diligence is critical when buying a home, allowing you to make informed decisions and protect your investment. You gain valuable insights into the property’s condition, neighborhood, and financial considerations involved by conducting thorough research, inspections, and assessments.

Remember, while the process may involve some extra time and effort, it is a worthwhile investment in ensuring your future happiness and peace of mi

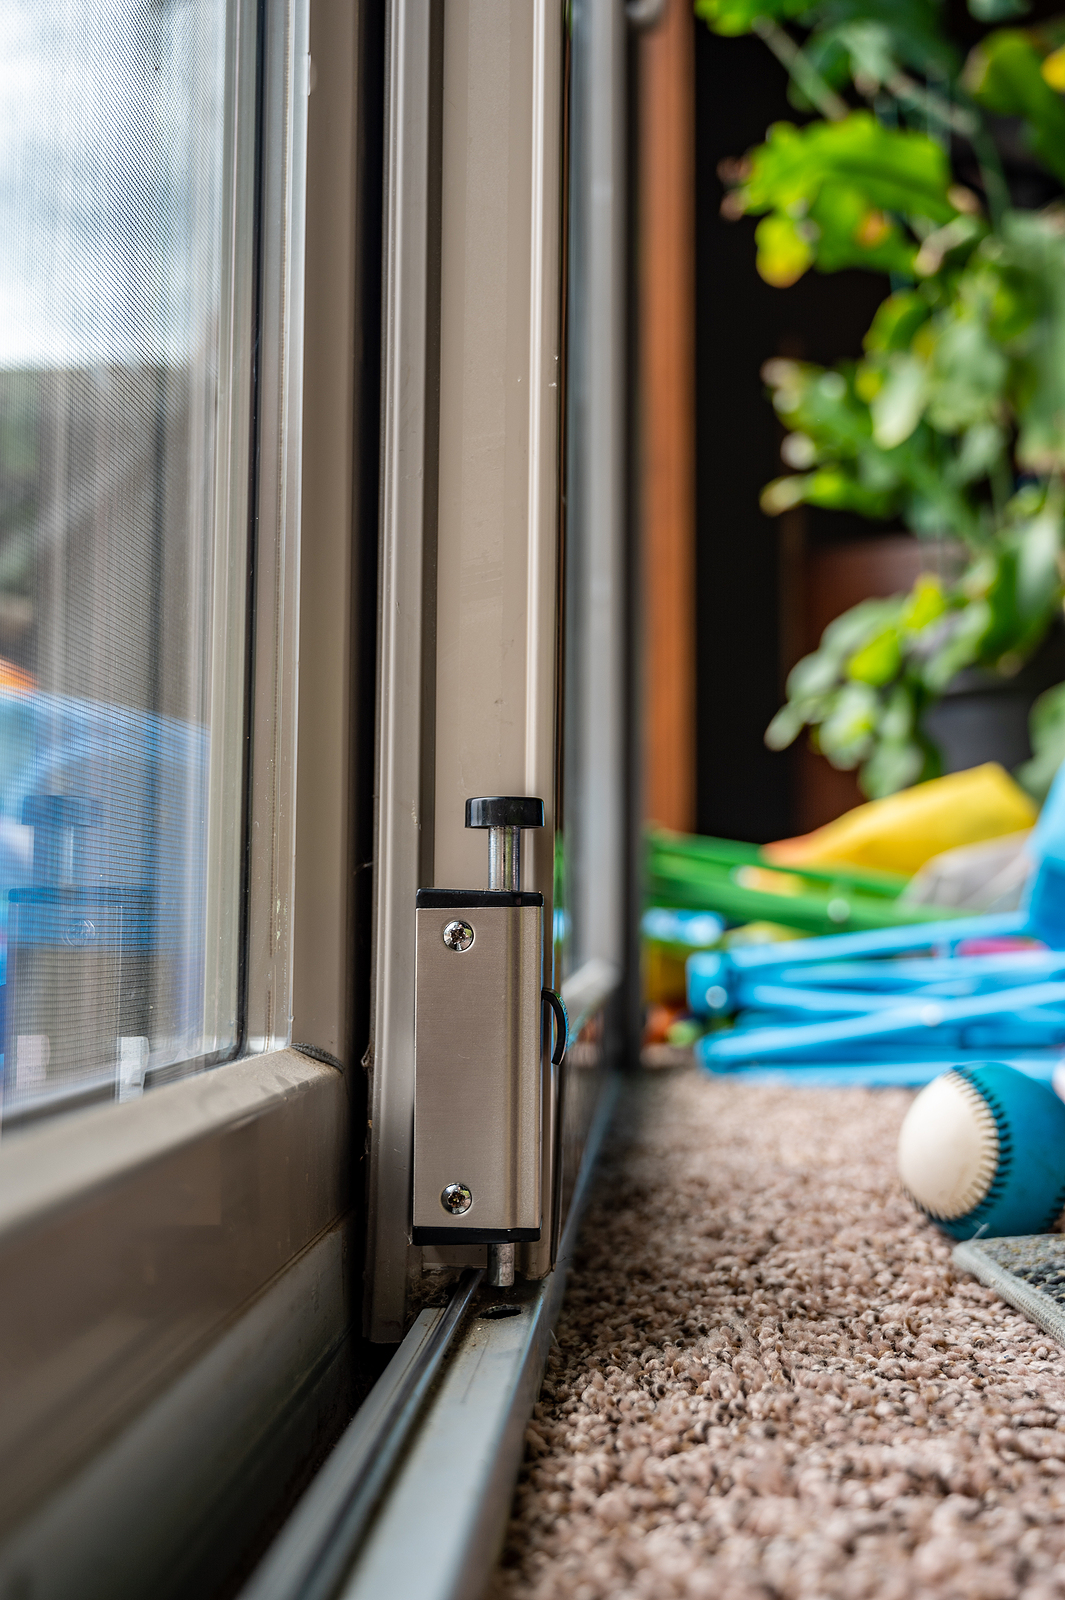
DIY solutions to a sticking sliding glass door

Sliding doors have been around longer than most of us think. In fact, archaeologists say that they were somewhat common in “… Roman houses as early as the first century CE,” according to Martin Whitmore, President of US Window and Door.

In those days, however, the doors hung from the ceiling, so they “… were able to move freely …,” Whitmore concludes.

Fast-forward to post-World War II, glass sliding doors became “the most popular type of door in the world,” according to Whitmore.

Americans have a love-hate relationship with these sliding doors.  Many homeowners claim that they aren’t attractive, like French doors. Others dislike dealing with the common problems of these doors, such as a lack of security and the multiple malfunctions they have faced over the years.

The fact is, however, millions of homes offer this feature.

The most common malfunction is when the door no longer slides as well as it once did. Fighting with it just to get it closed is beyond frustrating.

The good news is that you don’t always need to call a professional to fix the problem. Let’s explore some simple do-it-yourself (DIY) solutions to help you quickly get your sliding door back on track.

1. Clean the tracks

One of the most common reasons for a sliding door sticking is dirt, dust, and debris accumulating in the tracks. To resolve this issue, start by thoroughly cleaning the tracks.

sliding glass door repair

Begin by removing any loose debris using a vacuum cleaner or a brush. Next, mix a mild detergent with warm water to wipe down the tracks. Scrub gently with a soft or old toothbrush to remove any stubborn grime.

Finally, rinse the tracks with clean water and wipe them dry. This simple cleaning routine can work wonders in restoring smooth operation to your sliding door.

2. Lubricate the tracks

Lubrication might be the key if your sliding door is still sticking after cleaning. Applying lubricant to the tracks can significantly reduce friction and improve the door’s sliding action.

Begin by selecting a silicone-based or Teflon-based lubricant specifically designed for door tracks. “Although they may feel slippery when they’re first applied, grease and oil-based lubricants eventually become sticky and will attract dirt that clogs your sliding glass door tracks,” cautions the pros at GlassDoctor.com.

If you’re unsure when purchasing a product, check the ingredient label.  “If you see ‘petroleum’ listed, don’t use it—the lubricant has an oily base,” the Glass Doctor pros conclude.

Apply a small amount of the lubricant to a clean cloth and wipe it along the entire length of the tracks. Make sure to cover both the top and bottom tracks. Move the door back and forth a few times to distribute the lubricant evenly. This simple step can often make a noticeable difference in how smoothly your sliding door operates.

3. Adjust the rollers

Another common cause of a sticking sliding door is misaligned or worn-out rollers. The rollers are located at the bottom of the door and help it glide along the tracks.

To adjust the rollers, locate the adjustment screws on the bottom edge of the door. Using a screwdriver, turn the screws clockwise to raise the door and counterclockwise to lower it. Make small adjustments and test the door’s movement after each turn.

If the rollers are worn or damaged, they may need to be replaced. Consult the manufacturer’s instructions or seek professional assistance to ensure proper replacement.

4. Check the door alignment

Sometimes, a sliding door can stick due to misalignment. Check if the door is properly aligned within the frame. Inspect the top and bottom edges of the door to see if there are any noticeable gaps. If the door is misaligned, you may need to adjust the frame.

Loosen the screws holding the frame in place and gently tap the frame using a rubber mallet until the door aligns correctly. Tighten the screws once the alignment is satisfactory. Remember to make small adjustments and test the door’s movement after each step to ensure proper alignment.

A sticking sliding door can be frustrating, but with a few DIY solutions, you can restore its smooth gliding action without needing professional help. By following these simple steps, you can save time and money and enjoy the convenience of a sliding door that operates effortlessly.


3 things you can do this week to get closer to buying a home

Many Americans are putting their home purchases on hold over the uncertainty about the housing market. While we don’t recommend trying to time the market, it’s certainly understandable that some folks are a bit trepid right now.

Even though you may not be actively looking at homes to purchase right now, there are things you can be doing so that if the opportunity arises you can jump right into the market. Let’s take a look at three of those.

1. Talk to a lender

Sure, we hear a lot about cash buyers but most need a mortgage to buy a home. Get the process started by calling or visiting a lender. Family and friends, colleagues and real estate agents are good go-to sources for names of trusted lenders.

Although the initial consultation is typically quick and involves some number crunching and a list of paperwork you may need to submit, you’ll hopefully find a lender who will take some time to walk you through the process. Check out “The Smart Way to Shop for a Mortgage Lender.”

Some lenders can also counsel you on improving (or maintaining) your credit score over the next couple of months until you’re ready to buy. If not, read up on the process at MyFico.com.

Requesting loan preapproval offers real benefits, including saving time by not wasting it looking at homes you can’t afford.

In addition, “Sellers are looking for pre-approved buyers. Many prefer to entertain offers only from pre-approved buyers,” according to the pros at Capital Bank Home Loans, and we agree.

Finding out where your finances stack up in home loans is always a good idea, so this is an important step.

Preapproval from a lender is imperative, especially if you are close to being ready to buy.

When you call or visit a lender, ask all your questions, regardless of how basic you may consider them. This includes:

  • Current interest rates
  • Is a government-backed loan or a traditional loan the best choice for you?
  • Should you go with a fixed or adjustable-rate mortgage? If you don’t understand the difference between the two, ask.
  • Which down payment assistance programs are available to you?

2. Talk to a real estate agent

Retaining a real estate agent to help you buy a home is never too early. We are happy to offer you counsel on what to do right now to make you market-ready should the occasion arise sooner than you’d thought.

Sitting down with us briefly may give you insight into the current market, expectations for the future market, and other real estate-related topics you may not have considered.

Then, be sure to regularly visit our social media platforms and blog. We post a lot of educational content that you may not find elsewhere.

Some questions you may need the answer to when we get together:

  • Which banks or lenders are best for the homebuyer
  • Can you set up your home search criteria on the website so that you can regularly search for homes for sale?

3. Internet search

Speaking of searching, the sooner you start, the more familiar you’ll become with the process.

Internet searches can help you narrow down your choice of neighborhoods, the prices there, and the types of homes.

Doing drive-throughs of neighborhoods will also help you narrow down the choices. Then, when the time is right, you will have several neighborhoods on which to focus and won’t waste your precious time on those you don’t like.

Three small steps with huge rewards when the time comes to buy your home.

Reach out if you’d like to set up a meeting. We love to talk about houses!


The Pitfalls of Automated Home Values: Why They Often Get it Wrong

In today’s digital age, homeowners and prospective buyers have easy access to a wealth of information regarding real estate. Automated home valuation tools like Zillow’s Zestimate have become increasingly popular for estimating property values. However, these tools are far from infallible and often generate inaccurate estimates.

Sadly, most real estate consumers don’t understand this, leading to overpricing of homes.

In this blog post, we will explore why automated home values are frequently wrong and shed light on the factors on which websites like Zillow base their Zestimates.

Lack of human oversight

One of the primary reasons why automated home values often miss the mark is the absence of human oversight. These valuation tools rely on algorithms and data-driven models to estimate property values, disregarding the subjective factors that can significantly impact a home’s worth.

Automated systems often overlook the home’s unique features, renovations, neighborhood dynamics, and local market conditions. Consequently, this leads to inaccurate estimates, as algorithms fail to capture the full complexity of the housing market.

Insufficient data accuracy and completeness

Automated home valuation tools rely on vast amounts of data to generate estimates. Websites like Zillow aggregate data from various sources, including public records, tax assessments, and previous sales data. However, the accuracy and completeness of this data are not always guaranteed.

The most reliable information comes from an area’s Multiple Listing Service, to which Zillow doesn’t subscribe. Instead, the company relies on information submitted by real estate agents across the country, but not all real estate agents advertise on Zillow. Therefore, the important stuff doesn’t make it into the automated home value.

Then, there are real estate agents (who are required by their MLS to update their listings on that platform within a certain time period) who aren’t held to the same stringent rules.

They often neglect to update listing information on automated home value websites, causing information to become outdated. There’s nothing more frustrating than finding your dream home for sale on Zillow only to learn that it sold a week ago.

Inability to account for unique features and upgrades

Automated valuation tools struggle to account for the unique features and upgrades that differentiate one property from another. This is something a professional appraiser will not miss, by the way.

They often rely on general characteristics of similar homes in the area, failing to consider specific details that can significantly impact a property’s value. Features like a remodeled kitchen, a swimming pool, or a picturesque view can dramatically affect a home’s worth but are challenging for automated systems to accurately assess. Consequently, these tools may undervalue or overvalue a property, leading to misleading estimates.

Ignoring local market dynamics

Real estate markets are dynamic and can vary significantly from one location to another. Automated valuation tools, however, often fail to consider the intricacies of local markets.

They rely on broader market trends and regional averages, which may not accurately reflect the nuances of a specific neighborhood or city. Factors like school district quality, nearby amenities, transportation infrastructure, and local economic conditions can all influence property values, but they are difficult for automated systems to incorporate.

Consequently, estimates may not align with the reality of the local market, leading to erroneous valuations.

Lack of contextual understanding

Another inherent limitation of automated home valuation tools is their inability to accurately comprehend a property’s context. They fail to consider subjective factors such as curb appeal, architectural style, and overall condition.

The emotional appeal of a property, which can significantly impact its value, is challenging for algorithms to gauge. On the other hand, human appraisers can and do, recognize and factor in these nuanced elements when determining a property’s worth, providing a more comprehensive and accurate assessment.

While automated home valuation tools offer convenience and quick estimates, they are prone to significant inaccuracies.

It is crucial for homeowners and prospective buyers to approach automated home values with caution and rely on them as a starting point rather than a definitive measure of a property’s worth. For a more accurate appraisal, engaging the services of a local real estate agent is important if you hope to obtain the most money possible for your home.

Stop the Drip! A Simple Guide to Fixing a Dripping Kitchen Faucet

Is the sound of a dripping kitchen faucet driving you crazy? It may also be causing your water bill to soar.

The good news is that fixing it is easier than you might think. This blog post shows how to fix that pesky drip and save water and your sanity.

Step 1: Gather Your Tools

Before getting started, make sure you have the necessary tools handy. Here’s what you’ll need:

  • Adjustable wrench
  • Screwdriver (both flathead and Phillips)
  • Replacement parts (such as O-rings and washers) specific to your faucet model. You can find these at a hardware store or online
  • Plumber’s grease

Step 2: Turn Off the Water

Locate the shut-off valves (typically resembling an outdoor faucet) under the sink and turn off the water supply to avoid any unwanted surprises. Clockwise usually closes the valve. Once the water is off, turn on the faucet to release any remaining water in the pipes.

Step 3: Disassemble the Faucet

Now it’s time to take apart the faucet. Start by locating the handle and removing any decorative caps or covers. Use a flathead screwdriver to carefully pry them off. Underneath, you’ll find screws holding the handle in place. Use the appropriate screwdriver (flathead or Phillips) to loosen and remove these screws. Once the screws are out, gently lift off the handle.

Step 4: Identify the Problem

With the handle removed, you’ll now have access to the inner workings of the faucet. The most common culprits for a dripping faucet are worn-out O-rings and washers. Examine these parts for signs of damage, such as cracks or tears. If they look worn or damaged, it’s time to replace them.

Step 5: Replace the O-Rings and Washers

Carefully remove the old O-rings and washers using your fingers or a screwdriver. Take note of their size and shape; you’ll need to find suitable replacements. Take the old parts to a hardware store to ensure you get the correct ones. Once you have the new O-rings and washers, lubricate them with the plumber’s grease and carefully install them instead of the old ones.

Step 6: Reassemble and Test

With the new O-rings and washers in place, it’s time to put everything back together. Start by reattaching the handle and tightening the screws. Then, place the decorative caps or covers back on and press them firmly into place. Now, turn the shut-off valves back on to restore the water supply.

Step 7: Check for Leaks

Once the water is back on, turn on the faucet and observe. Is the drip gone? Keep an eye out for any leaks around the handle or spout. If you notice any leaks, you might need to recheck the installation of the O-rings and washers or tighten the faucet components further.

Congratulations! You’ve successfully fixed a dripping kitchen faucet all by yourself. Not only have you saved water, but you’ve also gained valuable DIY skills.


The Pros and Cons of Adjustable-rate Mortgages

When it comes to purchasing a home, one of the most critical decisions you’ll face is choosing a mortgage that suits your needs. One that might be worth your consideration is the adjustable-rate mortgage (ARM). Yes, they received a bad rap during the housing implosion of 2008.

They’re making a comeback, however, largely due to escalating mortgage rates and high homebuyer demand.

These loans can be a boon for the buyer on a budget, but only if you’re familiar with both the pros and cons.

Let’s unpack both to help you make an informed decision.

Advantages of adjustable-rate mortgages

One of the reasons that so many homebuyers have dropped out of the real estate market is rising mortgage rates. Every tick up in interest makes a home less affordable to those on tight budgets.

One reason that ARMs are appealing to these homebuyers is that they offer a lower initial  interest rate compared to fixed-rate mortgages. This is known as the initial rate, “… ranging from just 1 month to 5 years,” according to The Federal Reserve Board’s “Consumer Handbook: Adjustable-Rate Mortgages.”

This initial lower rate can make homeownership more affordable, especially for those planning to sell or refinance before the rate adjusts.

Once this initial rate expires, your rate is tied to a specific index, such as the London Interbank Offered Rate (LIBOR) or the U.S. Treasury Index.

As the index fluctuates, so does the interest rate on your ARM. The potential benefit of this is that if the index decreases, your interest rate and monthly payments could go down as well, leading to savings over the long term.

If you anticipate a change in income, plan to relocate, or expect to refinance in the near future, an adjustable-rate mortgage can provide the flexibility you need.

Disadvantages of adjustable-rate mortgages

The most significant drawback of adjustable-rate mortgages is the uncertainty and risk associated with interest rate fluctuations.

If interest rates rise, your monthly payments may increase significantly, making it challenging to budget and potentially causing financial strain.

Some adjustable-rate mortgages come with caps or limits on how much the interest rate can increase during an adjustment period or over the life of the loan.

That sounds like an advantage, and it is. But there’s a “but.” The caps may not provide enough protection if interest rates rise significantly, leaving homeowners exposed to potentially unaffordable payments.

Adjustable-rate mortgages can make long-term financial planning challenging. With the uncertainty of future interest rate changes, it’s difficult to determine precisely how much you’ll pay for your mortgage in the years ahead.

This lack of predictability can make it difficult to budget and plan for other financial goals, such as retirement or education expenses.

With typically lower initial rates, adjustable-rate mortgages may be the only way for some Americans to enter the market. However, it’s crucial to consider your financial goals, risk tolerance, and the potential impact of interest rate fluctuations.

We aren’t financial experts or mortgage specialists and urge you to contact either before deciding the type of mortgage that’s right for you.

What happens if your offer on a home is rejected?

What a thrill it is to finally find the house! Waiting for a response to the offer, however, is stressful. Will you win the home, or will the seller reject it?

The truth is the seller is more likely to either accept it or accept it with conditions. This means you will receive a counteroffer.

After all, they want to sell their home, so, at least in this scenario, they’re willing to negotiate.

Then, there are those situations when a seller outright rejects an offer.

This can happen for a number of reasons:

  • The seller accepted another offer.
  • The seller is unwilling to entertain any of your requests, such as paying closing costs or paying for expensive repairs or upgrades.
  • Your offer was far below what he or she will accept.

Those are just a few reasons an offer to purchase might be rejected.

Still want the home?

If so, it’s time to come up with a strategy. Again, we’ll need to discuss your goals and find out precisely what it is about this house that made you want to submit an offer.

Other issues we’ll need to discuss include the following:

Don’t take the rejection personally

Buying a home is a business transaction, yet both the seller and the buyer often have emotional “stuff” going on in the background.

Some sellers are emotionally attached to the home, while others are strictly business. Falling into the trap of over-analyzing the possible reasons behind the rejection is crazy-making.

Naturally, we will speak with the seller’s agent to get an answer to your “why?”  But you have options, so let’s move forward with one or more.

Can you go higher?

The most common reason an offer is rejected is the price offered is lower than what the seller wants. The only move you can make to combat this is to sweeten the deal by offering more for the home, if at all possible. Resubmit the offer at a higher price.

The terms may be unacceptable

There are certain contingencies that many sellers find unacceptable. The most common of these is the home sale contingency – when you make the purchase contingent on selling your current home.

Depending on the market, many sellers will reject an offer because of this. It’s too big of a gamble, and they may have other offers that don’t contain this clause.

Your offer may be rejected if the closing date is unacceptable. Although not common, it does happen. Whether the seller needs to close sooner or later than your stated closing date, they may have another offer that meets their goals.

If nothing seems to be working

It’s easy to become discouraged when your offer on a home is rejected, especially if you become emotionally attached during the process.

Make a note of the home’s features that attracted you the most so that we can keep an eye out for similar homes as they come on the market.

Your dream home is obtainable, and it’s out there. We won’t stop until we find it for you.

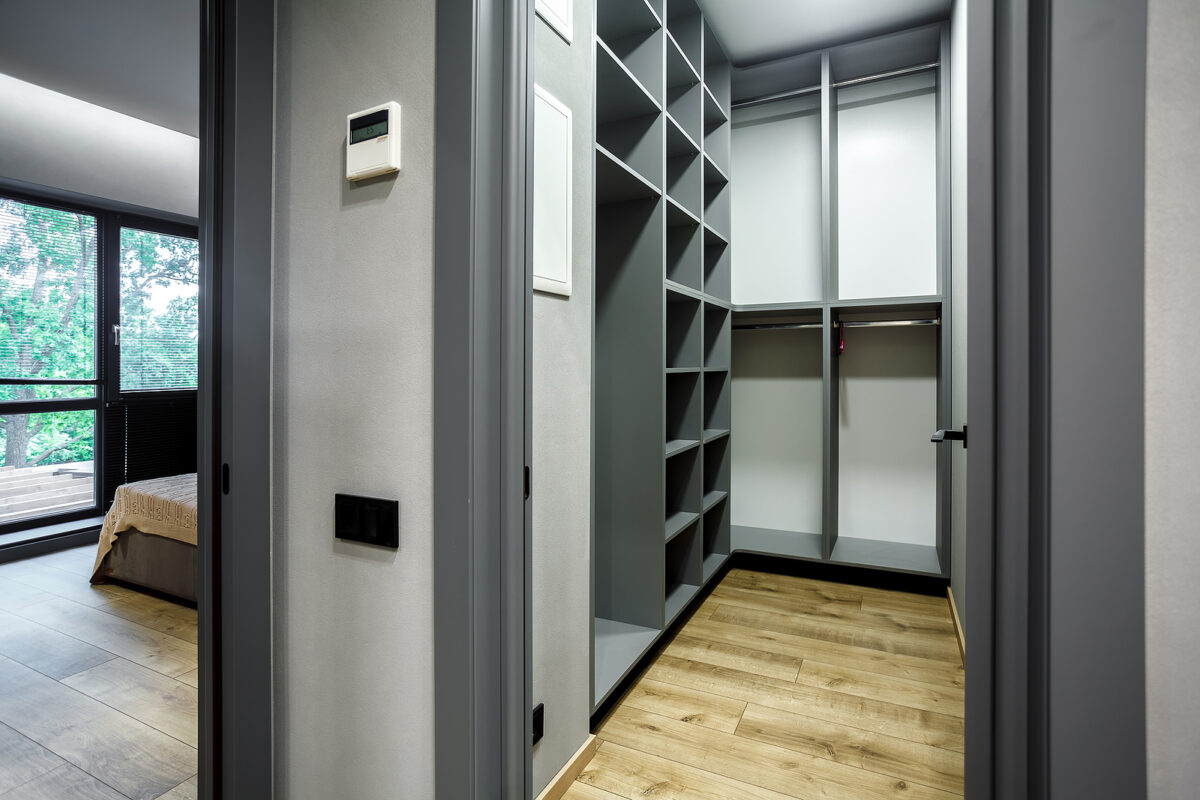
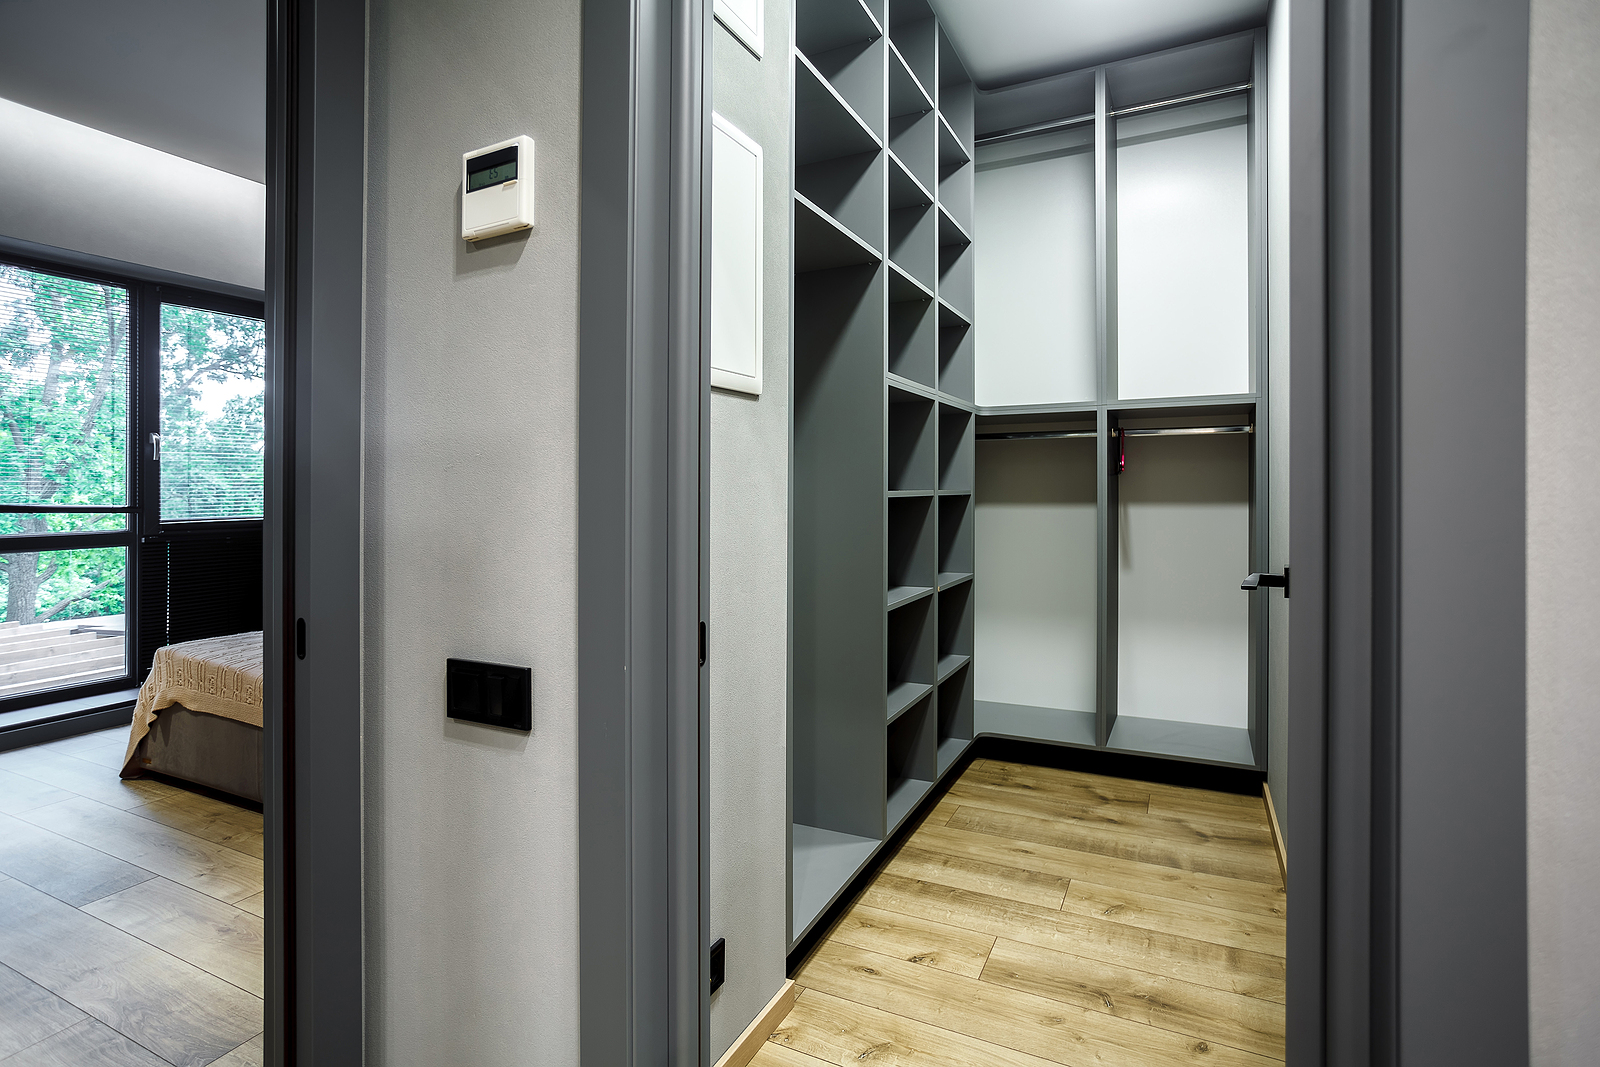
Let’s transform that unused closet

At one time, closets were the same size as a large room in our modern homes. In these spacious caverns, folks studied, wrote and spent time in contemplation.

Where did they keep their clothing, you ask? They stored them in wooden storage chests.

The closet as we know it today, “…a dedicated space built into the home for storage,”  came into being in the United States around 1840, according to the folks at Closets by Design.

And homebuyers fell in love with them. Naturally, home builders picked up on the feature; after all, people were willing to pay more for a home with closets.

Fast forward to 2023, when homes are vastly larger and not all of us have a hoard to store away. Believe it or not, some folks even have an unused closet.

If you are among these minimalists, read on to get some closet transformation ideas, many of which can be accomplished in one weekend.

Ditch the dining room table and create a brilliant workstation

The practice of transforming a closet into an office has become so popular there is a term for the result: Cloffice.

If you have an unused closet in the home, consider turning it into an office or a workstation. It’s a fun project that you can easily DIY over a weekend.

Step one is to determine if you’ll paint the closet’s interior. Many are so dreary that working in them may become drudgery.

Whether you know it as a closet bar or closet rod, that thing that holds your clothes hangers needs to be removed, if you didn’t do so while painting, before performing the next step in the transformation. Don’t dispose of it because if you ever sell the home, you’ll need to replace it.

Now you should have an empty closet, save for a shelf or shelves, set higher on the wall. On these shelves, use decorative boxes, trays or other organizational items to store small office supplies such as paper clips, staples, etc. Check out the ideas on Pinterest.com.

Don’t neglect installing suitable lighting. While overhead lighting is necessary, a desk lamp should also be on your shopping list. Shop for one that is adjustable, offers a generous amount of light, and has a small footprint.

Now all you need to do is figure out the desk situation. This can be as simple as plywood propped on short filing cabinets or a small version of an office desk. Get ideas online at TheCraftyBlogStalker.com and Remodelaholic.com.

Now, pull up that comfy chair you’ve chosen and get to work!

Curl up with a good book in your own reading nook

Shallow closets are ideal for this transformation idea. All you need is a comfy spot to lounge in and good lighting. But, really, the sky is the limit when designing this space.

Two examples we’ve found online are brilliant and include built-in window seats (our favorite) or a giant pouf to sit or lie on (this is especially cute for a child’s reading nook).

Good lighting is essential in this closet transformation.

From closet to laundry room? Yup!

Yes, it may sound wacky, but stick with us here. “Converting a closet into a laundry can be an inexpensive exercise as long as you have easy access to both plumbing and drainage,” according to an unnamed writer who took on the project and walks readers through it at Ideas2Live4.com.

We love the closet/laundry room with racks built into the doors to hold laundry soap and other supplies.

Think you can’t fit those appliances in the closet? The aforementioned unnamed writer says, “Most closets are 600mm (24″) deep. Most laundry appliances are around 500mm (20″) deep.”

With a bit of time and inspiration, you can quickly transform your unused closet into an area that is a joy to use.