Managing the competitive real estate market requires strategic decisions, and one such important choice for sellers is whether to conduct a pre-listing home inspection.
This step offers clear advantages, such as uncovering potential issues early, fostering transparency, and expediting the selling process. However, it also comes with certain drawbacks, including upfront costs and the risk of discovering significant problems that could impact negotiations.
How do these factors balance against each other, and what should sellers prioritize to optimize their outcomes?
What are The Pre-Listing Inspections?
A thorough assessment of a property’s condition is conducted by a professional inspector before the property is put on the market, a pre-listing inspection serves as a proactive measure for sellers.
This type of inspection involves a detailed evaluation of the home’s structural integrity, mechanical systems, and overall safety.
By identifying potential issues early on, sellers can address problems prior to listing, thereby enhancing market readiness and buyer confidence.
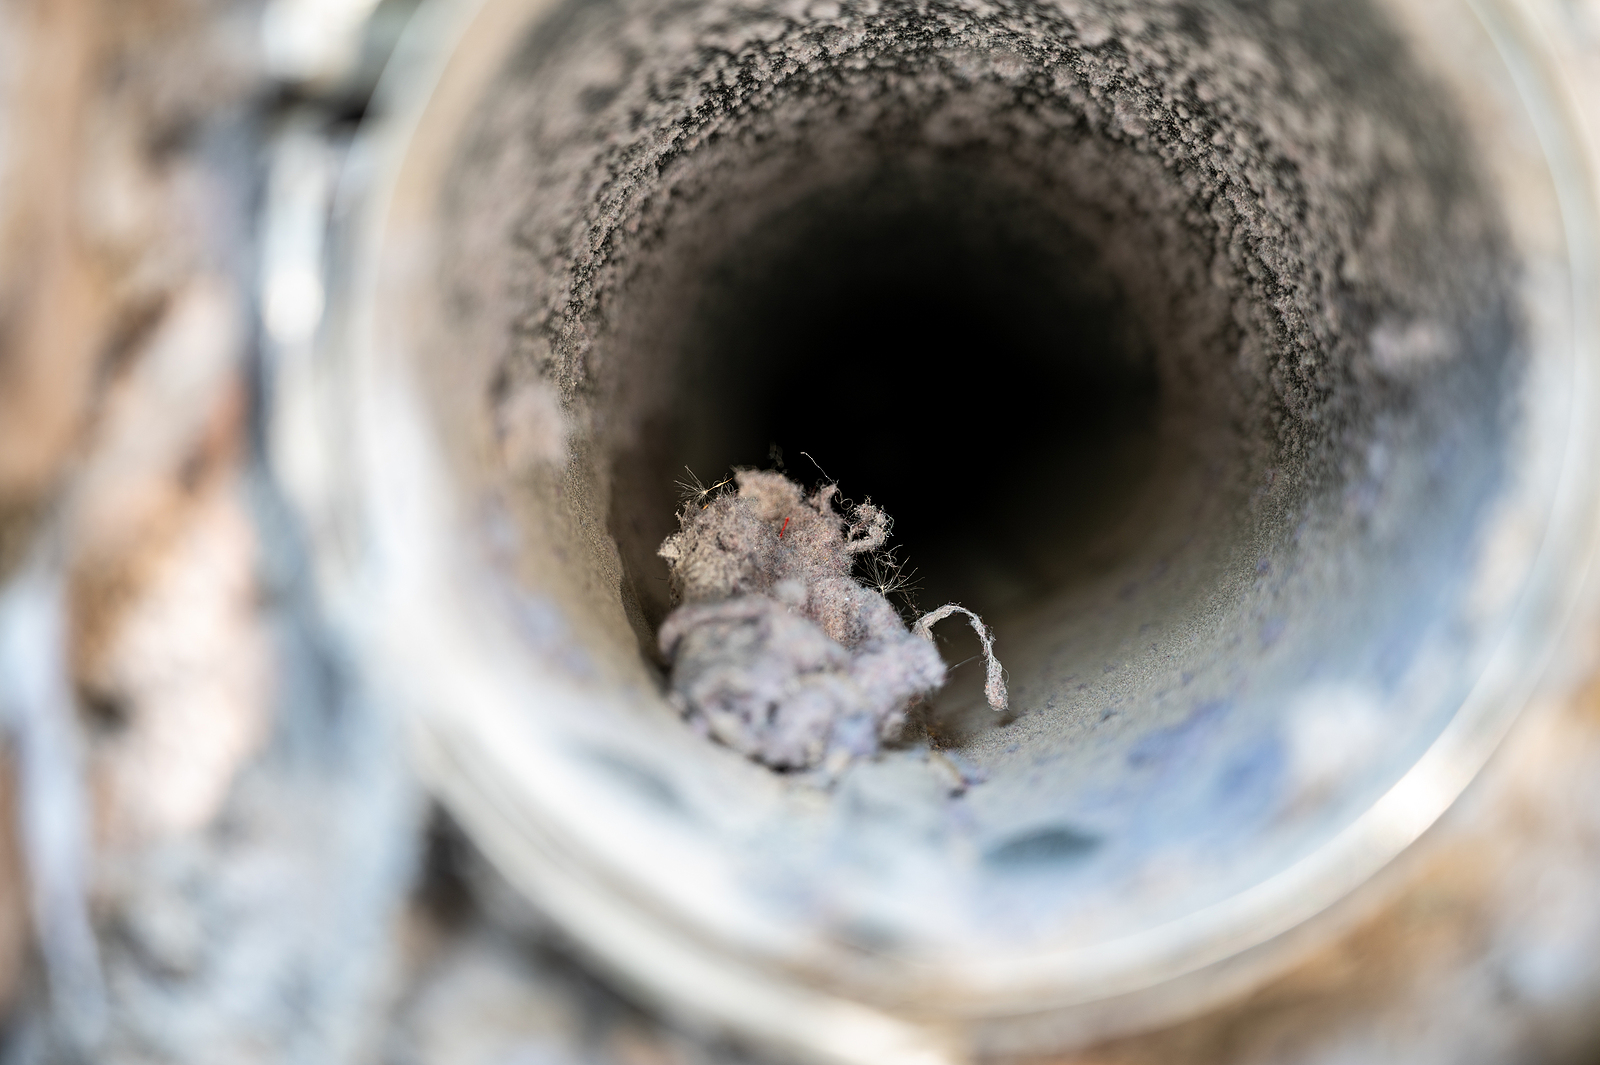
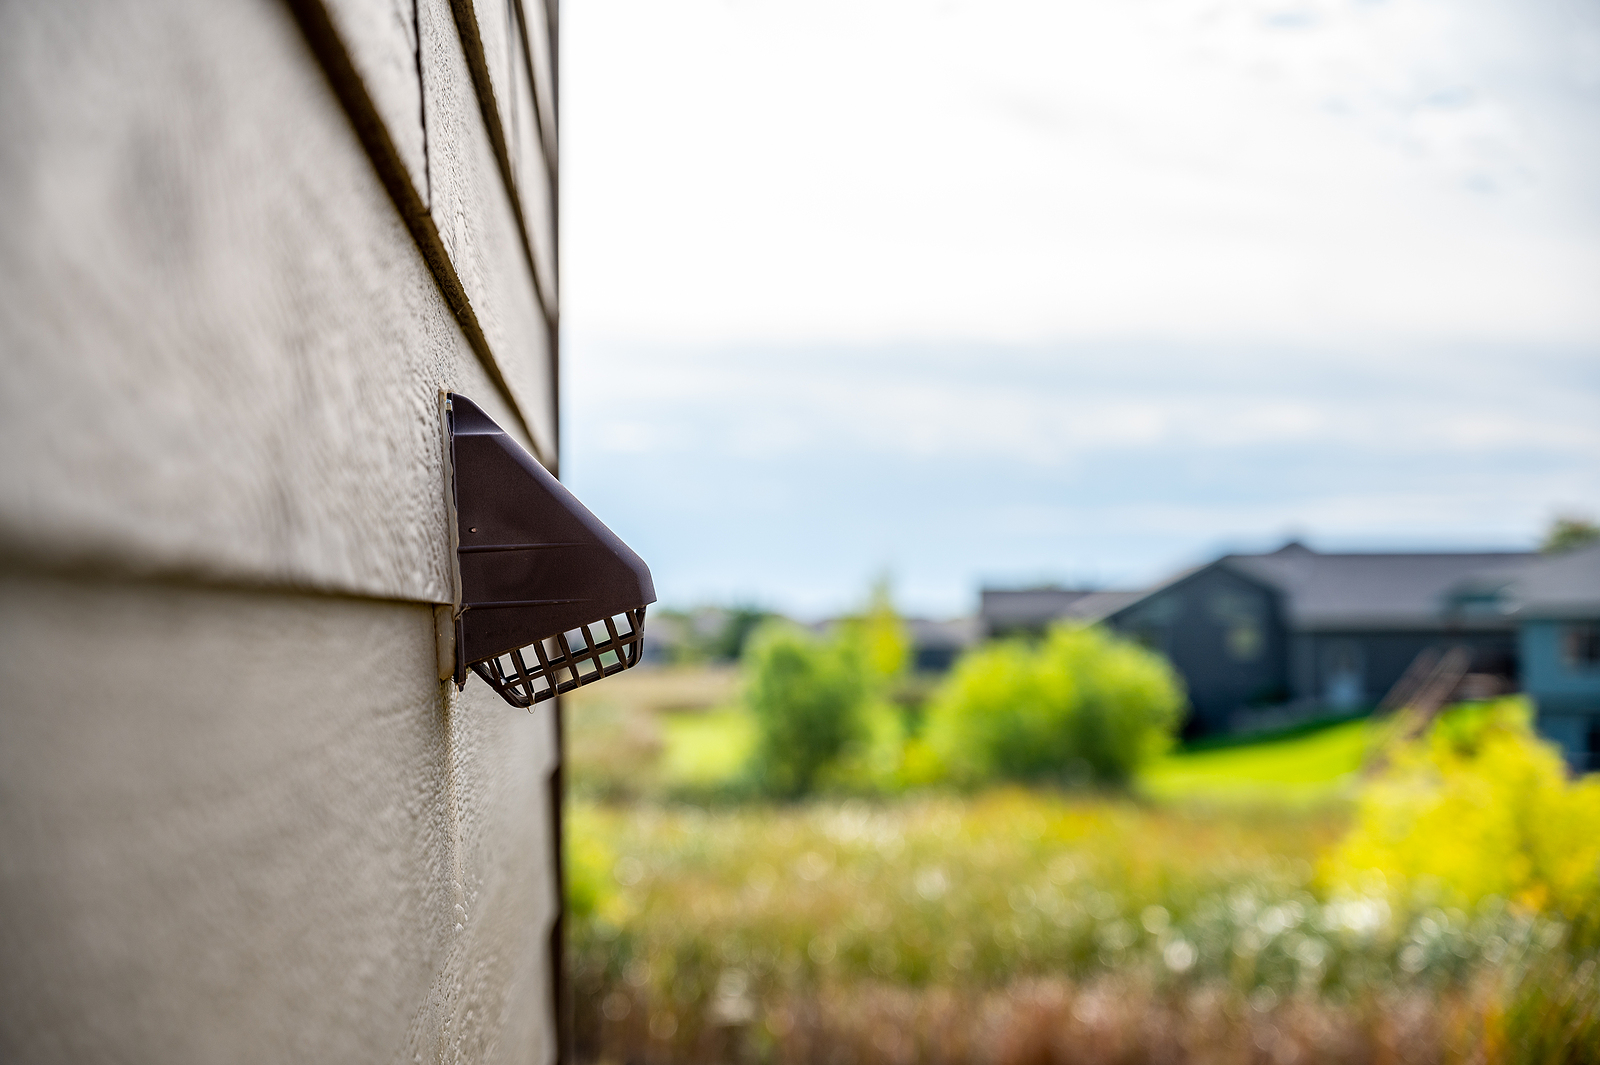
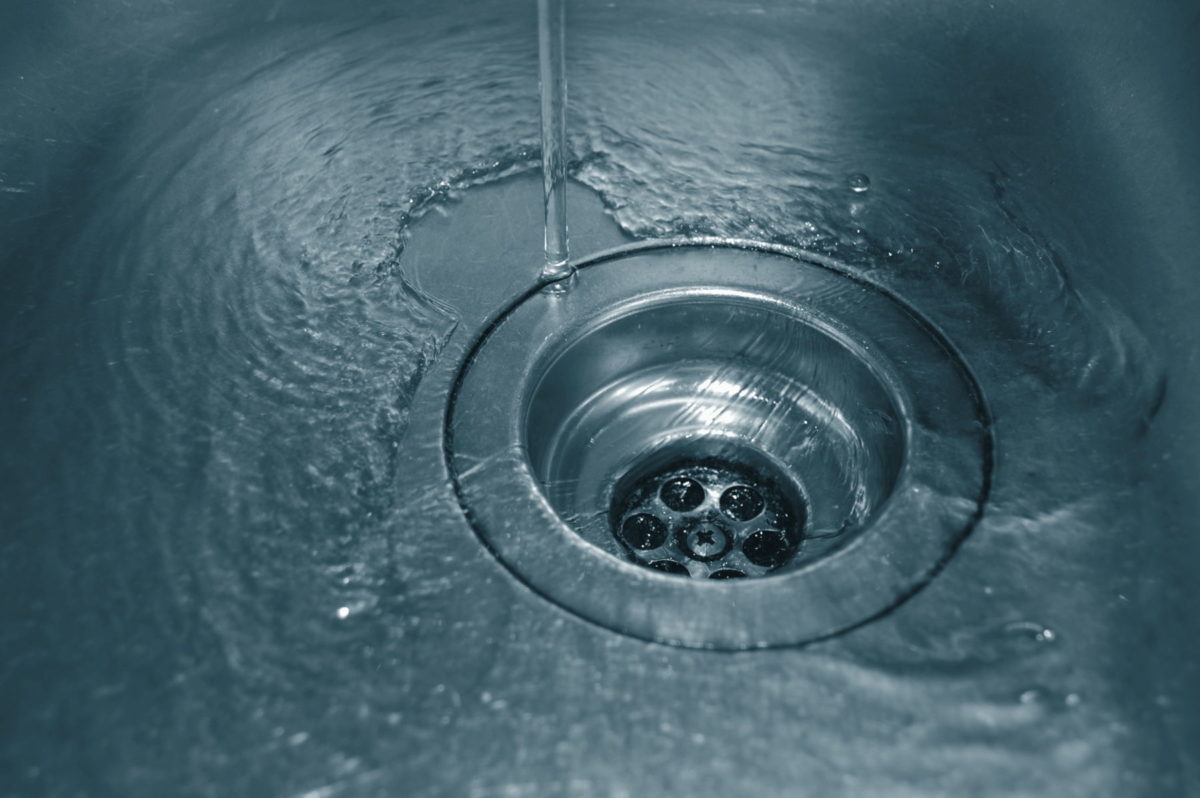
To provide a definitional overview, a pre-listing inspection entails a detailed examination of various components within the property. This includes, but is not limited to, the foundation, roof, electrical systems, plumbing, HVAC systems, and interior and exterior conditions.

The objective is to uncover any existing or potential defects that could affect the property’s value or sale process.
The inspection process typically begins with the engagement of a certified home inspector, who conducts an on-site evaluation. The inspector systematically examines each area of the home, documenting findings through written reports and photographic evidence.
This meticulous approach ensures that all critical aspects of the property are reviewed, providing the seller with a clear understanding of the property’s current condition and potential areas for improvement.
Benefits of Pre-Listing Inspections
Pre-listing home inspections offer significant advantages to sellers, including identifying potential issues early on. This proactive approach not only allows for timely repairs but also enhances buyer confidence, making the property more attractive in a competitive market.
Identifying Potential Issues
Conducting a pre-listing home inspection allows sellers to identify potential issues that could deter prospective buyers, thereby providing an opportunity to address these concerns proactively.
By uncovering hidden defects or maintenance needs, sellers can engage in effective maintenance planning, ensuring that the property is in top-notch condition before it hits the market.
This strategic approach not only helps in managing repair prioritization but also in allocating resources efficiently to tackle the most critical issues first.
Identifying potential problems early can greatly impact the marketability of a home.
For instance, resolving structural issues, plumbing leaks, or electrical problems before listing can prevent last-minute surprises that might derail a sale.
Additionally, addressing these elements ahead of time demonstrates to buyers that the property has been well-maintained and cared for, which can enhance its appeal.
Furthermore, being upfront about the home’s condition enables sellers to set a realistic asking price that reflects the true value of the property.
This transparency can lead to smoother negotiations and a quicker sale process. Ultimately, the foresight provided by a pre-listing inspection equips sellers with the knowledge and confidence to present their home in the best possible light.
Increasing Buyer Confidence
Overall, substantially addressing potential issues through pre-listing inspections can greatly enhance buyer confidence in the property’s condition.

This strategic move allows sellers to identify and rectify any potential problems before listing the home, thereby presenting a well-maintained property to potential buyers.
A pre-listing inspection report provides transparency, fostering buyer trust and reducing the likelihood of last-minute surprises during the buyer’s inspection.
In addition to increasing buyer confidence, pre-listing inspections contribute to a positive reputation for the seller. When buyers see that a home has already been inspected and necessary repairs have been made, they are more likely to perceive the seller as honest and diligent.
This perception can significantly influence their decision-making process, often leading to faster offers and potentially higher selling prices.
Moreover, in competitive markets, a pre-listing inspection can distinguish a property from others, making it more attractive to discerning buyers. By demonstrating that the property has been carefully evaluated and maintained, sellers can instill a sense of security in buyers, ultimately facilitating smoother transactions.
Identifying Potential Issues
Uncovering potential issues early through a pre-listing home inspection can greatly enhance the seller’s position in the real estate market.
By identifying and addressing problems before listing, sellers can mitigate liabilities that might otherwise deter buyers or lead to negotiations that could undermine the sale price.
A thorough inspection sheds light on aspects of the property that may need attention, from structural concerns to minor repairs.
This proactive approach allows sellers to engage in preventative maintenance, ensuring that the home is in excellent condition when potential buyers view it.
Resolving issues such as outdated electrical systems, plumbing leaks, or roof damage can prevent last-minute surprises that could derail the selling process. Additionally, it provides the seller with the opportunity to make informed decisions about necessary repairs, possibly even enhancing the property’s value.
From a market perspective, homes that have undergone pre-listing inspections often stand out, as buyers are more likely to trust a property that has been meticulously maintained.
This can lead to shorter time on the market and potentially higher offers. Identifying potential issues early not only fortifies the seller’s negotiating stance but also contributes to a smoother, more transparent transaction process.
Setting a Realistic Price
Setting an essential price is vital for attracting serious buyers and ensuring a smooth transaction.
By accurately evaluating market value and being transparent about the condition of the property, sellers can foster trust and avoid the need for subsequent price reductions.
This approach not only speeds up the selling process but also maximizes potential returns.
Assessing Market Value
Determining an accurate market value for your property is essential to attract serious buyers and maximize your return on investment. Conducting a thorough market analysis is the cornerstone of this process. You can establish a realistic price range that reflects the true value of your home.
This analysis often involves a detailed price comparison with similar properties in your area, considering factors such as location, size, condition, and unique features.
Furthermore, pre-listing home inspections provide critical insights that can affect your pricing strategy. Identifying and addressing any potential issues before listing can enhance your property’s appeal and justify a higher asking price.

Conversely, understanding the scope and cost of necessary repairs can help you set a more competitive price if you choose not to make those improvements.
Ultimately, setting a realistic price based on thorough market analysis and price comparison not only attracts qualified buyers but also expedites the selling process.
It minimizes the risk of prolonged market exposure, which can lead to price reductions and diminished buyer interest, ensuring you achieve the best possible outcome for your sale.
Transparency With Buyers
Establishing transparency with buyers through a detailed pricing strategy fosters trust and facilitates smoother negotiations. Pre-listing home inspections allow sellers to present a property with full disclosure clarity, addressing potential issues upfront.
This proactive approach not only enhances buyer trust but also aids in setting a realistic and competitive market price.
When buyers are informed of the property’s condition through thorough inspection reports, they feel more confident in their purchasing decision. Disclosure clarity eliminates the element of surprise, reducing the likelihood of renegotiations or disputes later in the process.
Moreover, a transparent pricing strategy, backed by documented inspection findings, positions the seller as honest and forthright.
This reputation can be invaluable in a competitive market, where buyer trust can greatly influence purchasing decisions.
Engaging in this level of openness not only distinguishes a property but also streamlines the transaction, as buyers are less likely to request price reductions or contingencies based on undisclosed issues.
Setting a realistic price through transparency can be a decisive factor in achieving a successful sale.
Avoiding Price Reductions
A practical initial pricing strategy, based on thorough pre-listing inspection findings, is essential for avoiding subsequent price reductions.
Sellers can set a realistic price that accurately reflects the home’s value.
This transparency not only fosters buyer interest but also builds trust, as potential buyers are reassured that there are no hidden issues.
A well-priced home, backed by an inspection report, positions the property favorably in the market, providing a competitive advantage. It allows sellers to address any necessary repairs upfront, ensuring that the home is market-ready and reducing the likelihood of renegotiations or delayed closings.
This proactive approach can prevent the need for price reductions, which often occur when unexpected issues are discovered during the buyer’s inspection.
Moreover, setting a realistic price from the outset can attract serious buyers who are prepared to meet the asking price, thereby expediting the selling process.
By leveraging the information from a pre-listing inspection, sellers can confidently price their homes to reflect true market value, ultimately avoiding the pitfalls of overpricing and subsequent price reductions.
Speeding Up the Selling Process
By addressing potential issues through pre-listing home inspections, sellers can greatly expedite the selling process by minimizing the likelihood of unexpected delays. Identifying and resolving any problems before hand guarantees that the property is in excellent condition when it hits the market.
This proactive approach can greatly influence the closing timeline, as buyers are less likely to request additional inspections or repairs that could stall proceedings.
Moreover, pre-listing inspections can have a positive marketing impact. Properties that come with a certified pre-listing inspection report are often perceived as more transparent and trustworthy, which can attract more serious buyers.
This transparency can speed up buyer decision-making, as they can confidently proceed without the usual hesitations related to hidden defects.
In today’s competitive real estate market, time is of the essence.
Sellers who can provide a pre-listing inspection report demonstrate their commitment to a smooth transaction, thereby setting their property apart from others. This can lead to quicker offers and a more streamlined closing process.
To summarize, pre-listing home inspections not only increase marketability but also contribute to a more efficient and accelerated selling experience.
Reducing Buyer Negotiation Leverage
Conducting a pre-listing home inspection can greatly reduce a buyer’s leverage during negotiations by preemptively addressing potential issues.
In the competitive real estate market, buyers often use newly discovered defects as a bargaining tool to lower the purchase price or demand costly repairs.
Sellers can alleviate buyer hesitation and present a well-maintained property, thereby strengthening their position.
A strategic move within the seller strategy is to transparently share the inspection report with potential buyers. This proactive approach not only builds trust but also signals to buyers that the property has been meticulously evaluated.
As a result, buyers are less inclined to negotiate aggressively, knowing that major issues have already been addressed. This can lead to smoother transactions and a higher likelihood of receiving offers close to the asking price.
Furthermore, a pre-listing inspection can differentiate a property in a crowded market. Buyers are more likely to proceed with confidence, reducing the time the property spends on the market.
Ultimately, this seller strategy not only minimizes buyer hesitation but also fosters a more favorable negotiation environment, benefiting both parties involved.
Costs of a Pre-Listing Inspection
Understanding the costs associated with a pre-listing home inspection is essential for sellers aiming to make informed decisions about their real estate strategy.
A pre-listing inspection typically ranges from $300 to $500, although prices can vary based on the size and age of the property. The qualifications of the inspector play a significant role in determining this cost.
Highly qualified inspectors with extensive certifications and experience are likely to charge higher fees, but they also provide more detailed and trustworthy reports.

Inspection duration is another factor influencing cost. A thorough inspection can take anywhere from two to four hours, depending on the complexity of the property.
This time investment ensures that the inspector can meticulously examine structural components, roofing, plumbing, electrical systems, and more.
Sellers should weigh these costs against the potential benefits, such as identifying and addressing issues before listing, which could expedite the sale process and improve the property’s marketability.
Investing in a qualified inspector and allowing ample time for a detailed inspection can ultimately lead to smoother transactions and possibly higher sale prices. Therefore, understanding these costs is an important step for sellers committed to optimizing their real estate outcomes.
Risks of Uncovering Major Problems
Uncovering major problems during a pre-listing inspection can pose significant risks to sellers, potentially affecting both the timeline and profitability of the sale.
Major issues, such as structural deficiencies, outdated electrical systems, or severe plumbing problems, can lead to buyer hesitation.
Prospective buyers might be concerned about the additional costs and efforts required to address these issues, thereby reducing their interest or willingness to make a competitive offer.
Once these problems are identified, sellers may face substantial repair obligations. Addressing these issues can be costly and time-consuming, potentially delaying the listing process and affecting the overall marketability of the property.
In some cases, sellers might be forced to lower the asking price to account for the necessary repairs, which could impact the profitability of the sale.
Disclosing major problems can change the negotiation dynamics.
Buyers may demand further inspections or request credits, adding another layer of complexity to the transaction.
Sellers must weigh these potential risks carefully when considering a pre-listing inspection, balancing the need for transparency with the possible implications on the sale process and final sale price.
Making the Final Decision
When deciding whether to proceed with a pre-listing home inspection, sellers must carefully evaluate the potential benefits and drawbacks in the context of their specific situation.
This decision hinges on multiple factors, including the current condition of the property, the local real estate market, and the seller’s timeline and financial objectives.
Consulting with real estate professionals and home inspectors can provide valuable insights and expert recommendations tailored to individual circumstances.
Seller confidence can be greatly enhanced by a pre-listing inspection. Knowing the exact condition of the home can allow sellers to address any issues proactively, potentially avoiding last-minute negotiations or price reductions.
Presenting a clean inspection report to prospective buyers can also enhance trust and streamline the sales process, making the home more attractive in a competitive market.
However, sellers must also consider the potential risks, such as uncovering major problems that could be costly to fix or might deter buyers.
Balancing these factors, informed by expert recommendations, enables sellers to make a well-considered decision.
Ultimately, the choice to conduct pre-listing inspections should align with the seller’s broader strategy and market conditions, ensuring the best possible outcome for the sale.
Conclusion
Pre-listing home inspections present sellers with a strategic opportunity to identify potential issues, set a realistic asking price, and expedite the selling process. This proactive approach can reduce buyer negotiation leverage and enhance property marketability.
However, sellers must weigh the associated costs and the risk of uncovering major problems. A thorough evaluation of these factors will enable sellers to make an informed decision that aligns with their broader selling strategy and prevailing market conditions.