In today’s fast-paced world, we often focus on the outdoor environment and its impact on our health and well-being. However, many of us overlook the quality of the air inside our homes. Indoor air quality (IAQ) is crucial to our overall health, productivity, and comfort. In this blog post, we’ll explore the importance of maintaining good indoor air quality and some eco-friendly ways to keep your home healthy.
Understanding Indoor Air Quality
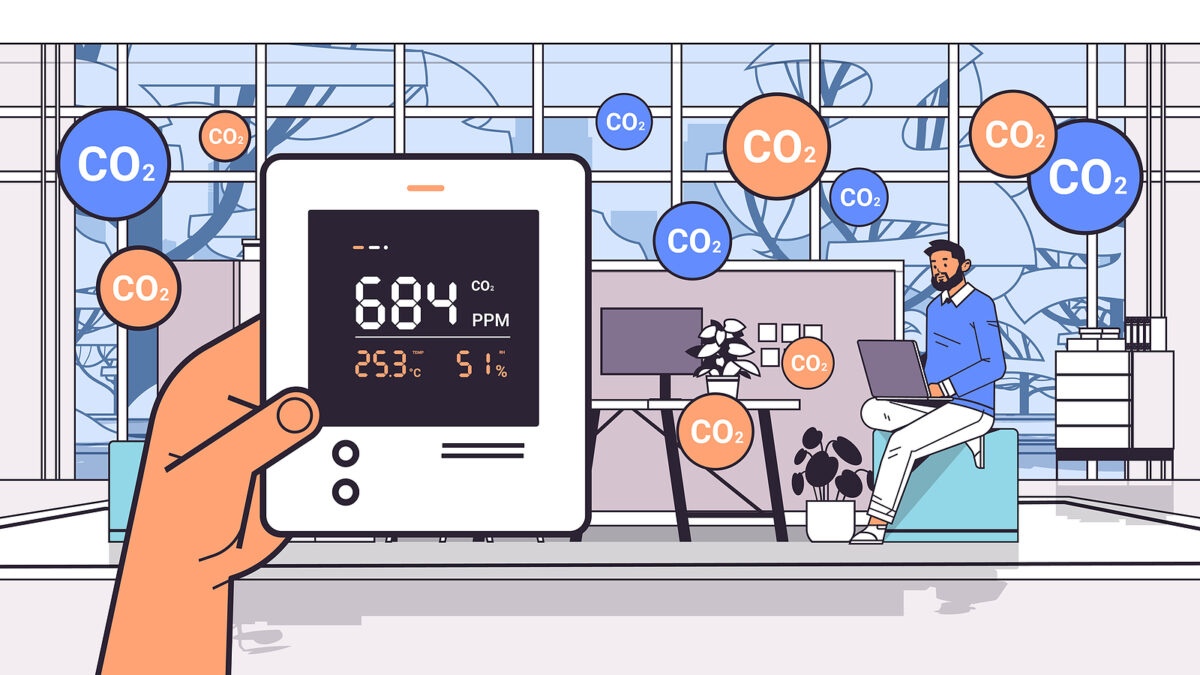
Indoor air quality refers to the condition of the air within and around buildings, especially as it relates to the health and comfort of occupants. Poor IAQ can lead to various health issues, including respiratory problems, allergies, and even more severe conditions like asthma. Common indoor air pollutants include dust, pet dander, mold spores, volatile organic compounds (VOCs) from household products, and tobacco smoke.
The Importance of Good IAQ
Ensuring good indoor air quality is essential for several reasons. Firstly, we spend a significant amount of time indoors, especially in our homes, where we sleep, eat, work, and relax. Poor IAQ can negatively impact our health and well-being, leading to discomfort and decreased productivity. Additionally, indoor air pollution can exacerbate existing health conditions, such as allergies and asthma, making it crucial to prioritize clean air in our living spaces.
Eco-Friendly Solutions for Better IAQ
Fortunately, there are several eco-friendly measures you can take to improve indoor air quality and create a healthier home environment:
Proper Ventilation
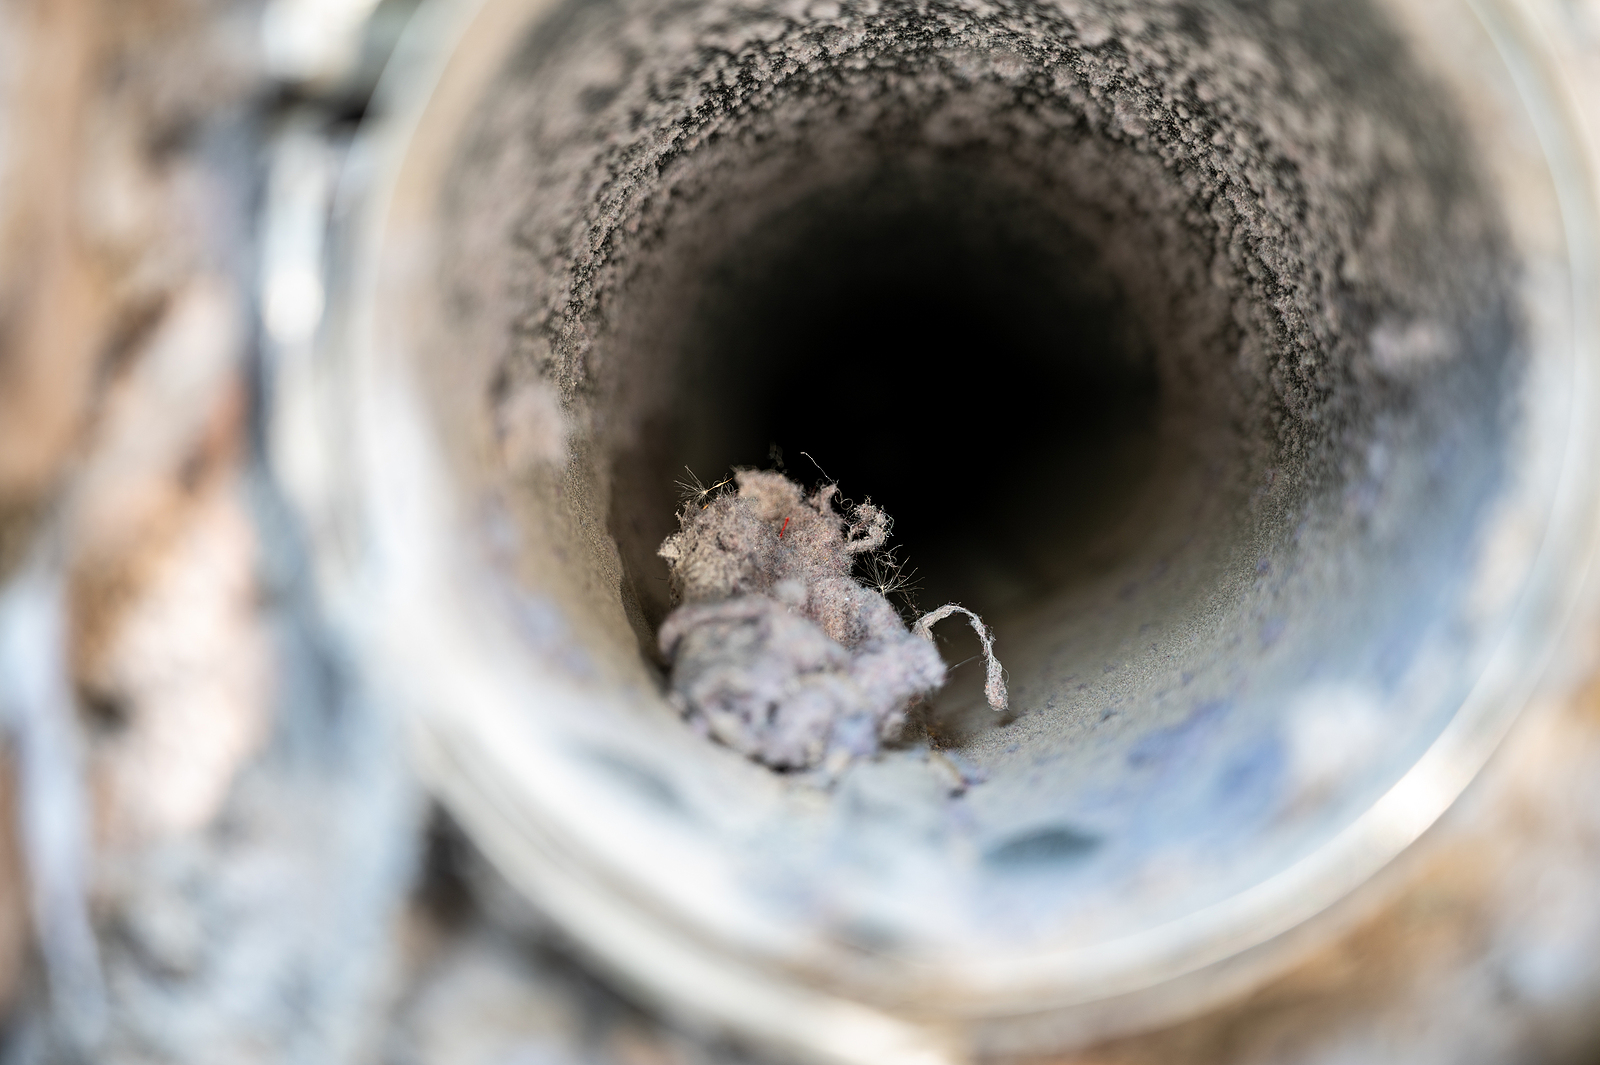
Good ventilation is key to maintaining clean indoor air. Opening windows and doors whenever possible allows fresh air to circulate and helps flush out indoor pollutants. Additionally, installing exhaust fans in kitchens and bathrooms can help remove moisture and odors, reducing the risk of mold growth and improving IAQ.
Use Natural Cleaning Products
Many conventional household cleaning products contain harsh chemicals and VOCs that can contribute to indoor air pollution. Switching to natural, eco-friendly alternatives can help minimize exposure to harmful substances and improve IAQ. Look for plant-based cleaners or make your own using ingredients like vinegar, baking soda, and essential oils.
Invest in Air Purifiers
Air purifiers effectively remove airborne pollutants and allergens from indoor spaces. Look for models with HEPA filters, which can capture particles as small as 0.3 microns, including dust, pollen, and pet dander. Consider placing air purifiers in frequently used rooms, such as bedrooms and living areas, to ensure cleaner air throughout your home.
Maintain Indoor Plants

Houseplants not only add a touch of greenery to your home but also help improve indoor air quality. Certain plants, such as spider plants, peace lilies, and snake plants, are known for their air-purifying properties and can help remove toxins from the air. Incorporating indoor plants into your décor is a natural and eco-friendly way to enhance IAQ.
Reduce Indoor Pollution
Take steps to minimize sources of indoor pollution to maintain cleaner air. For example, avoid smoking indoors, use exhaust hoods when cooking, and limit the use of candles and air fresheners, which can release harmful chemicals into the air. You can create a healthier environment for you and your family by reducing indoor pollutants.
Conclusion
Maintaining good indoor air quality is essential for creating a healthy and comfortable home environment. By implementing eco-friendly solutions like proper ventilation, natural cleaning products, air purifiers, indoor plants, and reducing indoor pollution, you can improve IAQ and promote better health and well-being for yourself and your loved ones. Remember, a little effort goes a long way in ensuring that the air you breathe inside your home is clean and fresh.